
Beautiful Plants For Your Interior
Beautiful Plants For Your Interior
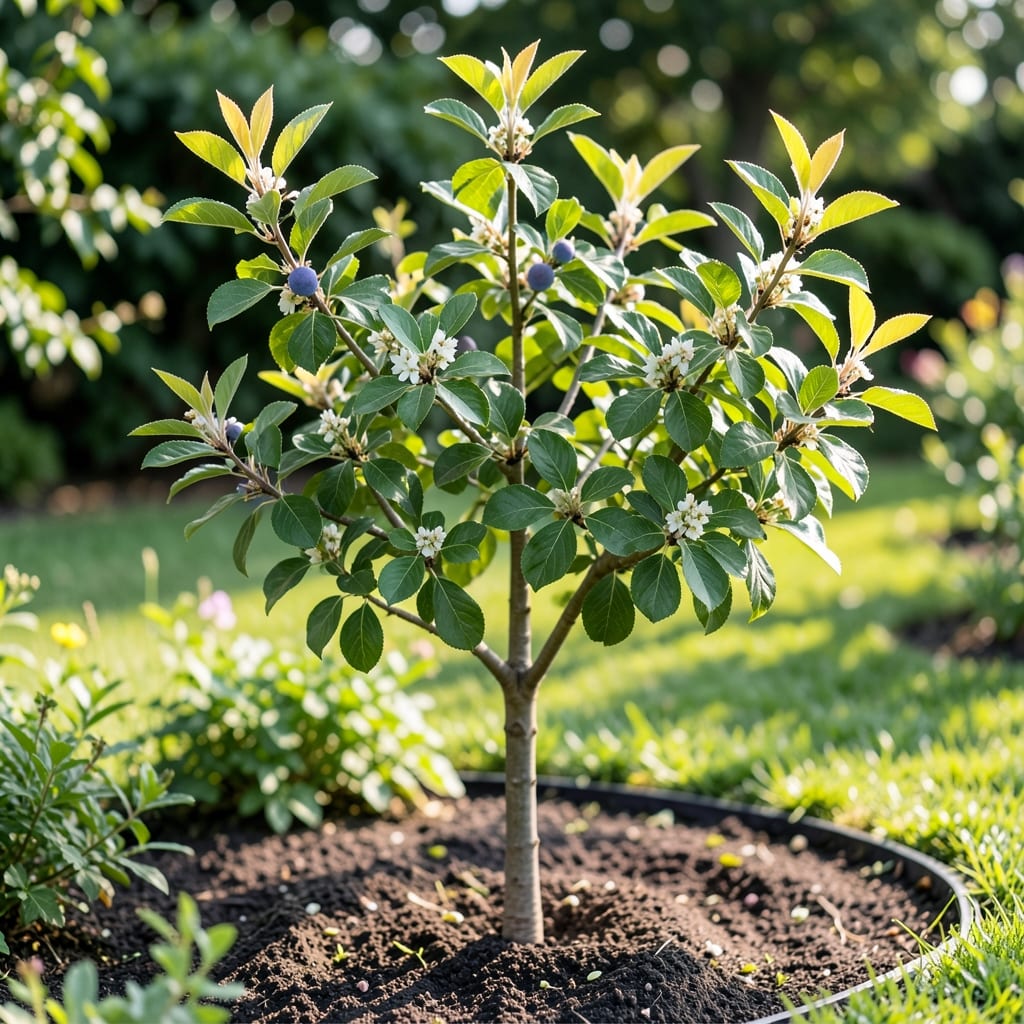
Mexican plum leaves tell the story of your tree’s health before any other sign appears. I learned to spot trouble early by checking their color, texture, and any unusual spots or curling.
Healthy leaves are deep green and smooth, but yellowing or holes mean pests or disease. Regular checks and organic sprays keep them thriving without harsh chemicals.
📚 In This Guide
This method keeps your garden protected naturally with no harsh chemicals or complicated tools.
Select mature Mexican plum leaves that are deep green, free of spots, and firmly attached to the branch. Young leaves lack the concentrated oils needed for pest prevention, while damaged ones may introduce pathogens to your garden. I always check the undersides for signs of pests or disease before harvesting.
Pick leaves in the morning after the dew has dried but before the heat of the day sets in. At this time, the oils are at their peak potency. Use clean, sharp scissors to avoid tearing the foliage, and collect about 20-30 leaves for a medium-sized garden treatment.
Rinse the leaves gently under cool water to remove dust or debris, then pat them dry with a clean towel. Tear or chop the leaves coarsely to release their oils—this step is critical for maximizing effectiveness. Place them in a clean glass jar or bowl.
Pour 2 cups of boiling water over the leaves, then cover the container with a lid or cloth. Let it steep for 24 hours at room temperature. The water should turn a rich amber color, signaling that the oils and compounds have been fully extracted.
After steeping, strain the liquid through a fine mesh sieve or cheesecloth into a clean spray bottle. Press the leaves gently to extract every last drop of the infusion. Dilute the strained liquid with 2 cups of cool water to create a ready-to-use spray.
This dilution prevents the solution from being too strong, which could harm delicate plant leaves. I always label my spray bottle with the date and contents to avoid confusion later. The mixture stays potent for about 1 week when stored in a cool, dark place.
Shake the spray bottle well before each use to ensure the oils are evenly distributed. Lightly mist the leaves of plants prone to pests, focusing on the undersides where insects often hide. Avoid spraying in direct sunlight or during the hottest part of the day, as this can cause leaf burn.
Apply the solution every 5-7 days or after rain, as the protective effects diminish over time. You’ll notice fewer pests within 2-3 applications, especially on aphids, whiteflies, and spider mites. Reapply preventatively throughout the growing season.
Check your plants 24-48 hours after the first application for any signs of stress, such as wilting or yellowing leaves. If you see these, dilute the solution further with water for the next round. Most plants tolerate this treatment well, but sensitive varieties may need a gentler approach.
Keep an eye on pest populations and adjust your spray schedule accordingly. If pests persist, consider combining this method with other organic practices like companion planting or introducing beneficial insects. This approach is safe for edible plants, but always wash produce thoroughly before eating.
Small details make a big difference with natural pest prevention methods.
Leaf Selection: In Step 1, only collect mature leaves that are deep green and free of spots. Young leaves lack the oils needed for effectiveness, and damaged ones can introduce pathogens to your garden. I always check the undersides for hidden pests before harvesting.
Timing Secret: The 24-hour steeping time in Step 2 is crucial for extracting all the beneficial compounds. Don’t rush this—shorter steeping won’t give you that rich amber color that signals the oils have been fully released.
Application Tip: For Step 4, focus on the undersides of plant leaves where pests often hide. Avoid spraying in direct sunlight or during peak heat, as this can cause leaf burn. Early morning or late afternoon applications work best.
Storage Wisdom: The mixture stays potent for about 1 week when stored in a cool, dark place. Label your spray bottle with the date to keep track of its potency, and always shake well before each use.
Yes! Mexican plum leaves contain natural compounds that deter pests like aphids and caterpillars. Their strong scent and bitter taste make them a great organic option for gardens.
Use them in early spring or when pests first appear. Fresh leaves work best, so harvest them just before application for maximum potency.
Yes, but fresh leaves are more effective. If using dried, soak them in water overnight to release their pest-repelling properties before application.
They’re great against aphids, whiteflies, and some beetles. Their natural toxicity can also disrupt soft-bodied insects, making them ideal for organic pest management.
Blend fresh leaves with water, strain, and spray directly on plants. For stronger results, add a bit of soap to help the solution stick to leaves.