
Beautiful Plants For Your Interior
Beautiful Plants For Your Interior
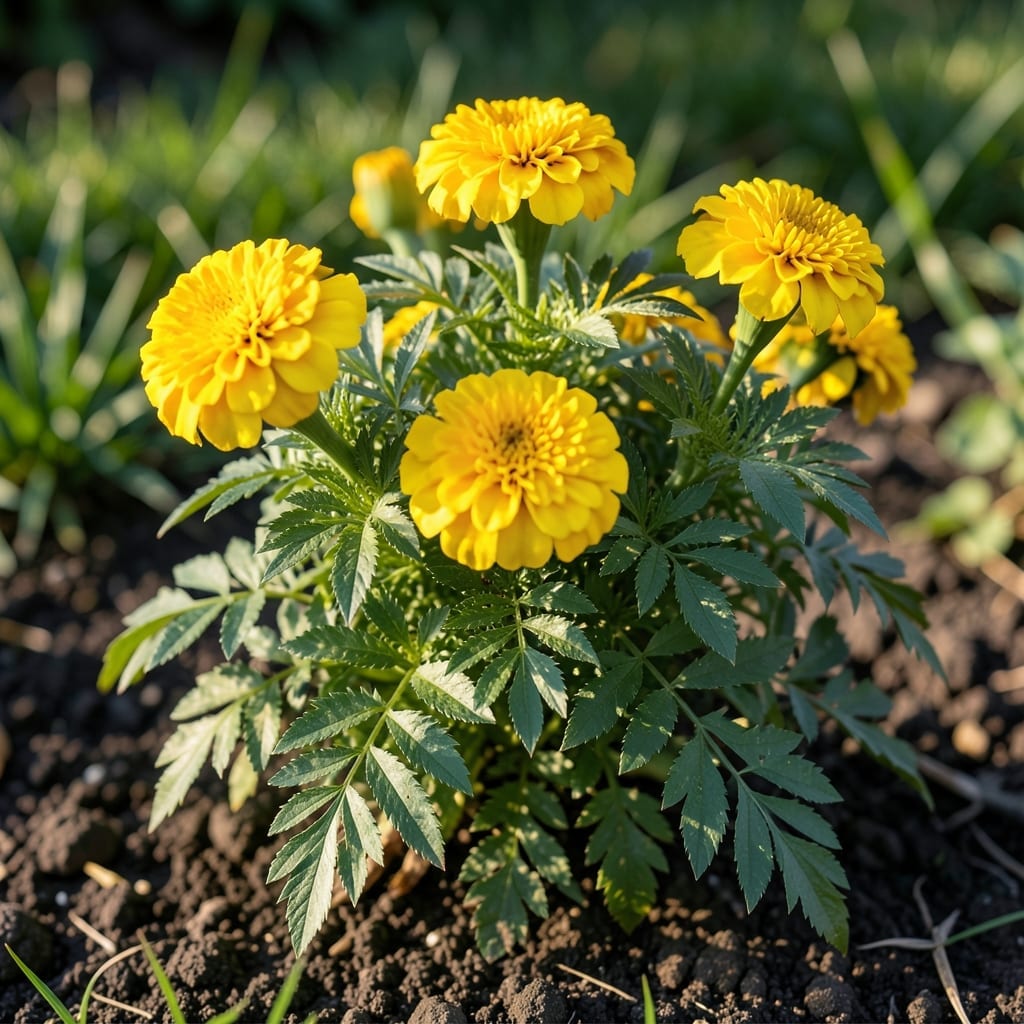
Bright yellow blooms that never quit. Antigua marigolds bring sunshine to any garden bed with their vibrant color and easy nature, thriving where other flowers give up.
I’ve grown them in full sun and partial shade, and they’ve handled both without complaint. With minimal care, you’ll get continuous flowers from late spring until the first hard frost, making them one of the most reliable plants in my garden.
📚 In This Guide
This method delivers vibrant blooms with minimal effort, perfect for borders and containers.
Select a site with full sun exposure—at least 6-8 hours of direct sunlight daily. Marigolds thrive in bright conditions, and insufficient light leads to leggy growth and sparse flowering. I always test the spot by observing sun patterns throughout the day, as shadows from buildings or trees can shift unexpectedly.
The soil should be well-draining with a pH between 6.0-7.0. If your garden soil is heavy clay, amend it with compost or choose raised beds. For containers, ensure pots have drainage holes at the base—sitting water will rot the roots within days.
Loosen the soil to a depth of 12-15 inches using a garden fork or tiller. This aerates the root zone and allows water to penetrate evenly. I work in a 2-3 inch layer of aged compost or well-rotted manure to boost fertility without overwhelming the plants.
Remove any weeds, rocks, or debris that could compete with your marigolds for nutrients or space. A smooth, level surface helps with uniform planting depth. If you’re working with containers, fill them with a high-quality potting mix designed for flowering plants.
Space plants 8-10 inches apart for dwarf varieties like Antigua Yellow. This gives them room to spread while creating a dense, colorful display. Dig a hole slightly larger than the root ball, place the plant in, and backfill with soil, pressing gently to eliminate air pockets.
Plant at the same depth as the original container—burying the stem too deep can cause rot. Water immediately after planting to help settle the soil around the roots. I always check that the base of the plant is firm in the ground; loose plants will topple in wind or heavy rain.
Water deeply at the base of the plant 2-3 times per week, allowing the top 1 inch of soil to dry between waterings. Overhead watering wets the foliage, which invites fungal diseases. A drip irrigation system or soaker hose works best for consistent moisture without waste.
Feed with a balanced, water-soluble fertilizer every 2-3 weeks during the growing season. I prefer a 10-10-10 or 5-10-5 formula to encourage both foliage and flowers. Deadhead spent blooms regularly to redirect energy into producing more flowers rather than seeds.
Pinch back the first set of blooms to encourage bushier growth and more flowers. This might feel counterintuitive, but the plant responds by producing additional flowering stems. Use sharp pruners or your fingers to remove dead or faded blooms at their base.
Monitor for pests like aphids or spider mites, which are attracted to marigolds. A strong blast of water often dislodges them, but for stubborn infestations, use an insecticidal soap. Real talk: a little pest activity is normal—don’t reach for chemicals at the first sign of trouble.
Small adjustments in planting and care make a huge difference in bloom quality and duration.
Sunlight Strategy: The 6-8 hours of daily direct sunlight mentioned in Step 1 isn’t just a suggestion—it’s essential for those vibrant yellow blooms. I’ve noticed plants in partial shade produce fewer, paler flowers. If your garden doesn’t get full sun, consider container planting so you can move pots to follow the sun’s path throughout the day.
Soil Preparation Insight: When Step 1 recommends loosening soil to 12-15 inches deep, this isn’t about making planting easier—it’s about root development. Marigolds develop extensive root systems, and compacted soil restricts their growth. Use a garden fork rather than a shovel to avoid over-compacting the soil as you work.
Watering Wisdom: That 2-3 week period of consistent moisture after planting in Step 3 is critical for establishment. I use a moisture meter to check soil at root level rather than just surface appearance. Remember, marigolds prefer slightly dry conditions over soggy soil, so when in doubt, underwater rather than overwater.
Seasonal Planning: The 50°F threshold in Step 5 is your cue to act. In my experience, waiting until temperatures drop below this means you’ve already lost valuable growing time. Start monitoring weather forecasts in early fall and move container plants indoors at the first sign of approaching cooler temperatures.
Plant in well-draining soil with full sun exposure. Water moderately, keeping soil moist but not soggy. These marigolds thrive in warm climates and bloom best with regular deadheading to encourage continuous flowers.
Sow seeds indoors 6-8 weeks before the last frost or directly outdoors after the soil warms (typically late spring). They germinate quickly in warm conditions and bloom within 45-60 days.
Yes! Try ‘French Vanilla’ for cream-colored blooms or ‘Lemon Drop’ for a similar citrusy hue. Both offer comparable pest-repelling benefits and vibrant garden appeal.
Check for insufficient sunlight, overwatering, or nutrient deficiencies. Ensure they receive 6+ hours of sun daily, and fertilize lightly with a balanced formula. Deadhead spent blooms to promote new growth.