
Beautiful Plants For Your Interior
Beautiful Plants For Your Interior
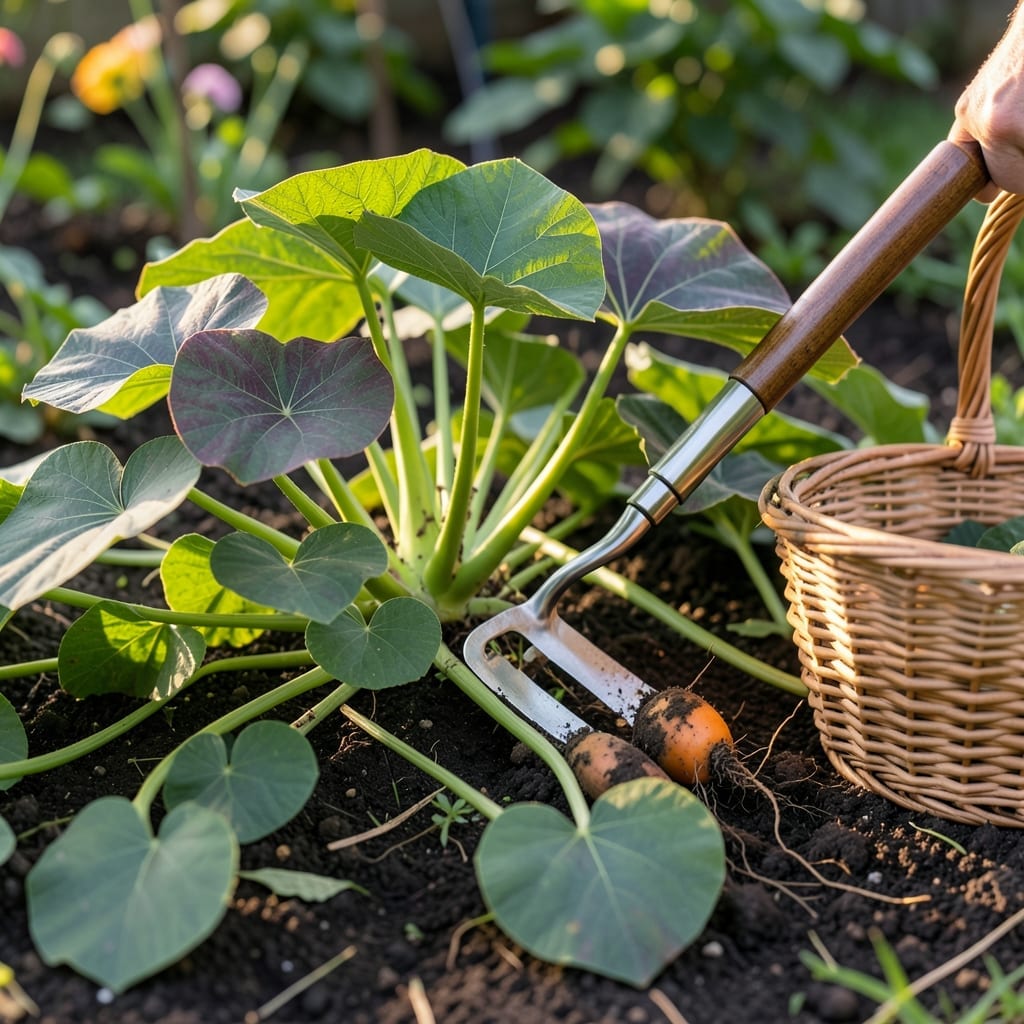
I was surprised to learn kumara leaves pack more nutrients than the tubers. These greens are not only edible but loaded with vitamins and minerals your body craves.
Growing kumara for both tubers and leaves is simpler than you think. With the right care, you can harvest tender leaves all season while the tubers develop underground.
📚 In This Guide
Here’s what I do to safely enjoy kumara leaves from my own garden.
Not all sweet potato varieties have edible leaves, so start by confirming you’re growing an edible type. The most common are Beauregard and Georgia Jet, which produce tender, mild-flavored greens. I always check my seed catalog or plant tag to verify edibility before harvesting any leaves.
Look for healthy, established plants with 6-8 mature leaves—young plants need all their foliage for growth. Avoid any varieties specifically bred for ornamental use, as these may contain higher levels of compounds that can be harmful when consumed.
Pick leaves in the morning when they’re most hydrated and flavorful. I use clean scissors to snip off the outermost leaves first, leaving the inner growth to continue developing. Never remove more than 30% of the foliage at once—this ensures the plant can still photosynthesize effectively.
Choose leaves that are 3-5 inches long with a deep green color. Yellowing or damaged leaves should be left on the plant or composted. The youngest leaves at the tips tend to be the most tender and mild in flavor.
Rinse the harvested leaves thoroughly under cool running water to remove any dirt or garden debris. I soak mine in a bowl of water for 5 minutes to ensure all residues are removed, then rinse again. Pat them dry with a clean towel or use a salad spinner.
For best texture, use leaves immediately after harvesting. If you must store them, place unwashed leaves in a sealed container with a paper towel to absorb moisture and refrigerate for up to 3 days. The flavor is mildest when fresh but becomes slightly more bitter with storage.
Kumara leaves can be eaten raw in small quantities, but I prefer them cooked. Sauté in a little olive oil with garlic for 3-4 minutes until wilted. The heat reduces any naturally occurring compounds and brings out a spinach-like flavor.
For a simple preparation, blanch leaves in boiling water for 1-2 minutes, then plunge into ice water to preserve their bright green color. This method also helps reduce any potential bitterness. The cooked leaves work well in stir-fries, soups, or as a side dish.
Always introduce new foods gradually. Start with a small portion of cooked leaves to test for any individual sensitivities before making them a regular part of your diet.
Small details make a big difference when working with these garden greens.
The Harvest Rule: In Step 2, stick to the 30% foliage limit religiously. I learned the hard way that taking more stresses the plant and reduces future leaf production. The outermost leaves are always the best choice—they’re mature but still tender.
Preparation Insight: That 5-minute soak in Step 3 isn’t just for dirt removal. It also helps loosen any residual pesticides or natural plant compounds. Use cool water and gently agitate the leaves for the most thorough clean.
Cooking Precision: For Step 4’s sauté method, keep the heat at medium and don’t exceed the 3-4 minute window. Overcooking turns them mushy and intensifies bitterness. The leaves should wilt like spinach but retain a slight bite.
Storage Reality: The 3-day fridge storage limit is firm. After that, the leaves lose crispness and develop an unpleasantly strong flavor. If you can’t use them immediately, blanch and freeze for longer storage instead.
No, kumara leaves should not be eaten raw. They contain oxalates, which can be harmful. Always cook them thoroughly (boiling or steaming for 5–10 minutes) to reduce toxicity and improve digestibility.
Wash leaves well to remove dirt, then chop finely. Boil or steam for 5–10 minutes to soften and neutralize oxalates. Use them like spinach in soups, stir-fries, or sautéed dishes. Avoid overcooking to retain nutrients.
Consult a doctor first. Kumara leaves contain oxalates, which may worsen kidney stones or related conditions. Moderation is key, but those with kidney problems should proceed with caution.
Spinach, sweet potato greens, or Swiss chard make great substitutes. They offer similar texture and nutrients. Always cook them to mimic kumara leaves’ flavor and safety profile.
Bitterness often signals high oxalate content or undercooking. Boil leaves for 10+ minutes, change the water once, or pair with acidic ingredients (like lemon) to balance the flavor.