
Beautiful Plants For Your Interior
Beautiful Plants For Your Interior
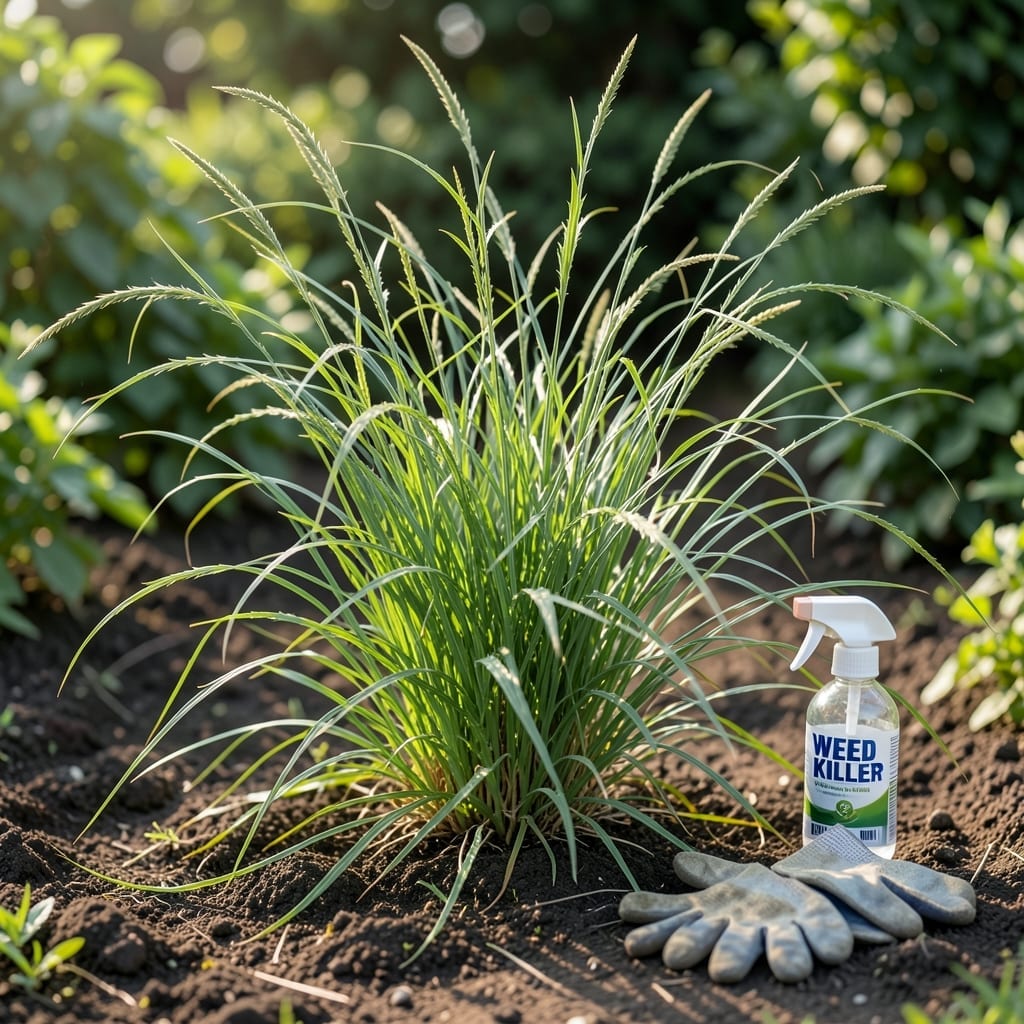
That stubborn cane weed choking your crops can be stopped. I’ve battled it in my own fields and found the right approach to reclaim your space without harming the plants you actually want.
This method targets the invader precisely, using either natural remedies or selective herbicides that keep your soil and surrounding greenery healthy. No more watching weeds steal sunlight and nutrients.
📚 In This Guide
Here’s the method I trust for precise, effective control without harming your crops.
Begin by confirming you’re dealing with cane-like weeds, which often have thick, upright stems and narrow leaves. I always double-check with a local extension office if I’m unsure—misidentification leads to wasted effort or accidental damage to desirable plants.
Look for the distinctive woody base and rapid growth pattern that distinguishes these from other weeds. Cane weeds often form dense stands that choke out nearby vegetation. The right identification ensures you’ll apply treatment only where needed.
Apply control measures when weeds are actively growing but before they set seed—typically in early to mid-summer. This timing maximizes effectiveness because the plants are transporting nutrients actively throughout their systems.
I’ve found that treating after a rain or thorough watering works best, as the moisture helps the treatment spread through the plant. Avoid applying during drought stress or when temperatures exceed 85°F, as this can reduce absorption.
Early morning applications often yield the best results, as the cooler temperatures and dew help the treatment adhere to the foliage.
Use a shielded sprayer to protect nearby plants from drift. I recommend applying when wind speeds are below 10 mph to maintain control over where the treatment lands. Cover all leaf surfaces thoroughly but avoid runoff, which wastes product and can contaminate soil.
For particularly dense stands, I divide the area into sections and treat one portion at a time. This systematic approach prevents missing spots or overlapping applications. Wear protective gloves and clothing, as some treatments can be absorbed through the skin.
Check the treated area after 7-10 days for signs of dieback. You’ll notice the leaves turning brown and the stems beginning to wither. If some weeds show no response, a second application may be necessary, but always wait the full 10-14 days between treatments.
I keep a garden journal to track which areas I’ve treated and when. This helps me avoid over-application and ensures I don’t miss follow-up treatments. Be patient—some tougher weeds may require multiple applications for complete control.
After elimination, implement preventive measures to keep the area clear. I spread a 2-3 inch layer of mulch in garden beds to suppress new growth. For larger areas, consider planting competitive ground covers or dense perennials that will outcompete any returning weeds.
Regular monitoring is key. I walk through my garden weekly to catch any new cane weed sprouts early. The sooner you address them, the easier they are to control. Maintaining healthy soil through proper fertilization and watering also helps your desirable plants outcompete any weeds that do appear.
Here’s how to avoid pitfalls and get the best results with this method.
The Identification Factor: In Step 1, don’t rush—cane weeds can mimic other plants. That woody base and rapid growth pattern are your best clues. When in doubt, snap a photo and consult your local extension office before applying anything. Misidentification is the number one reason this process fails.
Timing Secret: Step 2’s early to mid-summer window is non-negotiable. Treating during drought stress or above 85°F wastes effort because the plants aren’t actively absorbing nutrients. Early morning applications stick better thanks to dew, but avoid windy days when drift could harm nearby crops.
The Technique That Changed Everything: For Step 3, that shielded sprayer isn’t optional—it’s your insurance against collateral damage. I’ve ruined a prized rose bush by skipping this. Also, sectioning dense stands prevents over-application, which can leach into soil and create resistant weeds down the line.
Monitoring Wisdom: The 7-10 day check in Step 4 isn’t arbitrary. Dieback starts subtly, and catching it early lets you plan follow-ups without overlapping treatments. That 10-14 day gap between applications is critical—shorter intervals can stress your soil and desirable plants.
Killer Cane is highly effective on stubborn weeds like crabgrass and nutsedge, thanks to its targeted formula. Apply during active growth for best results, and expect visible wilting within 24-48 hours. For severe infestations, a second application may be needed.
Apply on a calm, sunny day when weeds are actively growing (typically spring or early summer). Avoid application before rain or extreme heat, as it may reduce effectiveness. Early morning or late afternoon is ideal for optimal absorption.
Yes! Vinegar-based sprays (5% acetic acid or higher) or boiling water can work for small patches. Corn gluten meal is a pre-emergent option. However, these may require repeated applications and are less effective on established weeds.
Check for expired product, incorrect mixing ratios, or application during dormant weed phases. Ensure full coverage of leaves. If weeds persist, they may be resistant—try a different herbicide or combine with manual removal.