
Beautiful Plants For Your Interior
Beautiful Plants For Your Interior
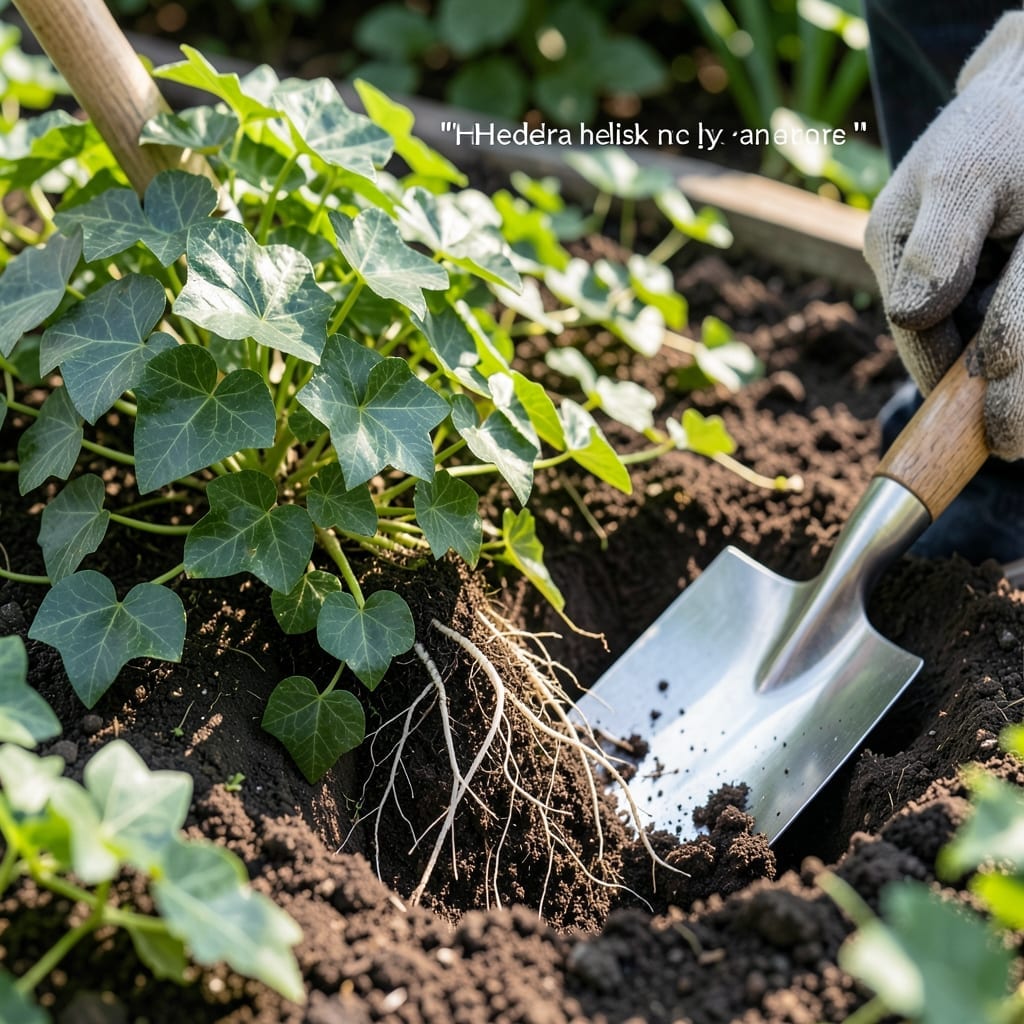
I’ve learned the hard way that a tight root ball can strangle ivy before it even gets started. Loosening those roots before planting is the secret to giving them room to spread and thrive in their new home.
Within 2-3 weeks, you’ll see new growth pushing through the soil, and the plants establish faster with this simple prep. Healthy ivy means vibrant green leaves and strong vines that climb exactly where you want them.
📚 In This Guide
Here’s the method I use to ensure strong, healthy plants every time.
Start with a well-established ivy plant that shows vibrant green leaves and strong vine growth. I always check for signs of pests or disease first—look for yellowing leaves, spots, or webbing. If the plant is in a container, gently tip it to see if roots are circling the bottom, which means it’s ready for this process.
Choose a day when the soil is slightly moist but not soggy. Working with ivy when the ground is too dry makes root extraction difficult, while overly wet soil can cause the root ball to fall apart. This timing ensures the plant holds together while still being easy to handle.
Use a sharp spade to cut a circle around the plant’s base, about 6-8 inches out from the main stem. I go deep enough to sever the outer roots, which encourages the plant to form a compact root mass. Angle the spade slightly inward to help lift the root system intact.
If you’re working with potted ivy, run a knife around the inside of the container to loosen the edges. Then, tip the pot and gently coax the plant out by squeezing the sides. The goal is to keep the root system undisturbed as much as possible.
Once the plant is free, use your hands to gently shape the roots into a ball. Remove any excessively long or straggly roots with clean pruners, but avoid cutting more than 20% of the root mass. This keeps the plant healthy while making the ball manageable.
Wrap the root ball immediately in burlap or a similar breathable material to hold it together. Secure it with twine, making sure it’s snug but not too tight—you want the roots to stay intact but still have room to breathe. I’ve found this step is critical for preventing shock during transplanting.
If you’re not transplanting right away, store the root ball in a shaded, cool area. Mist it lightly with water every 24-48 hours to prevent drying out. A dry root ball can stress the plant and reduce its chances of thriving after replanting.
Real talk: ivy can be tough, but even hardy plants suffer if their roots are exposed too long. If you notice the burlap drying out or the roots looking brittle, give it a quick soak in a bucket of water for 5-10 minutes to rehydrate before planting.
Dig a hole in the new location that’s twice as wide and just as deep as the root ball. Place the wrapped root ball in the hole, ensuring the top of the ball sits slightly above ground level—ivy settles over time, and this prevents it from sinking too deep.
Backfill with soil, pressing gently to remove air pockets. Water thoroughly right after planting, using 1-2 gallons per plant to help settle the soil. You’ll see new growth within 2-3 weeks if the transplant was successful.
These practical insights will help you avoid common pitfalls and ensure healthy results.
The Digging Technique: In Step 2, when you cut that circle around the plant, angle your spade inward as described. This helps lift the root system intact while severing outer roots to encourage a compact mass. I’ve ruined a few root balls by digging too shallow or at the wrong angle.
Root Mass Preservation: Step 3 specifies not cutting more than 20% of the root mass for a reason. Removing too much can shock the plant. Use clean pruners for any trimming, and only remove the longest, most unruly roots that make the ball unwieldy.
Moisture Management: The 24-48 hour misting schedule in Step 4 is critical. If you notice the burlap drying out between mistings, don’t wait—give it that 5-10 minute soak immediately. Ivy is hardy, but a dry root ball can set back even the toughest plants.
Planting Depth: In Step 5, placing the top of the root ball slightly above ground level accounts for settling. If you bury it too deep, the plant can suffocate as it sinks over time. This small detail makes a big difference in transplant success.
Gently loosen the soil around the base with a trowel, then lift the root ball with both hands. Avoid pulling the stems—focus on the root mass. Water the ivy beforehand to soften the soil and reduce stress.
Early spring or fall is ideal, when temperatures are mild and the plant is less stressed. Avoid extreme heat or frost. This timing helps the ivy establish roots before active growth or dormancy.
Yes! Use a sharp knife or shears to split the root ball into sections, ensuring each has roots and stems. Replant divisions in moist, well-draining soil. Keep them shaded and watered until established.
Common causes include overwatering, poor soil contact, or shock. Check for rot, firm the soil around the roots, and maintain consistent moisture (not soggy). A root stimulator can help recovery.