
Beautiful Plants For Your Interior
Beautiful Plants For Your Interior
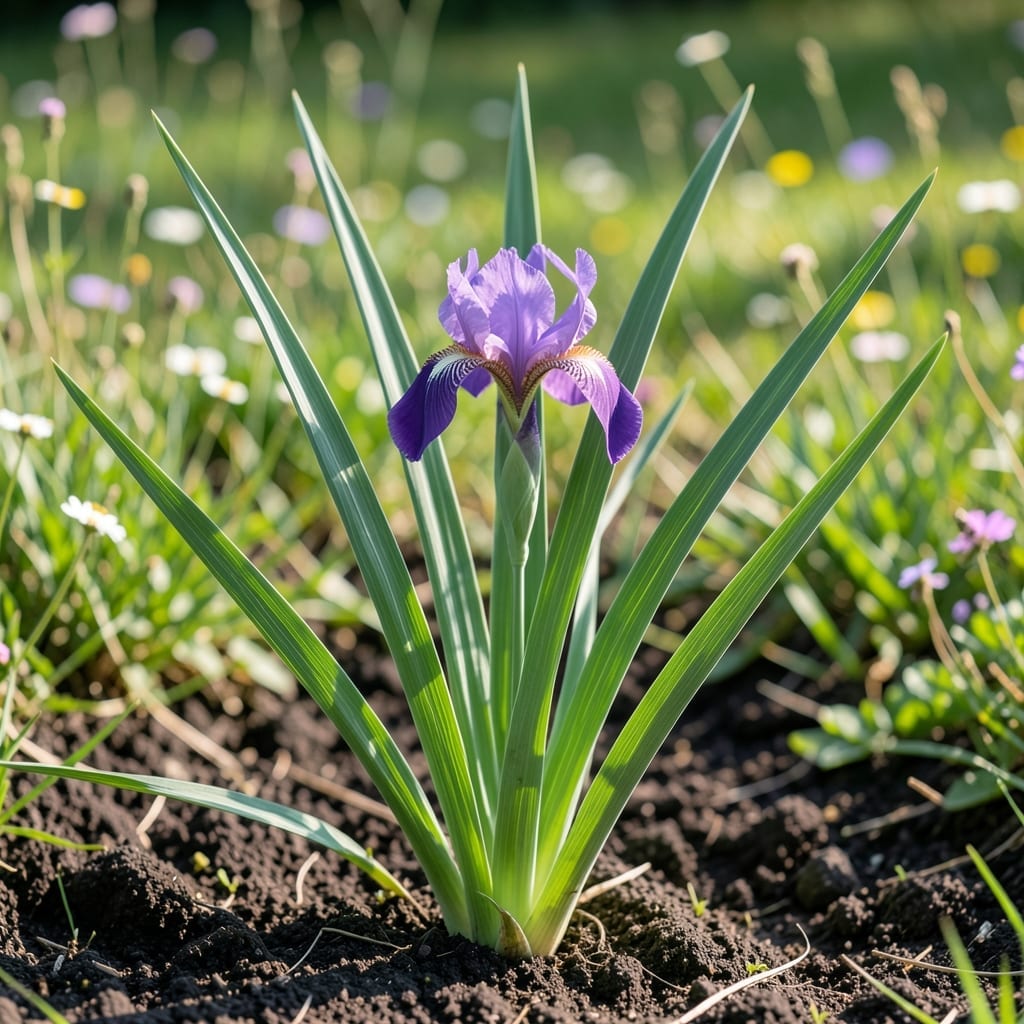
Those sword-like iris leaves can turn from vibrant green to yellowing messes overnight. I’ve learned the hard way that wilting or spotted foliage often signals trouble beneath the soil.
Safe removal starts with identifying the issue—whether it’s rot, pests, or just natural dieback. A clean cut at the base prevents further damage and keeps your garden healthy and thriving.
📚 In This Guide
Follow these steps carefully to handle iris plants safely and effectively in your garden.
Begin by examining the plant’s foliage closely. Iris leaves are typically long, flat, and sword-shaped, growing in a fan-like arrangement from the base. The toxic compounds, primarily irisin and iridin, are present in all parts of the plant but concentrated in the rhizomes and leaves.
Look for the characteristic blue-green to gray-green coloration and the slight white striping that often appears down the center of each leaf. If you notice any yellowing or browning, this could indicate stress or disease, but the toxicity remains regardless of the leaf’s health.
Always wear gloves when handling iris leaves to avoid skin irritation. The sap can cause dermatitis in sensitive individuals, so it’s best to treat all parts of the plant as potentially hazardous.
Before removing any leaves, gather your tools: sharp pruners or scissors, thick gardening gloves, and a disposal bag or container. I recommend using long-sleeved clothing and even safety glasses if you’re working with a large number of plants.
Choose a dry day for removal to minimize sap exposure. The compounds are more concentrated when the plant is wet, increasing the risk of skin contact. If you must work in damp conditions, take extra precautions to avoid direct contact with the foliage.
Lay down a tarp or old towel to collect the cut leaves, preventing them from touching the soil where pets or children might come into contact with them.
Using your pruners, cut the leaves at the base where they meet the rhizome. Make clean, angled cuts to prevent tearing the plant tissue, which can release more sap. I always cut just above the soil line to avoid disturbing the rhizome itself.
Work from the outside of the plant inward, removing the oldest leaves first. These are typically the most damaged and the most toxic due to accumulated compounds. Never pull leaves by hand, as this can damage the plant and increase your exposure to the sap.
Place the cut leaves directly into your disposal container. Avoid leaving them on the ground, even temporarily, as they can still pose a risk to curious pets or wildlife.
Seal the container with the cut leaves immediately after removal. I double-bag the material to prevent any accidental exposure. Do not compost iris leaves, as the toxic compounds can persist in the compost and potentially affect other plants or animals.
Check your local regulations for plant disposal. Many areas allow you to include iris leaves with regular yard waste, but some may require special handling for toxic plant material. When in doubt, contact your local waste management facility for guidance.
After disposal, thoroughly wash your tools and gloves with soap and warm water. This removes any residual sap and prevents accidental transfer to other plants or surfaces.
Safety and precision are everything when working with iris plants.
Identification Precision: In Step 1, don’t overlook the white striping down the center of leaves—it’s a definitive marker of iris foliage. The blue-green to gray-green coloration is consistent even in stressed plants, so rely on these visual cues rather than leaf health to confirm toxicity.
Safety Protocol: The gloves mentioned in Step 1 aren’t optional. I learned this after developing dermatitis from brief contact with the sap. Use nitrile-coated gloves rather than cloth ones, as they provide better protection against the irisin and iridin compounds.
Removal Technique: Step 3’s angled cuts are crucial. Cutting straight across can crush the leaf base, releasing more sap. Work systematically from the outside in, as the instructions suggest, to minimize your exposure time to the most toxic older leaves.
Disposal Caution: The double-bagging recommendation in Step 4 isn’t just for containment—it prevents the bags from tearing during transport. I also recommend labeling the bags as “Toxic Plant Material” to alert anyone who might come into contact with them.
Yellowing leaves often signal overwatering, poor drainage, or nutrient deficiencies. Check soil moisture and ensure proper drainage. If the issue persists, test soil pH (6.8–7.0 is ideal) or look for pests like iris borers.
Yes! Iris leaves and rhizomes contain irisin, a compound toxic to cats and dogs if ingested. Symptoms include drooling, vomiting, or diarrhea. Keep pets away and wear gloves when handling.
Trim dead or brown leaves year-round, but major pruning should be done in late fall or after flowering (early summer). Avoid cutting healthy green leaves, as they store energy for next year’s blooms.
Only if they’re disease-free! Healthy leaves can be composted, but discard any with rot, spots, or pests to prevent spreading issues. Shred leaves first to speed up decomposition.
Brown spots may indicate fungal infections (like leaf spot) or bacterial soft rot. Remove affected leaves, improve air circulation, and apply a copper-based fungicide. Avoid overhead watering to prevent recurrence.