
Beautiful Plants For Your Interior
Beautiful Plants For Your Interior
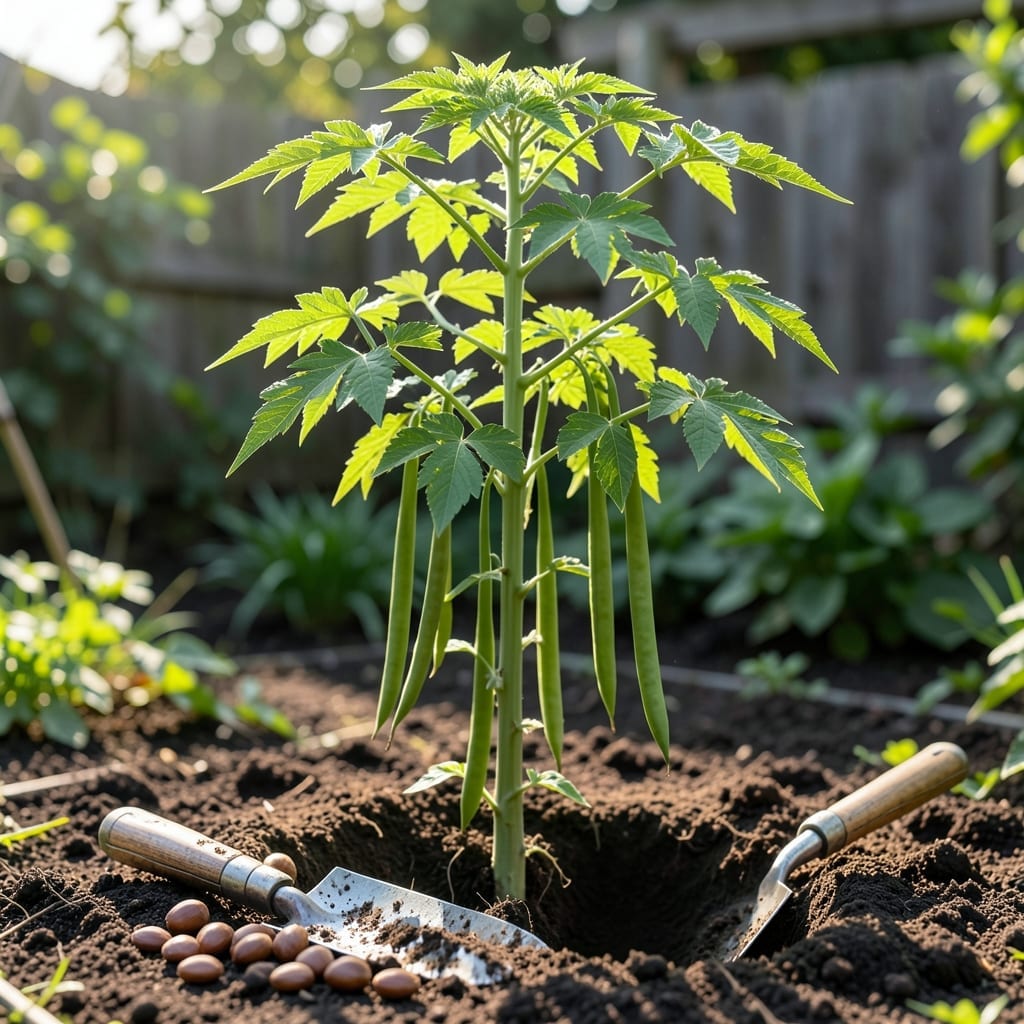
I remember the first time I planted 🌿 Drumstick seeds and watched them sprout in just 10 days. There’s something magical about growing your own nutrient-packed moringa tree.
Getting started is easier than you think. With the right soil preparation and a few simple steps, you’ll be surprised how quickly these seeds take off.
Let me walk you through the exact process I use to ensure fast germination and healthy growth. You’ll be harvesting your own drumsticks before you know it.

Planting drumstick seeds is rewarding when you follow the right steps. I always start by selecting high-quality seeds from a trusted supplier to ensure strong germination.
Soil preparation is key. I use a well-draining mix with equal parts garden soil, compost, and sand. This creates the perfect environment for moringa seeds to thrive.
I’ve found that soaking seeds overnight in lukewarm water significantly improves germination rates. This softens the seed coat, allowing moisture to penetrate more easily.
When planting, I
Watering is crucial in the early stages. I maintain consistent moisture without waterlogging. A light daily watering works best until the first sprouts appear, usually within 7-14 days.
Once the seedlings emerge, I reduce watering to every 2-3 days. At this stage, I also ensure they’re getting full sun for at least 6 hours daily for optimal growth.
Mulching around the base helps retain moisture and suppress weeds. I use organic mulch like straw or dried leaves, keeping it 2 inches away from the stem.
Within 3-4 weeks, my drumstick plants are usually strong enough to transplant if needed. I’ve learned that gentle handling is key during this process to avoid damaging the delicate roots.
By following these steps, I consistently get healthy moringa plants ready for harvest in about 60-90 days. The key is patience and consistent care, especially in those first critical weeks. 🌱
Creating the perfect environment is crucial for drumstick seed germination. I’ve learned that these seeds thrive in warm climates with consistent care and attention to detail.
The right conditions make all the difference. Temperature and sunlight are the most critical factors for successful sprouting, along with proper soil and watering practices.
| Requirement | Specification |
|---|---|
| Temperature | 70-90°F |
| Sunlight | 6+ hours daily |
| Soil Type | Well-draining, sandy loam |
| Watering | Keep soil moist, not soggy |
| pH Level | 6.5-7.5 |
I always aim for a soil temperature of at least 70°F for planting. Cooler soils can delay germination or cause the seeds to rot before they even sprout.
For sunlight, I ensure my drumstick seeds get at least 6 hours of direct sun daily. If starting indoors, I place them near a south-facing window or use grow lights.
The soil mix should be light and well-draining. I combine garden soil, compost, and sand in equal parts to create the ideal medium for moringa seeds to grow.
Watering is a balancing act. I keep the soil consistently moist but avoid waterlogging, which can suffocate the seeds. A light daily misting works best until germination occurs. ☀️
Finally, I monitor the pH level of my soil, aiming for a slightly neutral range between 6.5 and 7.5. This ensures the seeds have access to all the nutrients they need for strong, healthy growth. 🌱