
Beautiful Plants For Your Interior
Beautiful Plants For Your Interior
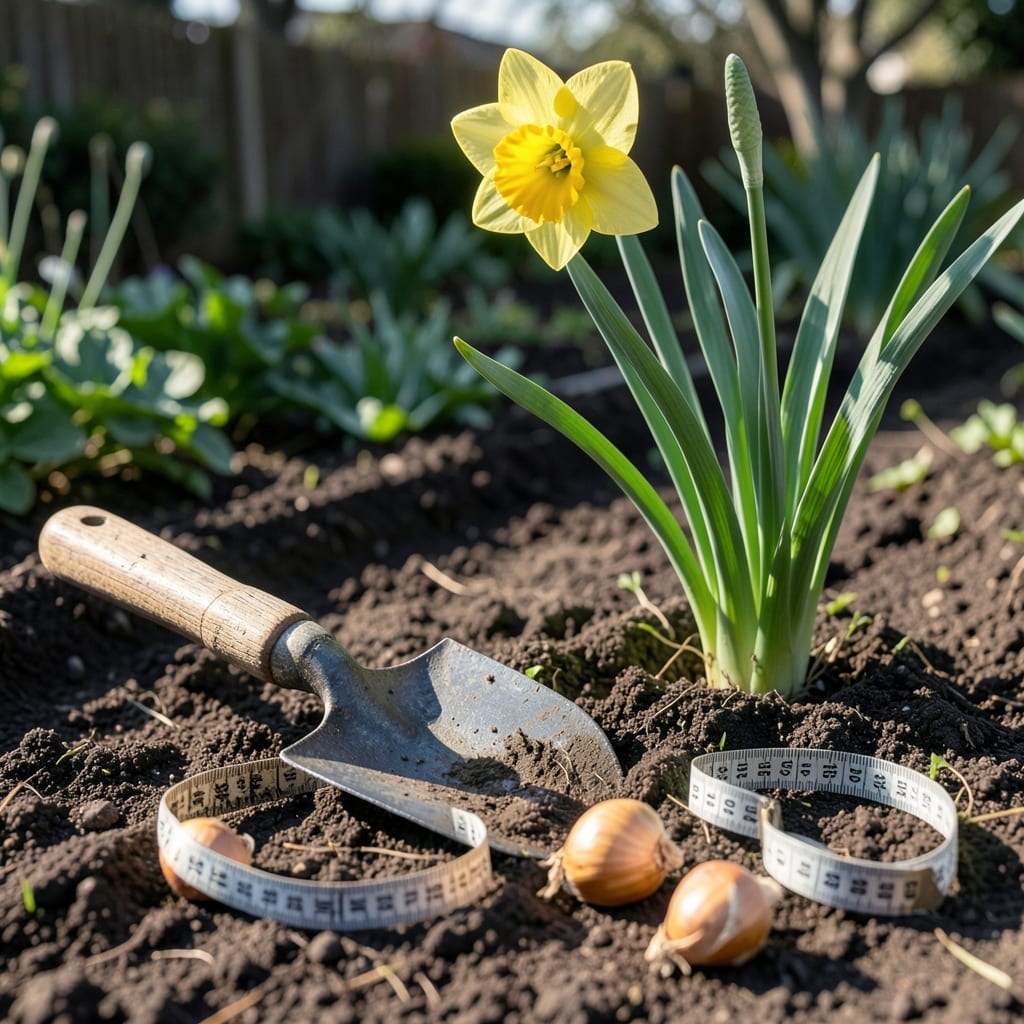
Planting daffodil bulbs at the right depth is the secret to vibrant spring blooms year after year. Get it wrong, and you risk weak flowers, rot, or no growth at all.
As a gardener, I’ve learned that perfect depth isn’t guesswork—it’s a simple science. For the 🌷 Daffodil, it’s the difference between thriving and struggling.
Discover how to plant them just right for stunning results. Let’s dig into the details that matter most for your garden.
Getting daffodil planting depth right ensures strong roots and vibrant spring blooms. The general rule is to plant bulbs at a depth 2-3 times their height. For standard daffodils, that’s typically 6-8 inches deep. 🌷
But soil type changes everything. In heavy clay, bulbs may need to be planted slightly shallower to avoid rot. In sandy soil, they can go a bit deeper for stability. Let me break down the specifics for each soil condition.
In clay soil, which retains moisture, I always plant my daffodils at 5-6 inches deep. This prevents the bulbs from sitting in water and rotting during wet seasons. Drainage is key here.
For loamy soil, the gold standard for most gardeners, 6-8 inches is perfect. This depth provides enough insulation during winter while allowing roots to establish easily in the well-balanced soil structure.
If you’re working with sandy soil, which drains quickly, go deeper—8-10 inches. This helps the bulbs stay moist and anchored, as sandy soil doesn’t hold water or nutrients as well.
Bulb size matters too. Larger bulbs need deeper planting, while smaller ones can go a bit shallower. Always measure from the base of the bulb, not the tip, when determining depth.
In colder climate zones (USDA 3-4), I plant my daffodils at the deeper end of the range for extra protection against freeze-thaw cycles. In warmer zones (7-8), the standard depth works well.
Remember, proper depth encourages strong root development and prevents issues like blind stems or floppy flowers. It’s the foundation for healthy, long-lasting daffodils. 🌿
Before planting, I always loosen the soil to 12 inches deep to give roots plenty of room to spread. This extra effort at planting time pays off with more robust growth and better blooms.
Finally, after planting, water thoroughly to settle the soil and eliminate air pockets. This helps the bulbs make good contact with the earth, which is crucial for root establishment before winter sets in. ☀️
Planting daffodil bulbs at the correct depth ensures healthy growth and beautiful spring blooms. The process is straightforward, but precision matters for the best results. I always start by preparing the soil properly.
First, loosen the soil to 12 inches deep to give roots room to spread. This step is crucial for bulb establishment and long-term health. Now, let’s break down the planting process into clear, actionable steps.
I always use a trowel or bulb planter to dig holes to the correct depth. For larger plantings, a bulb auger attachment for a drill can save time and effort while maintaining consistency.
After placing the bulbs in the holes, cover them with soil and press down firmly. This ensures good soil-to-bulb contact, which is essential for root development. Then, water deeply to help the soil settle and eliminate any air gaps.
In the first few weeks after planting, I monitor the area to ensure the soil stays moist but not soggy. This is especially important in dry climates or sandy soil, where water can drain too quickly.
For added protection, I often apply a 2-inch layer of mulch after planting. This helps maintain soil moisture and temperature, giving the bulbs a better start. Just be sure to use organic mulch like straw or shredded leaves.
Finally, mark the planting area with garden flags or stakes. This prevents accidental disturbance while the bulbs are establishing roots. With these steps, you’ll set your daffodils up for success and enjoy vibrant blooms for years to come. 🌷