
Beautiful Plants For Your Interior
Beautiful Plants For Your Interior
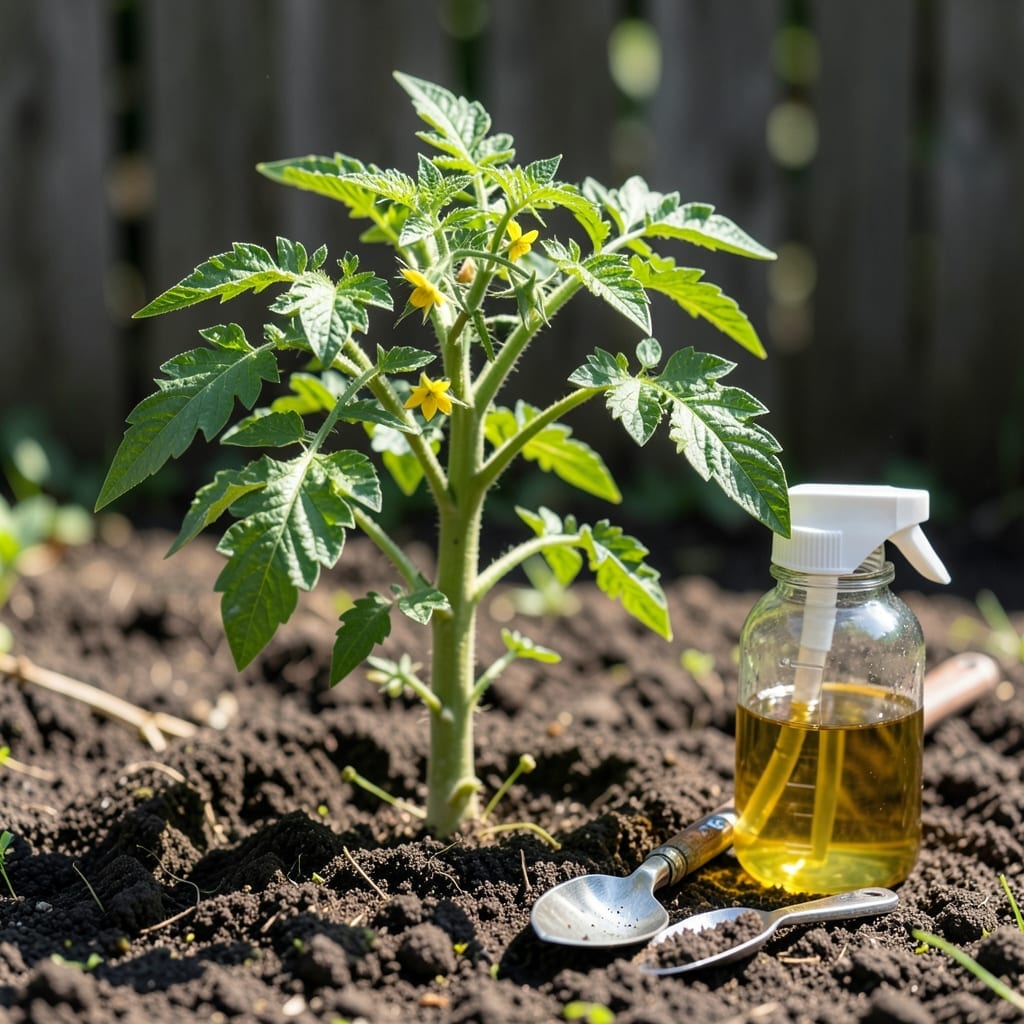
I stumbled onto this game-changer after watching seedlings struggle for weeks. A simple homemade mix can cut rooting time in half.
No fancy ingredients—just items from your kitchen and garden. Your plants establish faster, resist stress better, and the best part? It costs pennies per gallon.
📚 In This Guide
This natural approach gives plants a powerful growth boost using items you likely already have.
Collect 1 gallon of water, 1 cup of aloe vera gel, and 1 tablespoon of honey. I prefer fresh aloe from a mature plant, as it contains the highest concentration of root-promoting compounds. The honey acts as a natural preservative and provides carbohydrates that feed beneficial soil microbes.
If using store-bought aloe gel, ensure it’s 100% pure without added colors or fragrances. These additives can harm delicate root systems. I’ve found that raw, unfiltered honey works best, though any variety will provide some benefit.
Blend the aloe vera gel with 1 gallon of water until fully dissolved. The active components in aloe—auxins and gibberellins—stimulate root growth and help plants recover from transplant shock. Use lukewarm water to help the gel incorporate more easily.
Strain the mixture through a fine mesh to remove any pulp or debris. This prevents clogging when you apply the solution to plants. I typically let the mixture sit for 10-15 minutes to allow any remaining particles to settle before using.
Stir in 1 tablespoon of honey until completely dissolved. The natural sugars in honey provide an energy source for developing roots while also acting as a mild antibacterial agent. This helps prevent root rot in the early stages of growth.
Use a clean container with a tight-fitting lid to store your stimulator. I prefer glass jars as they don’t absorb odors or leach chemicals. Label the container with the date and contents—this mixture remains effective for up to 2 weeks when refrigerated.
Use the stimulator immediately after transplanting or as a regular treatment for established plants. For new seedlings, apply 1-2 tablespoons directly to the soil around the base of each plant. The solution should be room temperature to avoid shocking the roots.
For established plants, use ¼ cup per plant every 2-3 weeks during the growing season. You’ll notice stronger root systems and more vigorous growth within 2-3 applications. Always water plants thoroughly before applying to help distribute the stimulator evenly through the root zone.
Observe your plants for signs of improved vigor. Healthy new growth and white, fibrous roots indicate the stimulator is working. If you notice any leaf yellowing or slowed growth, reduce the frequency of applications—this can signal overstimulation.
I’ve found that most plants respond best to applications in the early morning or late afternoon. Avoid using the stimulator during the hottest part of the day, as this can stress plants. Store any unused portion in the refrigerator between uses.
Small details make a big difference when creating this natural growth booster.
Ingredient Quality Matters: For best results, use 1 cup of 100% pure aloe vera gel from a mature plant and 1 tablespoon of raw, unprocessed honey. Store-bought gels with additives won’t deliver the same root-stimulating gibberellins and auxins, and processed honey lacks the beneficial enzymes that support root development.
Infusion Timing: The 24-hour room temperature infusion in Step 2 is critical—this allows the aloe and honey compounds to fully dissolve and activate in the 1 gallon of water. I’ve found that rushing this step results in a weaker solution that doesn’t promote the same vigorous root growth.
Storage Longevity: After straining in Step 3, store your solution in a cool, dark place. The active compounds remain effective for up to 1 month, but I always label my container with the date to track freshness. Glass containers work best as they won’t react with the solution or absorb odors.
Application Technique: In Step 4, when dipping cuttings, stick to the 5-10 second range. Any longer soaks the cutting too much, while too brief a dip won’t allow enough absorption of the growth-promoting compounds. For soil drenching, the 1 cup per plant weekly dose for 2-3 weeks provides optimal benefits without overfeeding.
Apply your root stimulator every 2–4 weeks during the growing season. Overuse can stress plants, so stick to a consistent schedule and monitor plant response. For seedlings, a lighter dose weekly may help establish roots faster.
Yes! Both honey (diluted 1:2 with water) and aloe vera gel contain natural antimicrobial and root-boosting properties. They’re great alternatives to commercial products and work well for cuttings and transplants.
Check for overwatering, poor soil drainage, or incorrect pH levels. Ensure your stimulator is fresh and properly diluted. If roots are damaged, recovery may take time—patience and consistency are key!
Early morning or late afternoon is ideal to avoid heat stress. This allows plants to absorb the solution before the sun’s intensity peaks, reducing evaporation and maximizing effectiveness.