
Beautiful Plants For Your Interior
Beautiful Plants For Your Interior
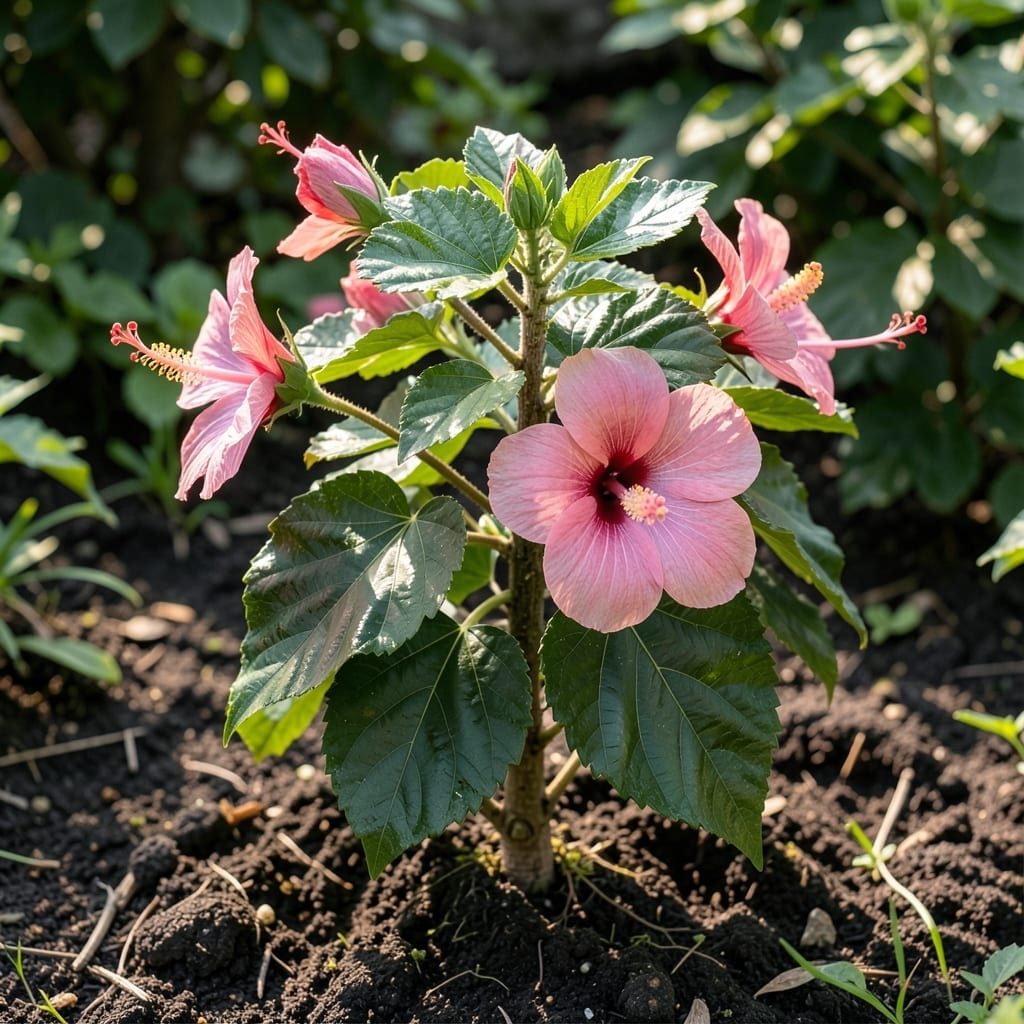
My hardy hibiscus leaves looked like crumpled paper last summer. 🌿 Turns out, they often wilt from heat stress or underwatering before any real damage sets in.
With the right organic approach, you can revive them in 24-48 hours. The key is catching it early and adjusting water, shade, or soil conditions before permanent harm occurs.
📚 In This Guide
Here’s how I bring drooping hibiscus foliage back to life using simple, natural methods.
First, examine your plant for yellowing leaves, brown edges, or complete wilting. I start by checking the soil 2 inches down with my finger. If it feels bone dry, underwatering is likely the culprit. If it’s soggy, you’re overwatering.
Hardy hibiscus are thirsty plants and need consistently moist soil, but never waterlogged. I’ve found that dry soil causes leaves to crisp at the edges, while soggy soil makes them turn yellow and mushy. This quick check tells you exactly what to fix.
For underwatered plants, give a deep soak until water runs from the drainage holes. I water until the top 6 inches of soil are thoroughly saturated. Then, switch to watering when the top inch feels dry—usually every 2-3 days in hot weather.
If overwatering is the issue, stop watering completely and let the soil dry out for 3-5 days. Move the pot to a spot with better airflow to speed drying. You’ll see improvement as new growth firms up within a week.
Hardy hibiscus leaves scorch in intense afternoon sun, especially when the plant is already stressed. I move mine to a spot with morning sun and afternoon shade during recovery. A sheer curtain works well for indoor plants near bright windows.
Also watch for wind exposure. Strong gusts can dry out leaves faster than roots can replace moisture. If your plant sits in a windy area, create a simple windbreak with a piece of lattice or by moving it to a more sheltered location.
Once you’ve addressed the root cause, trim away any completely brown or crispy leaves. I use clean shears to make cuts just above a leaf node. This prevents the plant from wasting energy on foliage that won’t recover.
Don’t remove leaves that are just drooping but still green—they’ll often perk up within 24-48 hours of proper care. After pruning, give your hibiscus a light feeding with compost tea to support new growth. You’ll see fresh leaves emerging within 7-10 days.
Keep a close eye on your plant for the next 2-3 weeks. I check the soil moisture daily during this recovery period. Consistency is key—hibiscus respond best to regular, even care rather than dramatic changes.
As new leaves appear, gradually return to your normal care routine. You’ll know your plant is fully recovered when it produces vibrant green leaves and shows no signs of distress. This usually takes 3-4 weeks from the first signs of trouble.
Small adjustments make a big difference in nursing your plant back to health.
Assessment Precision: In Step 1, checking the soil 2 inches down is non-negotiable. Surface dryness can be misleading—hibiscus roots run deep, and moisture at this depth tells the real story. Trust me on this.
Watering Wisdom: When adjusting your routine in Step 2, remember that “deep drink” means water until it runs from the drainage holes. I learned this the hard way after killing two plants with shallow watering. The 1-2 inches of dry soil between waterings is your sweet spot.
Light Transition: For Step 3, that 3-4 day gradual move to sunnier spots prevents shock. I once moved a hibiscus directly into full sun—it looked like it had been through a war. The 6-8 hours of light daily target is ideal, but afternoon shade in hot climates saves leaves from scorching.
Recovery Timeline: In Step 4, don’t expect instant results. That 2-3 week window for new leaves is normal. I add that 2-3 inch mulch layer mentioned in Step 5 immediately—it’s the single best prevention against future wilting.
Yellowing leaves often signal overwatering, poor drainage, or nutrient deficiencies. Check soil moisture and ensure the plant isn’t sitting in water. A balanced fertilizer can help restore vibrancy.
Prune in late winter or early spring before new growth starts. This removes dead or damaged foliage and promotes healthy regrowth. Avoid heavy pruning in fall.
Yes! Organic options include neem oil for pests, compost tea for nutrients, and improving soil drainage. Avoid harsh chemicals to keep your plant and environment healthy.
Watch for aphids, spider mites, and Japanese beetles. These pests suck sap from leaves, causing wilting or discoloration. Handpick or use insecticidal soap for control.