
Beautiful Plants For Your Interior
Beautiful Plants For Your Interior
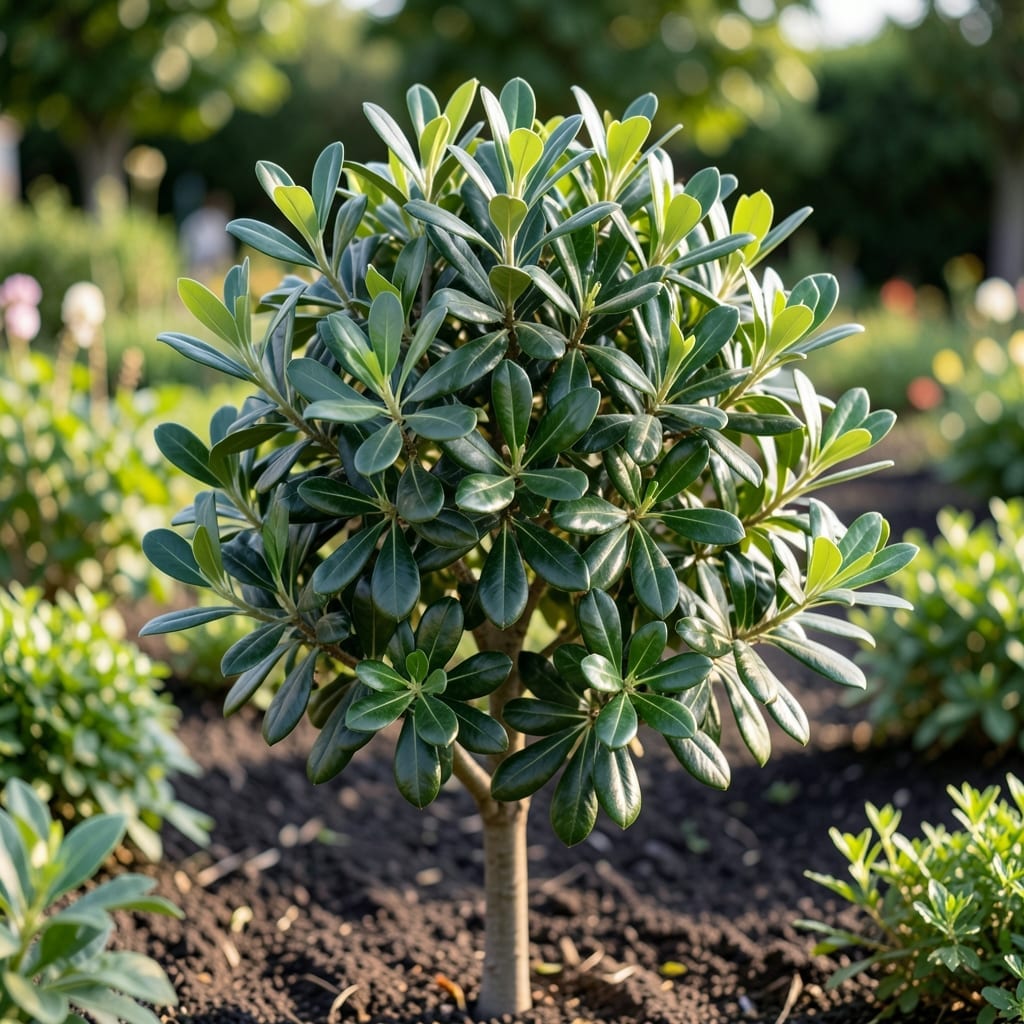
That first whiff of fresh bay leaves changed my gardening game. ✨ My potted bay laurel now graces my kitchen window, offering fragrant leaves year-round with minimal fuss.
It thrives on neglect—just bright light, occasional water, and a well-draining pot. Within 2 seasons, you’ll have enough foliage to flavor soups and stews indefinitely.
📚 In This Guide
Here’s the method I’ve refined to keep bay laurel thriving with glossy, aromatic leaves year-round.
Bay laurel grows slowly from seed, so I always recommend starting with a 2-3 foot nursery plant for faster results. If you insist on seeds, soak them in lukewarm water for 24 hours to soften the tough outer shell before planting in a well-draining mix. Seeds may take 3-6 months to germinate, so patience is key.
Choose a healthy specimen with dark green, leathery leaves and no signs of pests or yellowing. Avoid plants with soft, mushy stems—this indicates root rot from overwatering at the nursery. Real talk: a strong start means fewer headaches down the line.
Bay laurel despises soggy roots, so use a clay or terracotta pot that allows moisture to evaporate through the walls. Fill it with a 50-50 mix of potting soil and perlite to ensure sharp drainage. The container should be at least 12 inches deep to accommodate the extensive root system.
If planting in the ground, amend the soil with compost and coarse sand to improve drainage. Dig a hole twice as wide as the root ball and position the plant so it sits at the same depth as it did in its nursery container. This prevents stem rot from burying the trunk too deeply.
Bay laurel thrives in full sun to partial shade. In hotter climates, afternoon shade protects leaves from scorch, but in cooler regions, 6+ hours of direct sun ensures robust growth. If growing indoors, place it near a south-facing window or under grow lights for 12-14 hours daily.
This Mediterranean native prefers 60-75°F during the growing season and can tolerate brief dips to 20°F once established. If temperatures drop below 25°F, bring potted plants indoors or protect in-ground specimens with a thick layer of mulch. You’ll notice leaf drop if it’s too cold—don’t panic, it’ll regrow in spring.
Water when the top 1-2 inches of soil feel dry, but avoid letting the plant sit in waterlogged conditions. I check by sticking my finger in the soil—if it comes out clean, it’s time to water. In containers, this usually means watering every 5-7 days in summer and 10-14 days in winter.
Fertilize lightly with a balanced, water-soluble fertilizer (10-10-10) every 4-6 weeks during the growing season. Here’s the thing—bay laurel isn’t a heavy feeder, so over-fertilizing leads to weak, leggy growth and reduced fragrance. Flush the soil with water every few months to prevent salt buildup.
Prune lightly in early spring to shape the plant and encourage bushier growth. Remove any dead, damaged, or crossing branches first, then trim back no more than 1/3 of the current year’s growth. Always use clean, sharp pruners to make precise cuts just above a leaf node.
Harvest leaves as needed once the plant is at least 2 years old. Pick the oldest, darkest leaves first, as they contain the most essential oils. Fresh leaves have a milder flavor, while dried leaves develop a more concentrated aroma. I know it seems weird, but the best time to harvest is mid-morning after the dew has dried—this is when the oils are most potent.
Small adjustments in care make a surprising difference for thriving bay laurel.
Plant Selection Insight: Confession: I skipped the nursery plant recommendation for years and struggled with slow growth. That 2-3 foot nursery plant gives you a 3-5 year head start over seeds, which can take 3-6 months just to germinate. When choosing, look for those dark green, leathery leaves—they’re your first clue to a healthy plant.
Drainage Non-Negotiable: In Step 2, the 12 inches deep container requirement isn’t arbitrary. Bay laurel’s extensive roots need room, and that 50-50 mix of potting soil and perlite prevents the root rot that kills more bay laurels than anything else. I learned this the hard way after losing two plants to soggy soil.
Temperature Reality Check: The 60-75°F sweet spot in Step 3 is ideal, but here’s what nobody tells you—those brief dips to 20°F are survivable only for established plants. If you’re growing in containers, move them indoors when temps drop below 25°F. Leaf drop at cold temps is normal; resist the urge to prune until spring.
Watering Wisdom: The top 1-2 inches of soil dryness test in Step 4 is your best guide. In summer, that usually means watering every 5-7 days, but in winter, stretch it to 10-14 days. Overwatering is the most common mistake—when in doubt, wait another day.
Bay leaf seeds can take 3-6 months to germinate, so patience is key! Once sprouted, the plant grows slowly, reaching harvestable size in about 2-3 years. For faster results, consider starting with a nursery-grown sapling.
Yes! Bay laurel thrives indoors in a sunny spot (6+ hours of light) with well-draining soil. Use a south-facing window or grow lights. Keep the soil slightly moist and rotate the pot for even growth.
Yellow leaves often signal overwatering, poor drainage, or nutrient deficiency. Check soil moisture—let it dry slightly between waterings—and ensure your pot has drainage holes. A balanced fertilizer can help restore vibrancy.
If your bay laurel struggles, try dried bay leaves from the store as a temporary alternative. For fresh flavor, Mexican bay leaf (Litsea glaucescens) is a hardier substitute in some climates.