
Beautiful Plants For Your Interior
Beautiful Plants For Your Interior
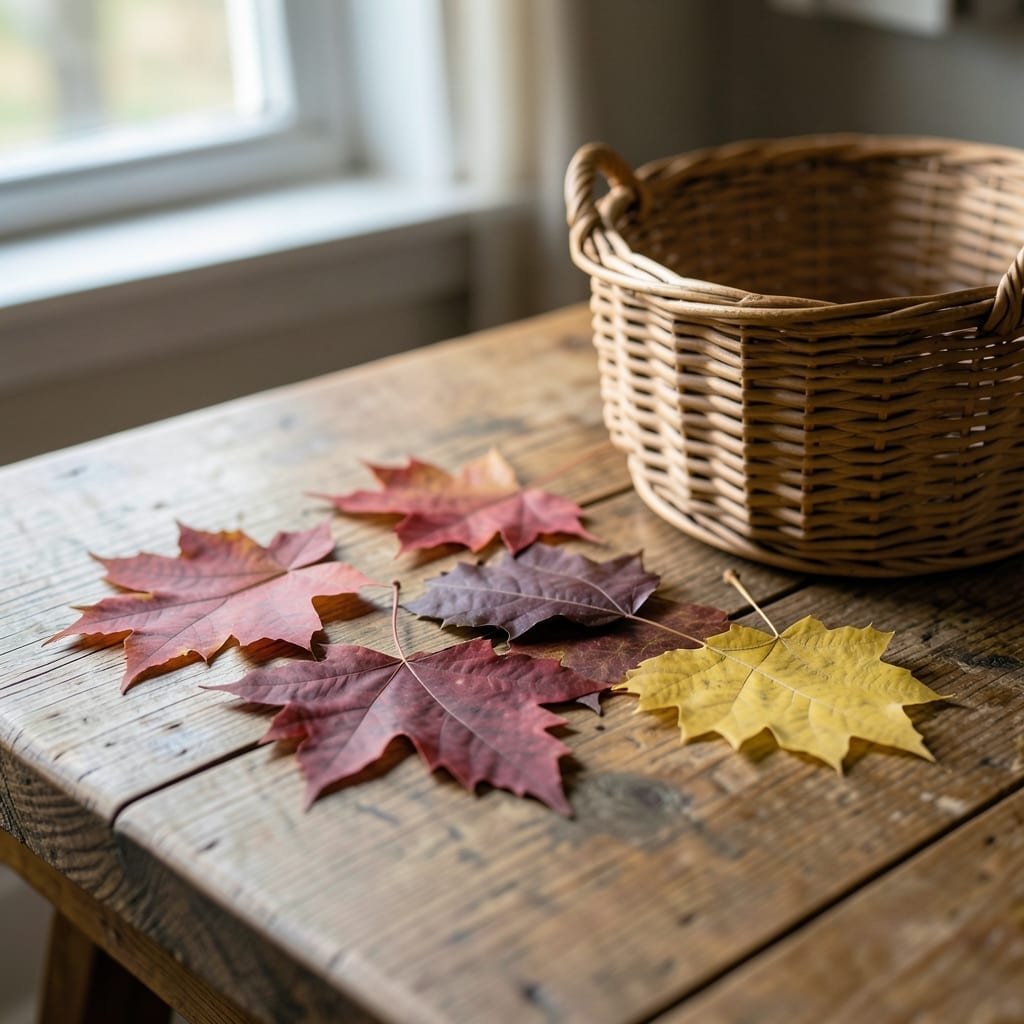
I first tried air drying leaves after a particularly vibrant fall season left me with more colorful foliage than I knew what to do with.
This method preserves both color and texture with minimal effort. You need only a few simple supplies, a bit of patience, and the right technique to keep them looking fresh for months.
📚 In This Guide
Here’s the method I swear by for preserving color, fragrance, and texture every time.
Pick leaves on a dry, sunny morning after the dew has evaporated but before the heat of the day sets in. This is when essential oils are most concentrated, giving you the strongest flavor and aroma. Choose healthy, mature leaves—avoid any with spots, tears, or signs of pests.
Use clean, sharp scissors or pruners to cut stems just above a leaf node. This encourages new growth on the plant. Don’t wash the leaves, as moisture will slow the drying process and can lead to mold. If leaves are dusty, gently wipe them with a dry cloth instead.
Remove any damaged or discolored leaves from your harvest. Group stems into small bundles of 5-10 stems each. If you’re drying individual leaves, spread them out in a single layer. This ensures proper airflow around each leaf, which is critical for even drying.
Real talk: larger bundles or crowded leaves will trap moisture and take far longer to dry, often resulting in uneven preservation. If you’re working with broad leaves like basil or sage, lay them flat rather than bunching to prevent curling or sticking together.
For stem bundles, hang them upside down in a warm, dark, well-ventilated space. A closet, pantry, or even a paper bag with holes punched in it works well. Hanging upside down helps the leaves dry uniformly and prevents oils from pooling at the tips.
For individual leaves, lay them on a clean, dry surface like a baking sheet or drying rack. Space them so they don’t touch. Keep them out of direct sunlight, which can bleach the leaves and degrade their quality. A temperature around 70-80°F is ideal.
Check your leaves after 5-7 days. They’re ready when they crumble easily between your fingers and stems snap rather than bend. If they feel pliable or cool to the touch, they need more time. Here’s the thing—drying times vary based on humidity and leaf type, so don’t rush the process.
I always test a few leaves from different spots in the bundle or tray. If some are dry and others aren’t, remove the dry ones and give the rest more time. Uneven drying can lead to mold, so patience here prevents waste.
Once completely dry, remove leaves from stems if needed and store them in airtight containers like glass jars or resealable bags. Keep containers in a cool, dark place to protect the leaves from light and heat, which can degrade flavor and color over time.
Label each container with the leaf type and date. Most air-dried leaves will stay fresh for 6-12 months if stored correctly. If you notice any condensation inside the container, the leaves weren’t fully dry—remove them immediately and let them finish drying to avoid spoilage.
Small adjustments make the difference between wilted leaves and perfectly preserved herbs.
The Harvest Window: That dry, sunny morning timing in Step 1 isn’t just tradition—it’s when essential oils peak. I’ve ruined batches by harvesting midday when heat degrades flavor. Wait until dew evaporates but before temperatures climb.
Bundle Size Matters: In Step 2, those 5-10 stem bundles are critical. I learned the hard way that larger bundles trap moisture. If you’re drying broad leaves like basil, lay them flat on a rack rather than bunching to prevent curling.
Temperature Sweet Spot: The 70-80°F range in Step 3 is ideal for even drying without bleaching. A warm closet or pantry works perfectly, but avoid direct sunlight which can turn your vibrant green leaves dull and brittle.
Storage Check: After the 6-12 month storage period, always check for condensation before sealing. If you see moisture, the leaves need more time. This simple check prevents mold that could ruin your entire batch.
Air drying leaves typically takes 1-3 weeks, depending on humidity, leaf thickness, and airflow. Thin leaves (like maple) dry faster, while thicker ones (like magnolia) may need extra time. Ensure they’re in a dry, dark, and well-ventilated space for best results.
Yes! Use a dehydrator on low heat (under 100°F) or place leaves between paper towels under a heavy book. Avoid microwaves or ovens, as high heat can discolor or burn them. Patience ensures vibrant, intact leaves.
Dry leaves out of direct sunlight to prevent fading. Harvest them at peak color, and avoid overlapping during drying. A light spray of hairspray (after drying) can help seal in pigment for crafts.
Over-drying or exposure to moisture causes browning and brittleness. Check leaves after 1 week—if they’re crisp but not dusty, they’re done. Store in an airtight container with silica gel packets to maintain quality.