
Beautiful Plants For Your Interior
Beautiful Plants For Your Interior
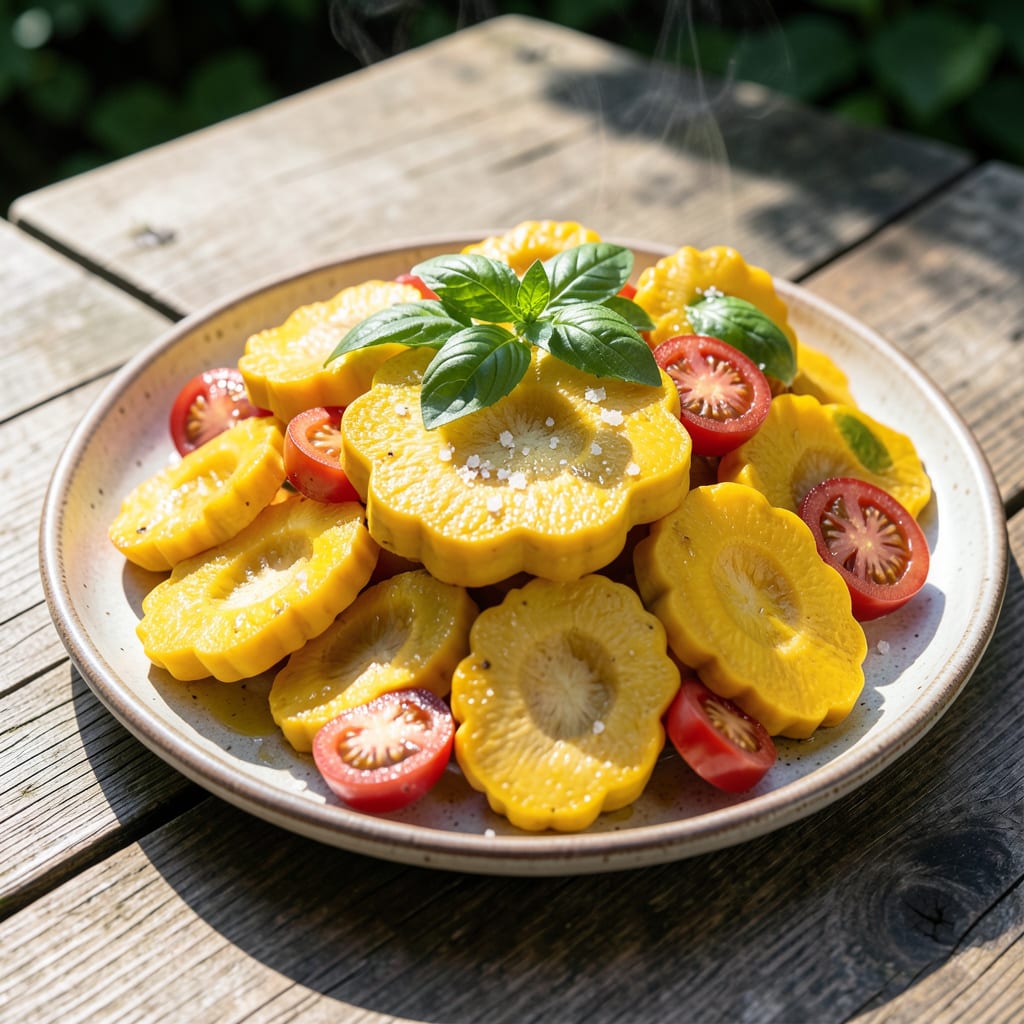
I fell for these flying-saucer-shaped squash the first time I saw them at the farmers market. They grow fast, taste sweet, and look stunning in the garden with their bright yellow blooms.
Plant in full sun with rich soil, give them 1-2 inches of water weekly, and start harvesting when they’re 2-3 inches across. You’ll get dozens from just a few plants.
📚 In This Guide
Here’s my season-tested approach to producing abundant, uniformly shaped patty pan squash with minimal fuss.
Choose a location with full sun exposure—at least 6-8 hours of direct light daily. Patty pan squash thrives in warm, well-draining soil with a pH between 6.0 and 6.8. I always amend the bed with 2-3 inches of aged compost worked into the top 6 inches of soil to improve fertility and structure.
Space your planting area generously. These bushes spread 3-4 feet wide, so I allow 3 feet between plants and 5 feet between rows. Compacted soil slows root development, so loosen it thoroughly before planting. A quick test: if you can push a finger into the soil up to the second knuckle, it’s ready.
Direct-sow seeds after the last frost when soil temperatures reach at least 60°F. Plant seeds 1 inch deep in groups of 2-3 per hill, spacing hills 3 feet apart. Thin to the strongest seedling once true leaves appear—this prevents competition for nutrients.
If using transplants, harden them off for 7-10 days before moving them outside. Set plants slightly deeper than their original container, burying the stem up to the first set of leaves. This encourages additional root growth. Water immediately after planting to settle the soil around the roots.
Yellow patty pan squash needs 1-1.5 inches of water weekly, more during extreme heat. I water deeply at the base in the morning, avoiding overhead sprinkling to prevent foliar diseases. The soil should feel damp 1 inch down—if it’s dry, increase frequency; if it’s soggy, back off.
Apply a 2-3 inch layer of organic mulch like straw or shredded leaves around plants once they’re established. Mulch retains moisture, suppresses weeds, and keeps fruit clean. Avoid piling mulch against the stem, which can cause rot. You’ll notice fewer weeds and more consistent soil moisture within a week.
Patty pan squash matures quickly, often ready in 50-60 days. Check plants daily once flowers appear—fruits grow rapidly and are best harvested when 2-3 inches in diameter. Use a sharp knife or pruners to cut the stem cleanly, leaving about 1 inch attached to the fruit.
Harvesting regularly encourages more production. If you miss a fruit and it grows oversized, the plant may slow down or stop producing new ones. Real talk: I’ve lost entire crops to neglect during busy weeks. A single neglected fruit can signal the plant to stop setting new ones, so consistency is key.
While not strictly necessary, I prune older leaves that show signs of yellowing or disease to improve air circulation. Use clean shears and make cuts at the base of the stem. This reduces the risk of fungal issues, especially in humid climates.
Watch for pests like squash bugs or vine borers. Remove any eggs or larvae by hand, and consider row covers early in the season to prevent infestations. Healthy plants produce for 4-6 weeks if well-maintained, so don’t skip these checks. You’ll extend your harvest window significantly with just a few minutes of attention weekly.
Small adjustments make a big difference in your harvest success.
Sunlight Priority: Don’t compromise on the 6-8 hours of daily direct sunlight. I learned this the hard way when my first patch produced spindly plants with poor yields. Even partial shade for a few hours can significantly reduce fruit production and quality.
Soil Preparation: That 2-3 inches of aged compost worked into the top 6 inches of soil isn’t just a suggestion—it’s your insurance policy against poor drainage and nutrient deficiency. Compacted soil is the silent killer of squash plants, so loosen it thoroughly before planting.
Watering Wisdom: The 1-1.5 inches weekly requirement means deep watering, not daily sprinkles. I water at the base in the morning, checking that moisture reaches 1 inch down. Overhead watering invites disease, and evening watering promotes fungal growth.
Harvest Discipline: Those 2-3 inch diameter fruits are the sweet spot. Let them grow larger, and you risk the plant shutting down production entirely. I check plants daily once flowers appear—trust me, they grow that fast.
Harvest when the squash is small (2-3 inches wide) and the skin is tender. This is usually 4-8 days after flowering.
Yes! Young, tender squash can be eaten raw, sliced thinly in salads or with dips. Larger ones are best cooked.
Store in the fridge for up to 5 days. For longer storage, blanch and freeze. Avoid washing before storing.
Zucchini or other summer squash varieties work well in most recipes. They have a similar texture and mild flavor.
Lack of pollination is a common issue. Encourage bees or hand-pollinate. Also, check for pests or poor soil conditions.
