
Beautiful Plants For Your Interior
Beautiful Plants For Your Interior
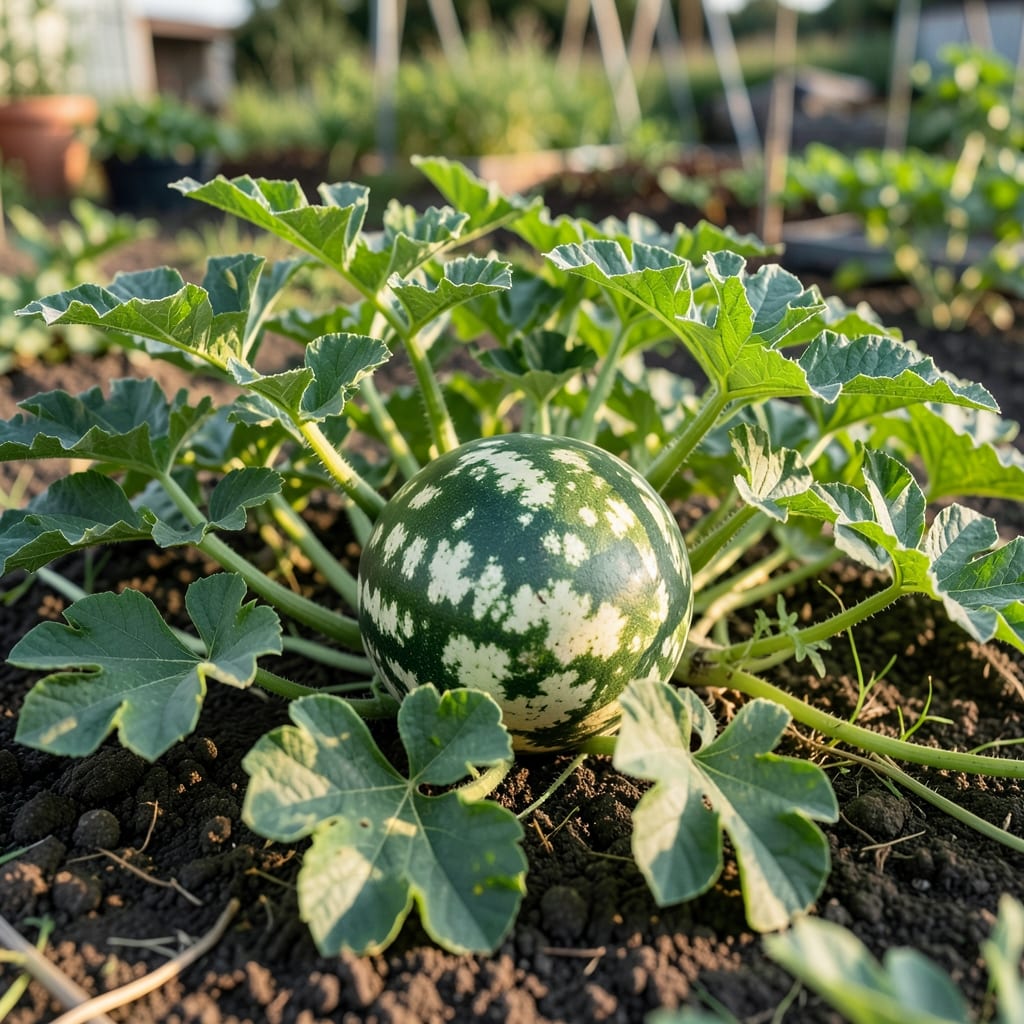
This heirloom melon surprised me with its crisp snow-white flesh and honeyed flavor. I planted my first seeds three years ago and haven’t looked back.
It thrives in full sun with consistent moisture, producing 10-15 lb fruits that look as unique as they taste. The vines spread aggressively, so give them 6-8 feet of space.
📚 In This Guide
Here’s the method I’ve refined to produce sweet, seedless melons in any home garden.
Start by selecting a site with full sun and well-draining soil. I always test the soil pH first—watermelons thrive in slightly acidic to neutral conditions, ideally between 6.0 and 6.8. Amend the area with plenty of organic matter, like compost or aged manure, to improve fertility and drainage.
Work the soil to a depth of 12-18 inches, removing any rocks or debris that could obstruct root growth. Watermelons have extensive root systems, so loose, aerated soil is critical. I like to create raised mounds about 3-4 inches high and 3 feet apart to ensure proper drainage and warmth.
If starting from seeds, plant them 1 inch deep and 2-3 feet apart in the prepared mounds. Watermelon seeds need warm soil to germinate, so wait until the soil temperature reaches at least 70°F. I often use black plastic mulch to retain heat and speed up germination, which typically takes 7-10 days.
For transplants, handle them carefully to avoid disturbing the roots. Plant them at the same depth they were growing in their containers. Space transplants 3-4 feet apart to give vines room to spread. Water thoroughly after planting to settle the soil around the roots.
Watermelons need consistent moisture, especially during the first few weeks of growth. Water deeply once or twice a week, providing about 1-2 inches of water each time. Use a drip irrigation system or soaker hose to keep foliage dry and prevent disease. I check soil moisture by sticking my finger 1 inch into the soil—if it feels dry, it’s time to water.
Apply a 2-3 inch layer of organic mulch, like straw or leaves, around the plants to retain moisture, suppress weeds, and maintain even soil temperatures. Keep mulch a few inches away from the stems to prevent rot. As the vines grow, you’ll notice they spread rapidly—ensure they have space to expand without crowding.
Once the vines start running, I apply a balanced fertilizer, such as 10-10-10, to provide essential nutrients. Follow package instructions for application rates, but avoid over-fertilizing, which can lead to excessive foliage and fewer fruits. Switch to a low-nitrogen fertilizer once flowers appear to encourage fruiting.
Watermelon vines can grow up to 10-20 feet long, so provide support if space is limited. Use a trellis or fence, and gently tie vines with soft plant ties as they grow. For heavier fruits, create a sling from old fabric or netting to support the melons and prevent them from breaking off the vine.
Watermelons typically mature in 80-90 days after planting. To determine ripeness, look for a few key signs: the tendril opposite the stem turns brown and dry, the underside of the melon turns from white to a creamy yellow, and the rind becomes dull rather than shiny. I also tap the melon—ripe ones produce a deep, hollow sound.
Harvest by cutting the stem with a sharp knife, leaving 2-3 inches of stem attached to the fruit. Handle melons carefully to avoid bruising. Once picked, store them in a cool, dry place and enjoy within 1-2 weeks for the best flavor. You’ll know you’ve succeeded when the flesh is crisp, sweet, and seedless.
Here’s what I’ve learned from seasons of growing these melons—small details make a big difference.
Soil Temperature Matters: Don’t rush planting in Step 2. Those seeds need soil at least 70°F to germinate properly, and cold soil will delay or even prevent sprouting. I’ve ruined early batches by planting too soon—wait for consistent warmth, and use black plastic mulch to speed things up if needed.
The Depth Factor: In Step 1, working the soil to 12-18 inches isn’t just busywork. Watermelons develop deep root systems, and compacted or shallow soil stunts their growth. If your soil is heavy clay, consider raised beds or mounds to give roots room to expand without resistance.
Watering Wisdom: The 1-2 inches of water per week in Step 3 is a guideline, not a rule. Check soil moisture by sticking your finger 1 inch down as described—if it’s dry, water deeply. Shallow watering encourages weak roots, while deep, consistent moisture (especially during fruit set) prevents cracking and bitter melons.
Support Strategy: Those vines in Step 4 can stretch 10-20 feet, so plan for space or vertical support early. I learned the hard way that waiting until vines are sprawling makes trellising difficult. Use soft ties to avoid damaging stems, and start training vines upward when they’re still young and flexible.
White Wonder watermelons are seedless due to a natural breeding process that produces sterile seeds. These seeds won’t mature, so the fruit develops without black seeds, giving you a smooth, seedless eating experience.
White Wonder watermelons typically take 80-90 days from planting to harvest. Ensure warm soil (70-80°F) and full sun for the best growth. Patience pays off with sweet, juicy results!
Yes! Choose a large container (at least 5 gallons) with good drainage. Use a trellis for support, as vines can spread. Containers work well on patios or balconies with plenty of sunlight.
Lack of sweetness often means the fruit wasn’t fully ripe or had inconsistent watering. Harvest when the tendril near the stem turns brown, and avoid overwatering to concentrate sugars.
Yes! Try Sugar Baby or Crimson Sweet for similar sweetness and seedless traits. These varieties also thrive in home gardens and offer delicious flavors.