
Beautiful Plants For Your Interior
Beautiful Plants For Your Interior
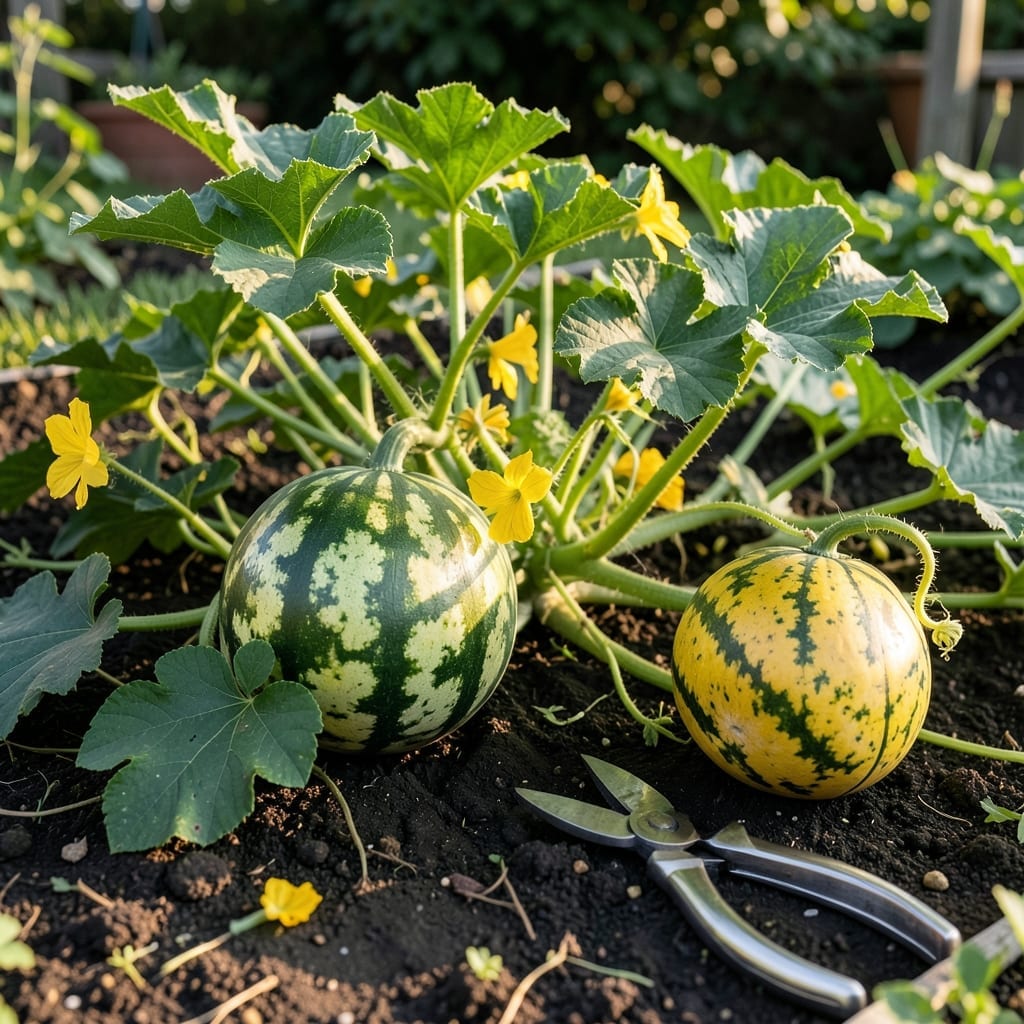
Harvesting a Sugar Baby watermelon 🍉 at the perfect moment ensures maximum sweetness and juiciness. Miss the window, and you risk a bland or overripe fruit.
Timing is everything when it comes to this beloved summer treat. The difference between a mediocre melon and an extraordinary one often comes down to just a few days.
I’ll show you the most reliable visual, tactile, and sound cues to determine ripeness. These simple tests take the guesswork out of harvesting.
Whether you’re a first-time grower or seasoned gardener, learning these signs will help you pick your Sugar Baby watermelons at their absolute peak.

I know how exciting it is to watch your Sugar Baby watermelons grow, but the real thrill comes when it’s time to harvest. The tap test is my go-to method for checking ripeness. Give the melon a firm tap with your knuckles—if it sounds deep and hollow, it’s ready.
But don’t rely on just one sign. The ground spot, where the melon touches the soil, should turn yellow or cream when ripe. A white or pale green spot means it needs more time. Also, watch for a dull rind—a glossy surface indicates it’s not ready yet.
Another trick I swear by is the tendril test. The curly tendril near the stem should turn brown and brittle when the melon is ripe. If it’s still green and flexible, the fruit isn’t ready. This method works because the tendril dries up as the melon matures.
Timing is everything with Sugar Baby watermelons. They typically mature in 75 to 85 days, so start checking around day 80 for the best results. If you’re growing multiple plants, note that ripening can vary slightly depending on sunlight and soil conditions.
Don’t forget to consider the size and weight of the melon. A ripe Sugar Baby usually weighs between 8 to 10 pounds and feels heavy for its size. Lift a few to get a sense of what a mature melon should feel like. It’s all about comparing and contrasting as you learn.
If you’re still unsure, try the scratch test. Lightly scratch the rind with your fingernail. If the outer layer comes off easily, revealing a greenish-white layer underneath, the melon is likely ripe. This works because the rind softens slightly as it matures.
Remember, no single test is foolproof. I recommend using at least two methods to confirm ripeness. Combining the tap test with the ground spot check or tendril test will give you the most accurate results. Trust me, your taste buds will thank you.
Harvesting at the right time ensures the sweetest flavor and juiciest texture. If you pick too early, the melon won’t ripen further off the vine. If you wait too long, it can become mushy or overripe. Finding that sweet spot is key.
Finally, always use a sharp knife or pruners to cut the stem, leaving a bit of vine attached. This helps prevent the melon from spoiling too quickly. Store your harvested Sugar Babies in a cool, dry place and enjoy them within a week for the best flavor. ☀️
I always check the tendril near the stem first when testing for ripeness. This curly vine is a reliable indicator for Sugar Baby watermelons. As the fruit matures, the tendril turns brown and dries up.
When the tendril is green, your melon isn’t ready. But once it turns crispy and brown, you’re in the sweet spot. This happens because the plant stops sending nutrients to the fruit.☀️
🌱 Tendril Test Tips
Check the tendril closest to the stem—not just any vine curl. If it’s brown and brittle, your Sugar Baby is likely ripe and ready to pick!
The tendril test works because it signals the end of the fruit’s growth. I’ve found it more reliable than size alone, especially for Sugar Baby varieties which mature in about 80 days.
Avoid harvesting if the tendril is still green or partially brown. Patience pays off here—wait for the full color change to ensure peak sweetness. I’ve made the mistake of picking too early before!🌿
This method pairs well with the ground spot check. When both the tendril is brown and the ground spot is cream-colored, you’re good to go. It’s a foolproof combo I swear by.
Remember, the tendril test isn’t foolproof in all conditions. If you’re unsure, combine it with the tap test or the dull rind check for confirmation.🪴