
Beautiful Plants For Your Interior
Beautiful Plants For Your Interior
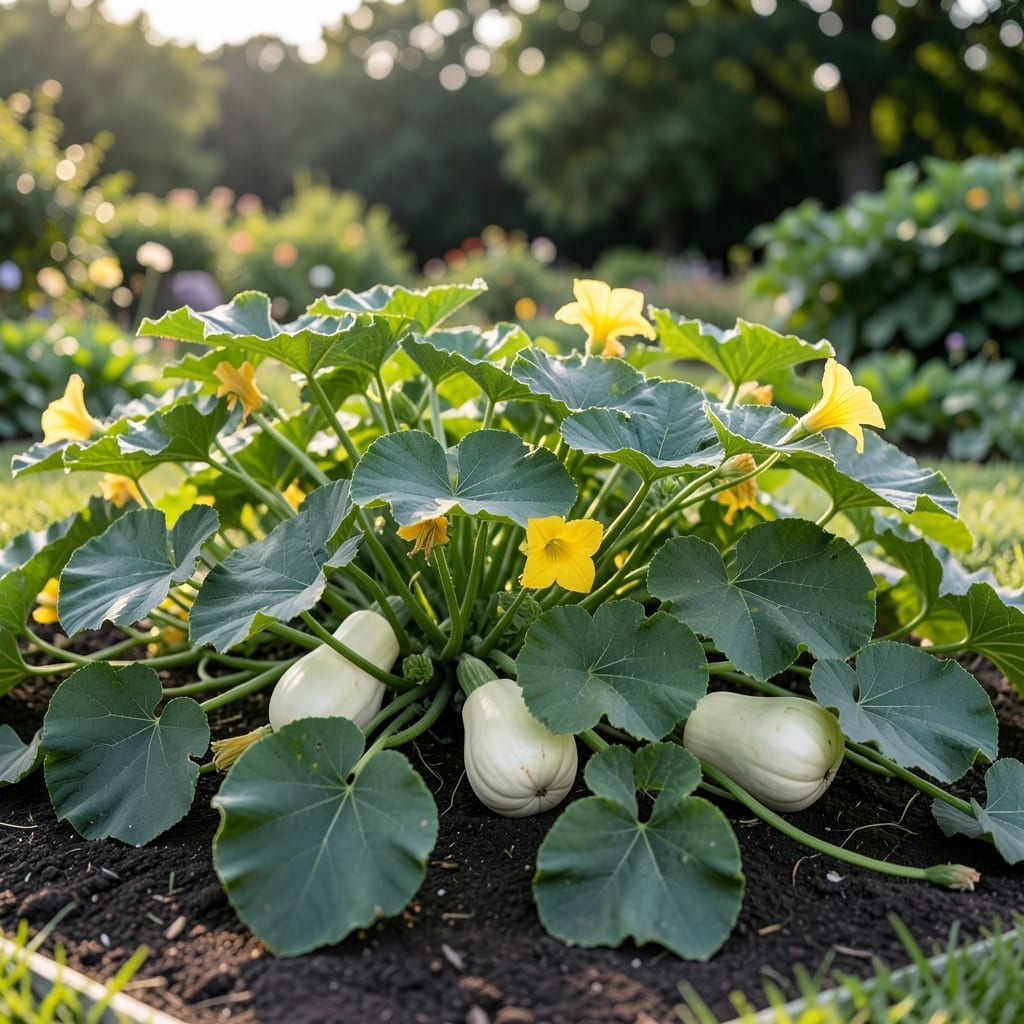
White butternut squash changed how I think about garden harvests. The pale rind hides the same sweet, nutty flavor we love, with a bonus: these plants shrug off diseases that wipe out traditional varieties.
They thrive in full sun with consistent moisture, and the vines spread 6-8 feet if given room. By late summer, you’ll spot the creamy fruits hiding under those big leaves, ready for a long storage life.
📚 In This Guide
Here’s the method I use to grow healthy vines with minimal disease pressure every season.
Choose a location with full sun exposure, as these vines require at least 6-8 hours of direct sunlight daily for optimal fruit development. I always rotate planting sites yearly to prevent soil-borne diseases from building up in the same spot.
Test the soil pH—it should fall between 6.0 and 6.8 for best nutrient uptake. Work in plenty of aged compost to improve drainage and fertility, as squash roots resent sitting in waterlogged soil. A raised bed at least 12 inches deep helps ensure proper drainage.
Direct-sow seeds after the last frost when soil temperatures reach at least 60°F. Plant seeds 1 inch deep and 3-4 feet apart in rows spaced 5-6 feet apart—these vines spread aggressively. Thin to the strongest seedling once they develop 2-3 true leaves.
If using transplants, harden them off for 7-10 days before setting them out. Plant them slightly deeper than their container depth to encourage additional root growth along the stem. Water thoroughly after planting to settle the soil around the roots.
Provide 1-1.5 inches of water weekly, either through rainfall or irrigation. I use drip irrigation to keep foliage dry, which significantly reduces disease incidence. Water at the base of plants in the morning so leaves dry quickly in the sun.
Check soil moisture by sticking your finger 1-2 inches deep—if it feels dry, it’s time to water. Mulch around plants with 2-3 inches of straw to retain moisture and suppress weeds that compete for nutrients. Avoid overhead watering, which promotes foliar diseases.
As vines develop, guide them gently to spread in the desired direction. I use trellises for vertical growth when space is limited, though butternut squash can be heavy—ensure supports are sturdy enough to hold mature fruit. Prune off any diseased leaves immediately to prevent spread.
Watch for the first female flowers (they have a tiny fruit at the base) and be ready to hand-pollinate if bees are scarce. Use a small paintbrush to transfer pollen from male to female flowers in the early morning when they’re most receptive.
White butternut squash is ready to harvest when the rind turns hard and cannot be punctured with a fingernail. This typically occurs 80-100 days after planting. I check the stem—when it turns brown and corky, the squash is mature.
Cut the stem with 2-3 inches remaining attached to the fruit using clean pruners. Cure squash in a warm, dry location (80-85°F) for 10-14 days to harden the skin for storage. Store in a cool, dry place where they’ll keep for 2-3 months.
These insights will help you avoid common pitfalls when cultivating this variety.
The Sunlight Requirement: In Step 1, the 6-8 hours of direct sunlight daily isn’t just a suggestion—it’s critical for fruit development. I’ve seen vines struggle with only 5 hours, producing smaller, less flavorful squash. If your garden has partial shade, prioritize morning sun which is less intense than afternoon heat.
Soil Temperature Matters: For Step 2, don’t rush planting just because air temperatures are warm. Soil must reach at least 60°F for seeds to germinate properly. I use a simple soil thermometer—when it reads consistently at this temp for 3 days, it’s safe to plant. Planting too early leads to rot rather than growth.
Watering Technique: In Step 3, the 1-1.5 inches weekly water requirement should be delivered at soil level. I learned this the hard way after losing several plants to powdery mildew from overhead watering. Drip irrigation or a carefully aimed hose at the base prevents fungal issues while maintaining consistent moisture.
Curing is Non-Negotiable: For Step 5, that 10-14 days of curing at 80-85°F might seem tedious, but it’s what makes these squash store so well. I once skipped this step and lost half my harvest to rot within weeks. The curing process hardens the skin, creating a natural barrier against decay.
Yes! White butternut squash is typically safe if caused by environmental factors like powdery mildew or sunscald. However, if the discoloration is due to rot or fungal disease, discard it to avoid illness. Always inspect for soft spots or foul odors.
White patches often result from powdery mildew, sunscald, or poor circulation. Powdery mildew appears as a dusty coating, while sunscald causes bleached, dry spots. Ensure proper airflow and shading to prevent these issues.
If the flesh inside is firm and healthy, white butternut squash works fine in recipes! Peel off any affected skin. Its flavor remains unchanged, making it great for soups, roasts, or purees.
Prevent white spots by spacing plants for airflow, watering at the base (not leaves), and using fungicides for mildew. Mulch helps avoid sunscald. Regularly check leaves and fruit for early signs of trouble.