
Beautiful Plants For Your Interior
Beautiful Plants For Your Interior
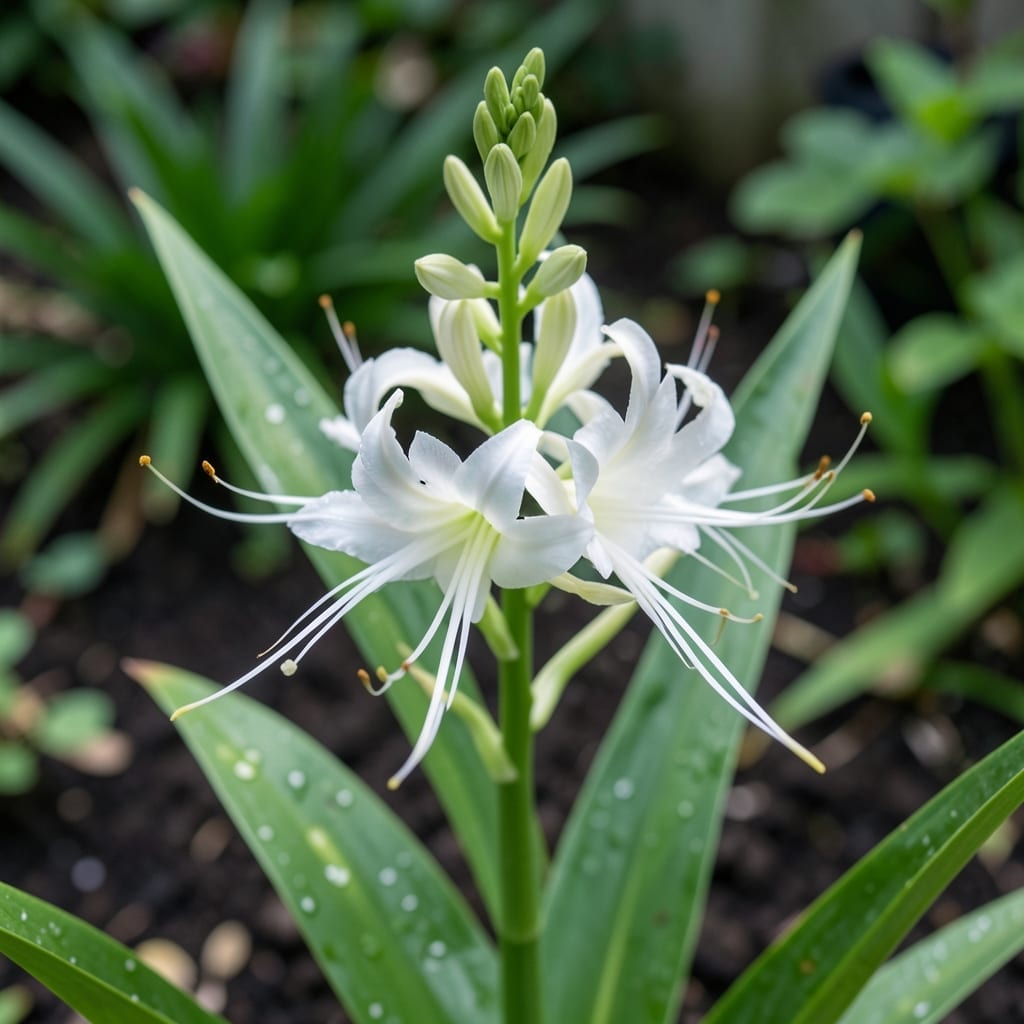
Three years ago, I planted my first Spider White Lily bulbs in partial shade, unsure what to expect. The reward was elegant, arching blooms that stopped neighbors in their tracks each spring.
This isn’t your typical lily—it thrives in moist but well-drained soil and tolerates more shade than most. With minimal care, you’ll get those striking white flowers year after year, multiplying underground until you have a full, dramatic display.
📚 In This Guide
Here’s the method I use every spring to grow these elegant blooms with minimal fuss.
Choose a location with partial to full sun—at least 4-6 hours of direct sunlight daily. Spider white lilies thrive in well-draining soil, so avoid low-lying spots where water pools. I always test drainage by digging a small hole and filling it with water; if it’s gone within 30 minutes, you’re good to go.
Amend the soil with a 2-inch layer of compost worked into the top 6 inches of earth. This improves fertility and ensures the bulbs have loose, nutrient-rich conditions to establish strong roots. Avoid heavy clay or overly sandy soil unless you’re willing to amend it significantly.
Plant bulbs in early spring or fall, spacing them 8-12 inches apart to allow for mature growth. Dig holes 4-6 inches deep—about three times the height of the bulb. Place each bulb with the pointed end facing upward; it’s easy to second-guess, but this is critical for proper growth.
Cover the bulbs with soil and press down gently to remove air pockets. Water thoroughly after planting to settle the soil around the bulbs. If you’re planting in a cluster, stagger the holes slightly for a more natural look once they bloom. You’ll know the bulbs are settled when the soil feels firm but not compacted underfoot.
Keep the soil consistently moist but not soggy during the growing season. Water deeply once a week unless rainfall does the job for you. The goal is to encourage deep root growth, so shallow, frequent watering won’t cut it. I use a soaker hose to deliver water directly to the roots without wetting the foliage.
Apply a 2-3 inch layer of mulch around the plants to retain moisture and suppress weeds. Use organic mulch like shredded bark or straw, which will break down over time and enrich the soil. Keep the mulch an inch away from the stems to prevent rot and allow airflow.
Feed the plants with a balanced, slow-release fertilizer in early spring as new growth emerges. I apply a 10-10-10 formula at a rate of 1 tablespoon per square foot, working it lightly into the top inch of soil. Avoid over-fertilizing, which can lead to excessive foliage and fewer blooms.
As the stems grow taller, they may need support to stay upright, especially in windy areas. Use bamboo stakes or a small trellis to keep them stable. Tie the stems loosely with soft garden twine to avoid damaging the delicate growth. You’ll see the need for support when stems begin to lean or flop.
Watch for common pests like aphids or lily beetles, which can quickly damage foliage. Inspect the plants weekly, focusing on the undersides of leaves where pests like to hide. If you spot any, remove them by hand or use an insecticidal soap spray, applying it in the early morning or late evening to avoid harming beneficial insects.
Prevent fungal diseases by ensuring good air circulation around the plants. Thin out any crowded areas and remove dead or yellowing leaves promptly. If you notice powdery mildew or rust spots, treat the plants with a fungicide and adjust watering to avoid wetting the foliage. Catching issues early saves a lot of trouble later.
Small adjustments make a big difference in growing these stunning blooms.
Sunlight Strategy: Those 4-6 hours of direct sunlight daily are non-negotiable for vibrant blooms. If your garden gets intense afternoon sun, consider a spot with morning sun and afternoon shade to prevent petal scorch. I learned this the hard way after losing a few blooms to midday heat.
The Drainage Test: When you dig that 12-inch deep hole for testing drainage, use a timer—if the water hasn’t drained within 2-3 hours, your soil needs amendment. I’ve found that mixing in 30% compost by volume dramatically improves drainage in clay-heavy soil.
Planting Depth: Stick to that 4-6 inch planting depth precisely. Too shallow and bulbs may dry out; too deep and they’ll struggle to emerge. Confession: I planted a test batch at 8 inches once and waited an extra month for sprouts.
The pH Sweet Spot: That 6.0 to 6.5 pH range isn’t just a suggestion—it affects nutrient uptake. If your soil test shows 5.8, don’t panic, but do add a light dusting of lime. I check my pH every spring before planting new bulbs.
Plant bulbs in early fall, 4-6 weeks before the first frost. This allows roots to establish before winter dormancy, ensuring vibrant spring blooms.
Ensure good drainage, avoid overwatering, and space bulbs properly. Remove infected foliage promptly and use fungicides if needed to prevent common issues like botrytis or root rot.
Yes! Consider Lilium candidum (Madonna Lily) or Lilium regale for comparable elegance. Both thrive in similar conditions and offer fragrant, white flowers.
Lack of sunlight, poor soil nutrition, or planting too shallowly can hinder blooms. Ensure 6+ hours of sunlight and well-draining, fertile soil for best results.
Absolutely! Use a deep pot with drainage holes, quality potting mix, and place it in a sunny spot. Container-grown lilies may need more frequent watering.