
Beautiful Plants For Your Interior
Beautiful Plants For Your Interior
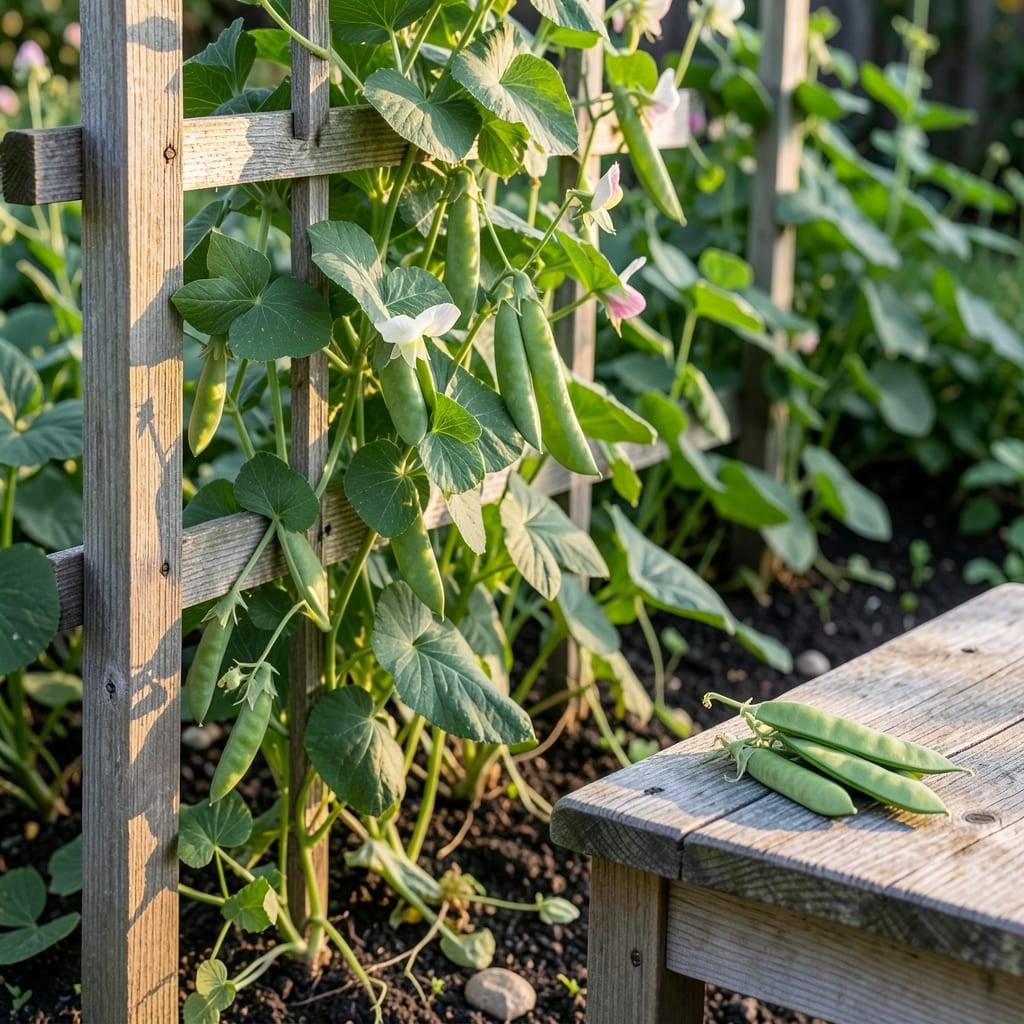
I killed my first three snow pea crops before nailing the timing. Plant too early and they rot; too late and they bake. The sweet spot is 4-6 weeks before your last frost.
Once they’re up, these vines climb fast with minimal fuss. Give them a trellis and consistent moisture, and you’ll be snapping crisp pods off the vine in 60 days. The taste beats anything from a store.
📚 In This Guide
Here’s the method I rely on for getting the sweetest, most tender pods from your garden.
Choose a location with full sun to partial shade, though snow peas thrive best with at least 4-6 hours of sunlight daily. The soil should be well-draining and rich in organic matter. I like to loosen the soil to a depth of 12-15 inches to encourage strong root development.
Work in a layer of compost or aged manure to boost fertility. Avoid fresh manure, as it can burn young plants. You’ll know the soil is ready when it crumbles easily in your hand and doesn’t clump tightly.
Sow seeds directly into the soil as soon as it can be worked in early spring, typically 4-6 weeks before the last frost date. In mild climates, you can also plant in late summer for a fall harvest. Push seeds 1 inch deep and space them 2-3 inches apart.
Water gently but thoroughly after planting. You’ll see sprouts emerge in 7-14 days if the soil stays consistently moist but not soggy. If the soil forms a crust, lightly rake it to help seedlings break through.
Snow peas are climbers, so they need a trellis or support structure. I use a 4-6 foot tall trellis made of bamboo stakes or wire mesh. Set it up at planting time so the vines have immediate support as they grow.
Train the vines onto the trellis as they reach 6 inches tall. This keeps the pods off the ground, reducing rot and making harvesting easier. You’ll notice the tendrils wrapping around the support within a few days of contact.
Keep the soil evenly moist, especially during flowering and pod formation. I water deeply 1-2 times per week, depending on rainfall and soil conditions. The goal is to keep the soil damp but not waterlogged—stick your finger 1 inch deep to check.
A light application of balanced fertilizer when plants are 4-6 inches tall encourages strong growth. Avoid heavy feeding, as too much nitrogen leads to leafy growth instead of pods.
Pick pods when they’re 2-3 inches long and the peas inside are just visible as bumps. Harvest every 2-3 days to encourage more production. Use two hands—one to hold the vine and one to pull the pod—to avoid damaging the plant.
If you wait too long, the pods become tough and fibrous. The more you pick, the more the plant will produce, often for 4-6 weeks or longer with consistent care.
Small adjustments in your approach can make a big difference in your harvest.
Sunlight Strategy: While snow peas can tolerate partial shade, aim for that 4-6 hours of daily sunlight mentioned in Step 1 for the sweetest, most abundant pods. I’ve noticed plants in full sun produce nearly twice as many peas as those in shadier spots. Confession: I skipped this step for years and wondered why my harvests were lackluster.
Planting Depth Precision: That 1 inch deep planting depth in Step 2 is crucial. Plant too shallow and seeds may dry out; too deep and they’ll struggle to emerge. I use the knuckle of my index finger as a guide – it’s about an inch long and makes quick work of consistent planting.
Trellis Timing: Don’t wait until vines are sprawling to install your 4-6 foot tall trellis from Step 3. Set it up at planting time so the tendrils have immediate support as they grow. I learned this the hard way after watching vines tangle themselves in a messy heap on the ground.
Harvest Frequency: The 2-3 days harvest window in Step 5 isn’t just a suggestion – it’s essential for continuous production. The more frequently you pick those 2-3 inch long pods, the more the plant will produce, often extending your harvest to that full 4-6 weeks or longer.
Keep plants healthy with good airflow, avoid overwatering, and rotate crops yearly. Remove infected leaves immediately and use organic fungicides if needed.
Sow snow pea tips in early spring or late summer for a fall harvest. They thrive in cool weather (40–75°F) and can tolerate light frosts.
Yes! Use a deep container (at least 8–12 inches) with well-draining soil and a trellis for support. Ensure full sun and consistent moisture for best results.
Yellowing may signal overwatering, nutrient deficiency (like nitrogen), or pests. Check soil moisture, fertilize lightly, and inspect for aphids or root rot.