
Beautiful Plants For Your Interior
Beautiful Plants For Your Interior
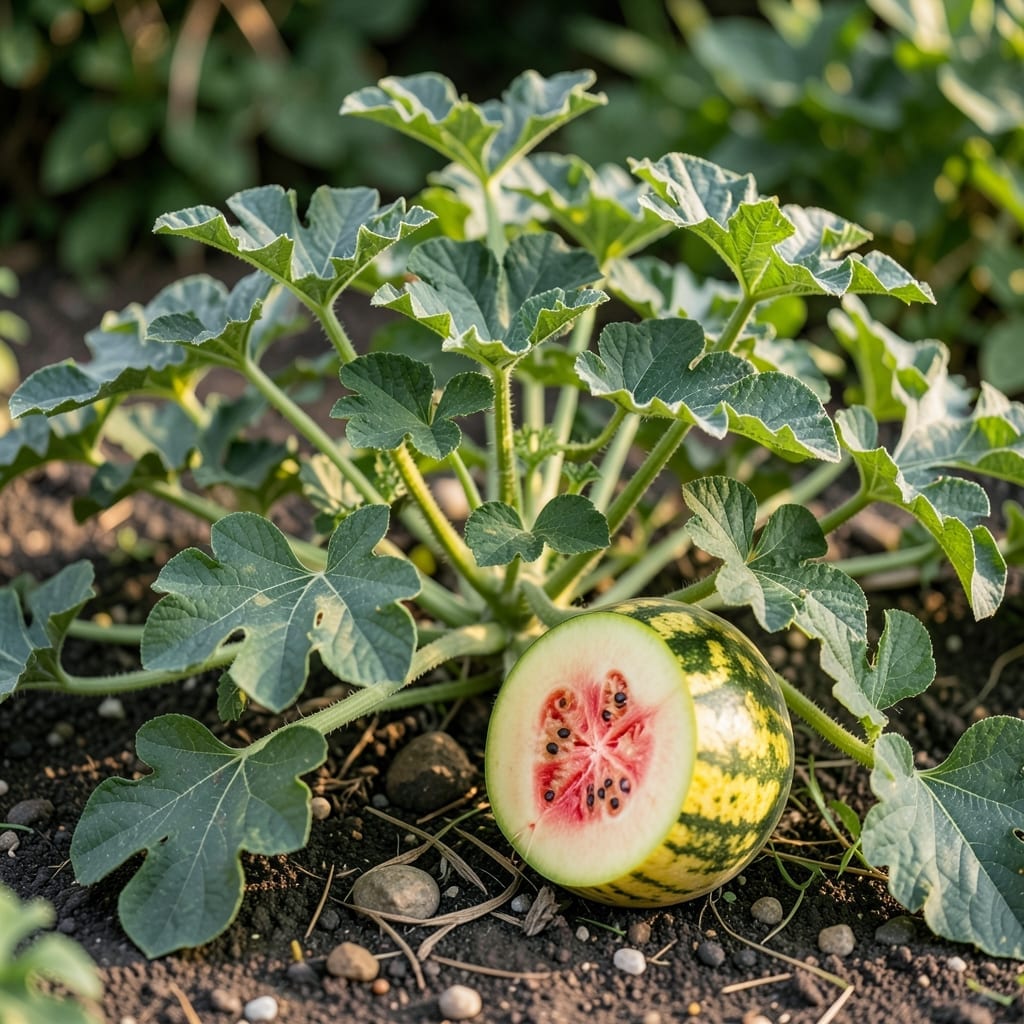
I grew my first small yellow watermelon last summer in a 5-gallon bucket. The vines stayed compact, the fruit was shockingly sweet, and it fit perfectly on my tiny patio.
These aren’t your grandpa’s massive melons—they thrive in containers, need full sun, and deliver that same juicy burst in a space-saving package. Perfect for urban gardeners or anyone with limited room.
📚 In This Guide
Here’s how I cultivate these compact, sweet melons in even the tightest garden spaces.
Choose a location with full sun and well-draining soil. I amend the bed with 2-3 inches of aged compost to provide the nutrients these vines crave. Watermelons thrive in slightly acidic to neutral soil, so aim for a pH between 6.0 and 7.0.
Loosen the soil to a depth of 12 inches to encourage deep root growth. If your soil is heavy clay, mix in coarse sand or perlite to improve drainage. Compacted soil leads to stunted growth and poor fruit development.
Space mounds or rows 3-4 feet apart to give vines room to spread. Small yellow varieties are more compact than traditional watermelons, but they still need space for air circulation and growth.
Sow seeds directly into the soil after the last frost when temperatures consistently stay above 70°F. Plant 3-4 seeds per mound, about 1 inch deep, then thin to the strongest 2 seedlings once they develop 2-3 true leaves.
If using transplants, harden them off for 7-10 days before setting them out. Dig a hole slightly larger than the root ball and plant at the same depth as the container. Water immediately to settle the soil around the roots.
Avoid watering from above once plants are established. Use a soaker hose or drip irrigation to keep foliage dry and prevent disease. You’ll see vines begin to sprawl within 2-3 weeks if conditions are right.
Watermelons need 1-2 inches of water per week, especially during fruit development. I water deeply in the morning so the soil stays moist but never soggy. Mulch with 2-3 inches of straw to retain moisture and suppress weeds.
These melons require 8-10 hours of direct sunlight daily for optimal sweetness. If your space is limited, consider training vines onto a sturdy trellis, though the fruit may need support as it matures. Watch for the first female flowers—these are the ones that develop into melons.
Reduce watering as fruit nears maturity to concentrate sugars. You’ll know it’s time when the curly tendril near the stem turns brown and the underside of the melon changes from white to a creamy yellow.
Small yellow watermelons typically mature in 75-85 days. Check for ripeness by pressing the blossom end—it should give slightly when ready. The rind will also develop a dull, matte finish rather than a shiny appearance.
Use pruners to cut the stem cleanly, leaving 1-2 inches attached to the fruit. Don’t lift the melon by the vine, as this can damage the plant. Harvest in the morning for the best flavor and texture.
Store uncut melons at room temperature for up to 1 week. Once sliced, refrigerate and consume within 3-4 days. The flesh should be bright yellow, juicy, and intensely sweet—perfect for fresh eating or summer salads.
These insights will help you avoid pitfalls and maximize your harvest in tight spaces.
The Soil Factor: In Step 1, don’t skip the soil preparation. Those 12 inches of loosened soil are critical for root development, and the 2-3 inches of aged compost will provide the steady nutrient supply these vines need. Compacted soil is the number one reason for stunted melons. Real talk: I learned this after wondering why my first few plants barely produced.
Timing Secret: For Step 2, that 70°F soil temperature isn’t just a suggestion—it’s essential for germination. Use a soil thermometer to confirm. Planting 3-4 seeds per mound and thinning to 2 seedlings ensures strong plants without overcrowding, and that 1 inch depth prevents both rot and poor root establishment.
Watering Wisdom: In Step 3, the 1-2 inches of water per week should be deep and infrequent rather than daily light sprinkles. Morning watering prevents fungal issues, and the 2-3 inches of straw mulch keeps moisture consistent while suppressing weeds. Here’s what nobody tells you—overwatering as fruit matures dilutes the sweetness we’re all after.
Harvest Hack: Those 75-85 days in Step 4 can vary based on your climate. Watch for the tendril brownout and color change on the underside—these visual cues are more reliable than the calendar. Harvesting in the morning, as advised, preserves the peak sweetness and crisp texture.
Common culprits include fungal infections (like powdery mildew), poor soil drainage, or pest damage. Overwatering or crowded planting can also stress the plant, making it more susceptible. Always use well-draining soil and practice crop rotation.
Start with disease-resistant seeds, space plants properly for airflow, and water at the base to avoid wetting leaves. Remove infected foliage promptly and apply organic fungicides if needed.
Yes! Try other compact varieties like ‘Sugar Baby‘ or ‘Golden Midget’ watermelons. These are also space-efficient and may thrive better in your growing conditions.
Typically, these watermelons mature in 70-80 days. Look for a creamy yellow spot where the melon touches the ground and a dull, hollow sound when tapped.