
Beautiful Plants For Your Interior
Beautiful Plants For Your Interior
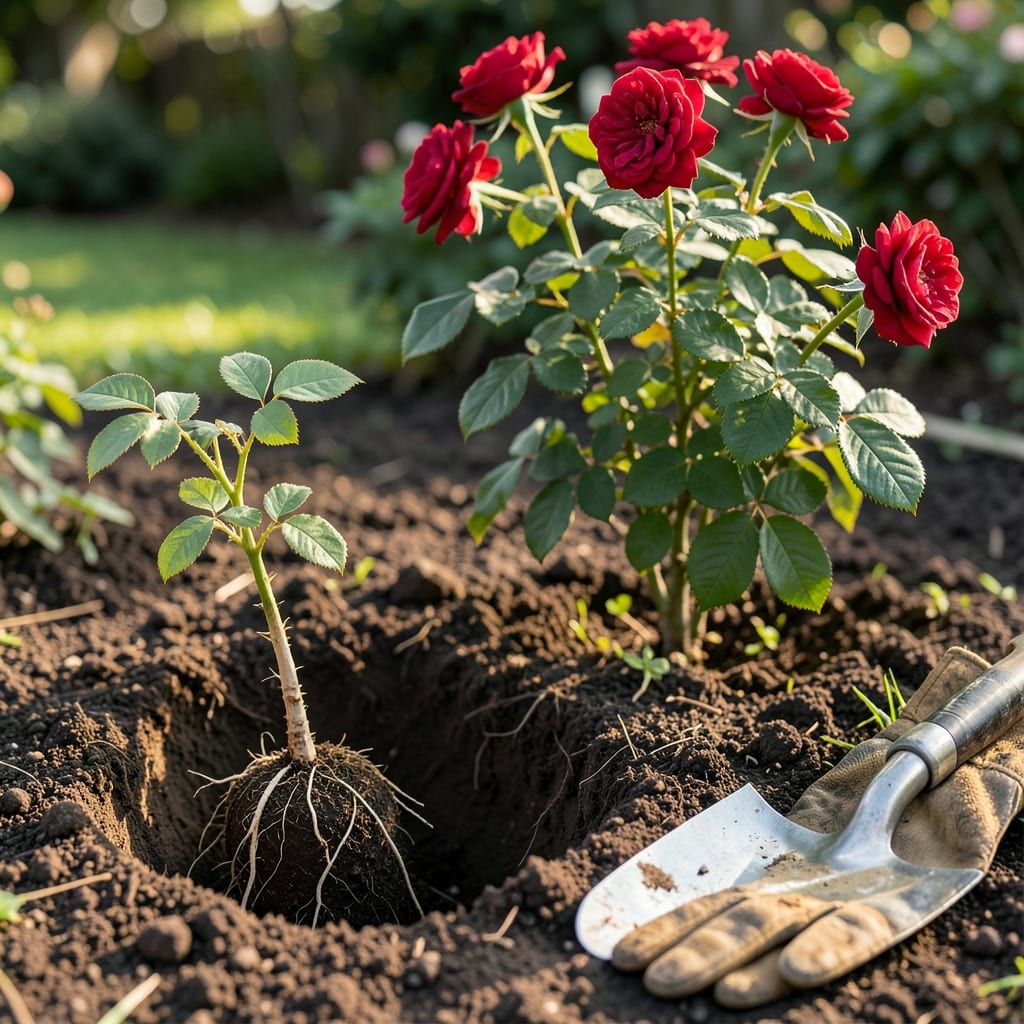
Transplanting roses starts with the root ball. I learned the hard way that a healthy beginning here means years of blooms ahead.
Get this right and your plants establish faster, resist disease better, and reward you with vigorous growth. The key is handling those roots with care before they even hit the soil.
📚 In This Guide
Here’s the method I rely on to ensure your plants establish well and thrive after the move.
Dig a hole that’s twice as wide and just as deep as the root ball. This gives the roots room to spread without sinking too low. I always loosen the soil at the sides and bottom of the hole to help roots penetrate easily—compacted soil can strangle new growth before it even starts.
Check the drainage by filling the hole with water. If it doesn’t drain within 30 minutes, you’ll need to amend the soil or choose a different spot. Roses hate wet feet, and poor drainage is the fastest way to lose a plant after transplanting.
Gently remove the rose from its container by tipping it on its side and sliding the plant out. If it’s stuck, tap the sides of the pot or run a knife around the edge to loosen it. The root ball should hold its shape but not be rock-hard—if it’s tightly bound, you’ll need to address that before planting.
Inspect the roots carefully. Healthy roots are white or light tan and firm to the touch. If you see roots circling the outside of the ball, use your fingers to gently tease them outward. This prevents them from continuing to grow in a circle, which can eventually girdle and kill the plant.
Place the root ball in the hole, making sure the top of the ball sits 1-2 inches above the surrounding soil level. This accounts for settling and ensures the graft union (that swollen bump near the base) stays above ground. If it’s buried, the rose may fail to thrive or even die.
Backfill the hole with the native soil you removed, gently pressing it down as you go to eliminate air pockets. Don’t add fertilizer or amendments at this stage—fresh roots are sensitive, and concentrated nutrients can burn them. Save the feeding for after the plant has settled in.
Water the plant deeply right after planting, using 5-10 gallons of water for a standard rose. This helps settle the soil around the roots and removes air gaps that could dry them out. I like to create a small soil berm around the base to act as a reservoir, keeping water where it’s needed most.
After the initial watering, check the plant in 24 hours. If the soil has settled significantly, add more to bring it back to the proper level. This step is often overlooked but makes a big difference in preventing the plant from sinking too low over time.
For the first 2-3 weeks, keep the soil consistently moist but not soggy. Stick your finger 2 inches into the soil—if it feels dry, it’s time to water. Overwatering is just as dangerous as underwatering at this stage, so let the soil be your guide.
Watch for signs of stress, like wilting or yellowing leaves. A little wilting in the first few days is normal as the plant adjusts, but if it persists after 48 hours, it may need more water or protection from wind. Mulch around the base with 2-3 inches of organic material to retain moisture and regulate soil temperature.
Small details make the difference between a rose that struggles and one that thrives after transplanting.
Drainage Check: In Step 1, that 30-minute drainage test is non-negotiable. If water lingers longer, amend with compost or choose a new spot. Roses will rot in soggy soil faster than you can say “black spot.”
Root Ball Inspection: When removing the rose in Step 2, pay special attention to circling roots. Gently teasing them outward prevents girdling, which can kill the plant years later. I learned this the hard way after losing a prized climber.
Planting Depth: The 1-2 inches above soil level in Step 3 isn’t arbitrary. It accounts for settling and protects the graft union. Plant it flush with the ground, and you risk smothering the most vulnerable part of your rose.
Post-Planting Vigilance: That 24-hour check in Step 4 is your safety net. Soil often settles dramatically after the first watering, and adding more then prevents the root ball from sinking too deep over time.
Water the rose deeply 1-2 days before digging. Use a sharp spade to cut a 12-18 inch diameter circle around the base, then gently lift the root ball. Trim damaged roots and keep it moist until replanting.
Early spring or fall is ideal, when the plant is dormant. Avoid extreme heat or cold. This reduces stress and helps the rose establish roots in its new location more easily.
It’s risky! A root ball protects the roots and retains moisture during the move. Bare-root roses can work but require extra care, like soaking roots before planting and frequent watering afterward.
Wilting often signals transplant shock. Ensure the root ball stays hydrated, avoid direct sunlight for a few days, and trim back some foliage to reduce stress on the plant.