
Beautiful Plants For Your Interior
Beautiful Plants For Your Interior
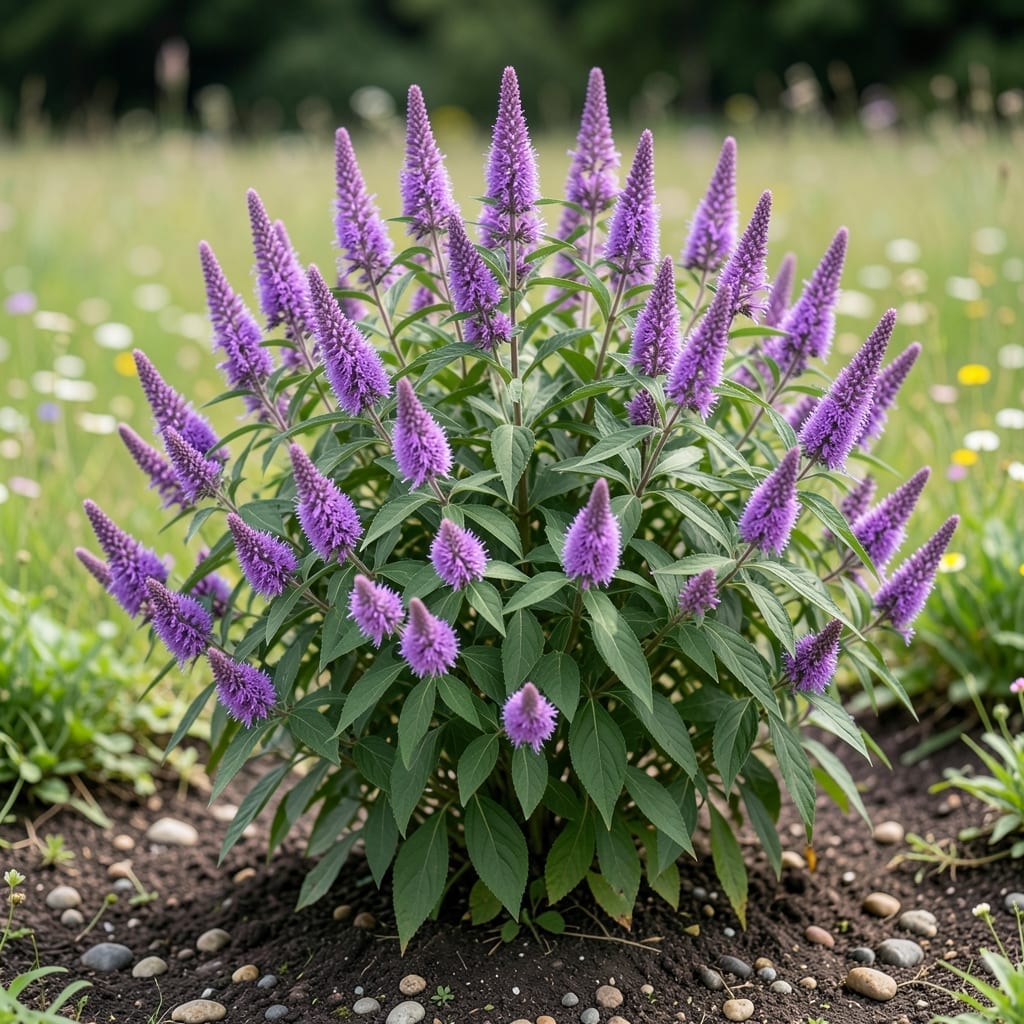
Rooting butterfly bush changed how I fill my garden with color. 🌿 I started with a single cutting from a neighbor’s overgrown plant and now have a dozen thriving stalks that attract pollinators all summer long.
The process is foolproof if you get the timing right. Late winter or early spring works best, before new growth starts. Just a few simple supplies and consistent moisture will get those roots established in about 6 weeks.
📚 In This Guide
Here’s the method I’ve perfected for propagating these vigorous, pollinator-loving shrubs with near-perfect success.
Choose 6-8 inch semi-hardwood stems from the current season’s growth, taken in late spring or early summer. Look for pencil-thick stems with 3-4 leaf nodes—these are your future root zones. I always pick early in the morning when plant moisture is highest.
Remove all leaves from the lower 2/3 of the stem, leaving only the top 2-3 leaves intact. This reduces moisture loss while maximizing energy for root development. Make a clean 45-degree cut just below a leaf node using sharp pruners—this increases surface area for root emergence.
Dip the cut end in rooting hormone powder (I use IBA-based for woody plants), tapping off excess. This accelerates root formation and protects against fungal issues. Plant the cutting in a 50/50 mix of perlite and peat moss—the airy texture prevents rot while retaining just enough moisture.
Insert the stem 2-3 inches deep so at least 2 leaf nodes are buried. Firm the medium gently around the base. Here’s the thing—butterfly bush cuttings root best when the medium stays consistently moist but never soggy, so water until you see it draining from the bottom.
Place the container in bright, indirect light at temperatures between 70-75°F. A clear plastic bag or propagation dome maintains 80-90% humidity—essential for preventing wilting. I place mine on a seedling heat mat for bottom warmth, which speeds up rooting significantly.
Mist the cuttings daily and check moisture levels by sticking your finger 1 inch into the medium. When it feels dry, water lightly. Roots typically form in 4-6 weeks, but you’ll know it’s working when you see new leaf growth at the top.
Once roots are 1-2 inches long (check by gently tugging—the cutting should resist), it’s time to transplant. Move each to a 1-gallon container with well-draining potting mix. Keep in partial shade for 1 week to reduce transplant shock before gradually introducing more sun.
Real talk: the first few days after transplanting are critical. Wilting is normal, but if it persists beyond 24-48 hours, move the cutting back to higher humidity. After 2-3 weeks of healthy growth, your new butterfly bush is ready for its permanent home in the garden.
These small details make the difference between struggling cuttings and thriving new plants.
The Cutting Selection: In Step 1, always choose stems that are pencil-thick with 3-4 leaf nodes. I learned the hard way that thinner stems often lack the stored energy needed for successful rooting, while older wood can be too tough to establish new growth.
Medium Matters: The 50/50 mix of perlite and peat moss in Step 2 isn’t just a suggestion—it’s critical. Perlite provides the aeration these cuttings need to prevent rot, while peat moss maintains the consistent moisture that encourages root development. Skip the garden soil; it’s too dense for this process.
Temperature and Humidity: Maintaining that 70-75°F range in Step 3 is non-negotiable. Below 70°F, root formation slows dramatically. Above 75°F, you risk cooking your cuttings. The 80-90% humidity from your propagation dome prevents wilting while roots establish.
Transplant Timing: Don’t rush Step 4. Those 1-2 inch roots are your green light for transplanting, but if you move them too soon, they’ll struggle to establish. And remember that 1 week in partial shade isn’t optional—it’s your cutting’s best chance to recover from the shock.
Take 4-6 inch softwood cuttings in spring, dip in rooting hormone, and plant in moist potting mix. Keep warm (70°F) and humid until roots form in 3-6 weeks.
Plant in early spring or fall to avoid extreme heat. This gives roots time to establish before summer stress or winter dormancy.
Wilting, rot, or slow growth often occur from overwatering or poor drainage. Use well-draining soil and avoid soggy conditions.
Yes, but it’s slower. Sow seeds indoors 8-10 weeks before the last frost. Germination is inconsistent, so cuttings are more reliable.
Water regularly, protect from strong winds, and fertilize lightly. Once established, it’s drought-tolerant but thrives with occasional pruning.