
Beautiful Plants For Your Interior
Beautiful Plants For Your Interior
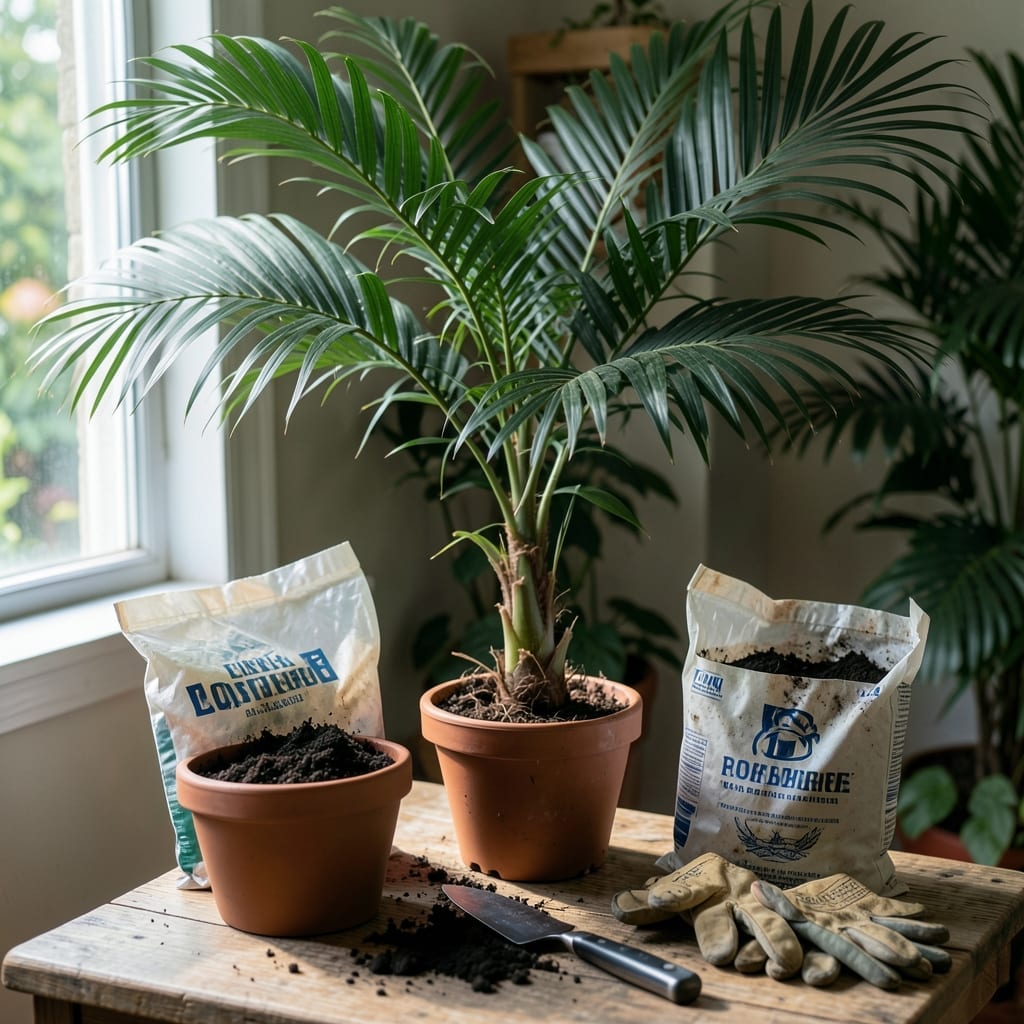
My majesty palm was struggling until I realized it was root-bound. Repotting transformed it within weeks, with new fronds unfurling faster than ever.
This process isn’t complicated—just timing, the right soil mix, and a pot only 2-3 inches larger. Most people overpot and drown the roots. I’ll share the exact steps that saved mine.
📚 In This Guide
Here’s the method I use to repot majesty palms without stressing the plant or the roots.
Pick early spring or early summer when the palm is actively growing and can recover quickly. A container 2-3 inches larger in diameter than the current pot works best—too large holds excess moisture that rots roots.
Ensure the new pot has multiple drainage holes. Terra cotta is ideal because it wicks away excess moisture, but any sturdy material with proper drainage will work. I gently tap the current pot’s sides to test if the root ball is tightly bound—when roots coil at the bottom, it’s time.
Water the palm thoroughly 24 hours before repotting to reduce transplant shock. The soil should be evenly moist but not soggy. This also firms the root ball, making it easier to slide out of the pot.
Use a well-draining potting mix formulated for palms or make your own with 60% peat or coconut coir and 40% perlite or coarse sand. Avoid dense garden soil—it suffocates roots. Fill the new container one-third full with fresh mix.
Tip the palm on its side and gently pull the pot away, supporting the base of the trunk with one hand. If it resists, run a knife around the edge to loosen the root ball. Never yank by the leaves—this damages the crown.
Inspect the roots. Healthy roots are white or light tan and firm. If you see dark, mushy roots or a sour smell, trim the affected areas with sterilized shears. Loosen the outer 1-2 inches of roots to encourage outward growth into the new soil.
Center the palm in the new pot so it sits at the same depth as before—burying the trunk too deep causes rot. Hold it steady while adding mix around the sides. Press lightly to eliminate air pockets but don’t compact the soil.
Leave a ½-inch gap between the soil surface and the pot rim for watering. I use my fingers to settle the mix without pressing too hard. Once filled, water lightly to help the soil settle around the roots.
Place the palm in bright, indirect light for 1-2 weeks—direct sun stresses a recovering plant. Keep the soil consistently moist but not waterlogged. Expect some leaf yellowing; this is normal as the palm adjusts.
Resume normal care once you see new growth. Avoid fertilizing for 4-6 weeks—fresh soil has enough nutrients, and excess fertilizer burns tender new roots. Mist the leaves daily to maintain humidity during recovery.
These practical insights will help you avoid the most common pitfalls when giving your palm a new home.
The Container Choice: Selecting a pot that’s 2-3 inches wider than the current one is crucial. Going too large encourages excess moisture retention, which can lead to root rot. Terra cotta offers excellent breathability, while plastic retains moisture longer—choose based on your plant’s needs and your watering habits.
Pre-Repotting Prep: Watering your majesty palm 24 hours before repotting serves two purposes: it reduces transplant shock and makes the root ball easier to remove. The soil should be evenly moist but not waterlogged—this is the sweet spot for minimizing stress on the plant.
Root System Care: When inspecting roots, remember that circling roots indicate the plant is root-bound. Gently teasing them apart or making 3-4 vertical cuts through the root mass encourages outward growth in the new container. Always sterilize your pruners between cuts with rubbing alcohol to prevent disease spread.
Aftercare Essentials: The 4-6 weeks without fertilizer after repotting is non-negotiable. Fresh soil contains sufficient nutrients, and adding fertilizer too soon can burn the recovering roots. New growth typically appears within 2-3 weeks, signaling it’s safe to resume your normal care routine.
Repot your majesty palm every 2–3 years or when roots outgrow the pot. Look for roots circling the base or poking through drainage holes. Younger palms may need repotting annually for optimal growth.
Spring or early summer is ideal, as warmer weather helps the palm recover faster. Avoid repotting in winter or fall, when growth slows and stress from transplanting can hinder recovery.
No, majesty palms thrive in well-draining, aerated mixes. Use a palm-specific or cactus blend, or amend regular potting soil with perlite or sand to improve drainage and prevent root rot.
Yellow leaves often signal transplant shock. Keep the plant in bright, indirect light, maintain consistent moisture (not soggy), and avoid fertilizing for 4–6 weeks to let it adjust.
Only trim dead or rotting roots with clean shears. Healthy roots should stay intact. Pruning excessively can stress the plant, but removing damaged parts encourages new, strong growth.