
Beautiful Plants For Your Interior
Beautiful Plants For Your Interior
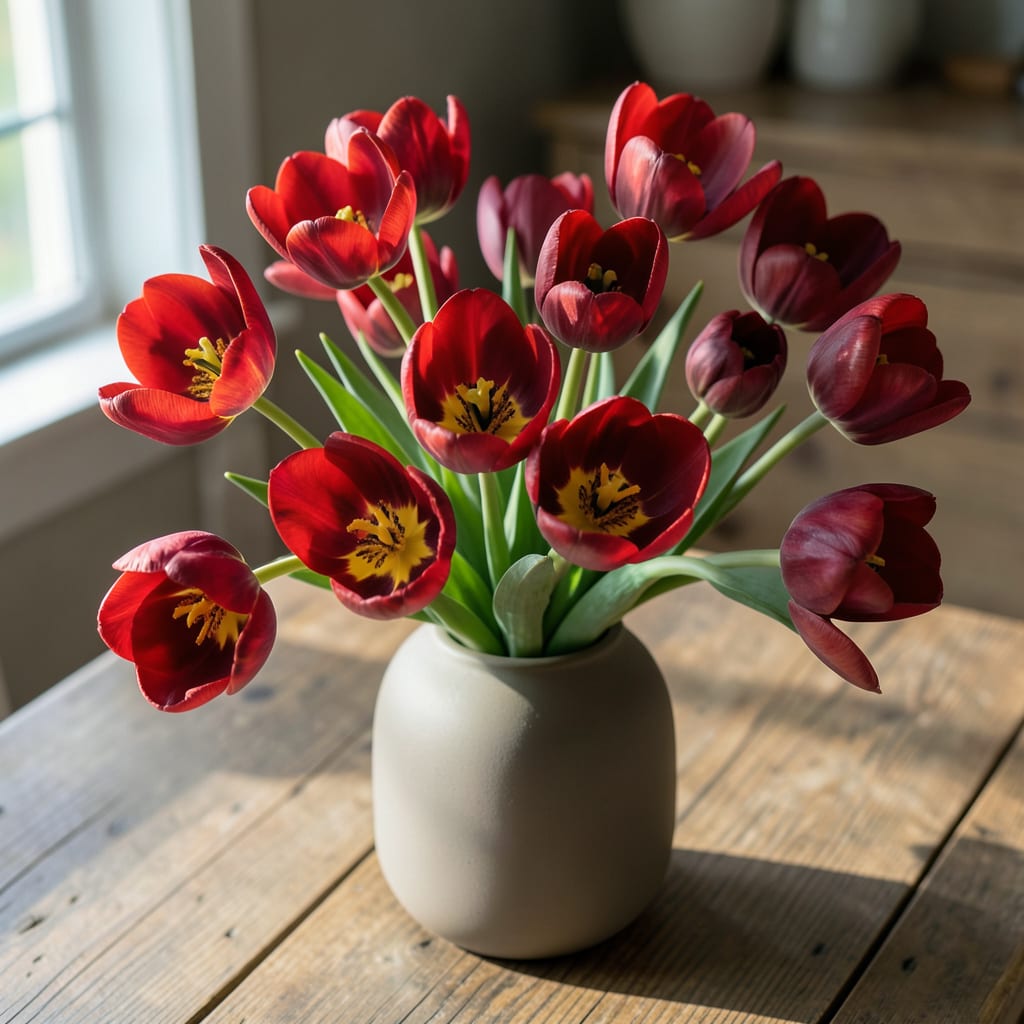
Red tulips with yellow centers light up my spring garden every year. I planted my first batch in early fall, and watching those bright blooms emerge after winter never gets old.
They thrive in well-draining soil with full sun, and the color contrast is simply stunning. With minimal care, you’ll get reliable yearly displays that make neighbors stop and stare.
📚 In This Guide
Here’s how I create a stunning spring display that returns year after year with minimal effort.
Select a spot with full sun to partial shade, as these tulips thrive with at least 6 hours of direct sunlight daily. The soil should be well-draining—tulip bulbs rot in soggy conditions. I always test drainage by digging a 12-inch hole and filling it with water. If it drains within 1-2 hours, you’re good to go.
Loosen the soil to a depth of 12-15 inches with a garden fork or tiller. Mix in a 2-3 inch layer of compost to improve fertility and structure. Tulips prefer slightly acidic to neutral soil, so if your soil is heavy clay or sand, amending it now ensures healthier bulbs and more vibrant blooms.
Plant bulbs in the fall, about 6-8 weeks before the first hard frost. This gives them time to establish roots before winter. Place each bulb 6-8 inches deep (about 3 times the bulb’s height) with the pointed end facing up. Space them 4-6 inches apart for a natural look.
If you’re planting in groups, dig a larger area to the required depth and arrange the bulbs in clusters of 5-7 for a fuller display. I always water thoroughly after planting to settle the soil and eliminate air pockets, which can dry out the roots.
After planting, give the area a deep watering—enough to soak the soil 8-10 inches down. This encourages the bulbs to start rooting quickly. Avoid overwatering, though; the soil should feel moist but not waterlogged. You’ll know it’s right when the top 1-2 inches of soil are slightly dry to the touch.
Apply a 2-3 inch layer of organic mulch, like shredded bark or straw, to insulate the soil and retain moisture. This also prevents weed growth, which can compete with the bulbs for nutrients. In colder climates, mulch protects the bulbs from freeze-thaw cycles that can heave them out of the ground.
In early spring, as shoots emerge, remove the mulch gradually to allow the soil to warm. Water when the top 1 inch of soil feels dry, especially if rainfall is sparse. I stop watering once the leaves begin to yellow and die back, usually by late spring or early summer.
After the tulips finish blooming, resist the urge to cut back the foliage immediately. The leaves continue to photosynthesize and feed the bulb for next year’s blooms. Once the foliage turns completely yellow and brittle, you can trim it back to the ground. This usually takes 6-8 weeks after flowering.
To encourage these tulips to return the following year, fertilize in early spring with a balanced, low-nitrogen fertilizer. I sprinkle a handful around each clump and lightly work it into the soil. Avoid high-nitrogen fertilizers, as they promote leaf growth at the expense of flowers.
Watch for signs of pests like aphids or diseases such as tulip fire, which causes brown, scorched-looking leaves. If you notice these issues, remove affected foliage immediately and dispose of it in the trash—not the compost. Healthy bulbs in well-prepared soil should reward you with those striking red blooms and yellow centers for years to come.
Here’s what I’ve learned from years of planting tulips in my garden.
Sunlight Strategy: The 6 hours of direct sunlight mentioned in Step 1 is non-negotiable for vibrant blooms. If your garden has partial shade, place the bulbs where they’ll get morning sun and afternoon shade. I’ve noticed tulips in full sun bloom earlier but those in partial shade last longer.
Drainage Test: That 12-inch hole test in Step 1 is a game-changer. If water sits longer than 1-2 hours, consider planting in raised beds or amending the soil with sand. Trust me—rotten bulbs are heartbreaking after all that effort.
Planting Depth: In Step 2, the 6-8 inches deep rule isn’t arbitrary. Planting too shallow causes bulbs to heave out of the ground during freeze-thaw cycles, while too deep delays sprouting. I use a ruler to measure the first few times until it becomes second nature.
Foliage Patience: Those 6-8 weeks of leaving foliage intact after blooming in Step 4 feel like forever, but it’s critical. The leaves are literally making food for next year’s flowers. I tie mine back with twine if they’re flopping over to keep the garden tidy.
These striking tulips often represent perfect love and passion, with the yellow center adding a touch of cheerfulness. They’re popular for romantic gestures and spring celebrations.
Plant bulbs in fall, 6-8 weeks before the first hard frost. This allows roots to establish before winter, ensuring vibrant blooms in early to mid-spring.
Ensure well-draining soil, full sun to partial shade, and moderate watering. Deadhead spent blooms but leave foliage until it yellows to nourish next year’s growth.
Lack of sunlight, overcrowded bulbs, or poor soil nutrition can cause this. Divide bulbs every 3-4 years and fertilize in early spring for consistent color.
Try ‘Fosteriana’ tulips or Darwin Hybrid varieties, which often feature bold red petals with sunny yellow centers for a comparable look.
