
Beautiful Plants For Your Interior
Beautiful Plants For Your Interior
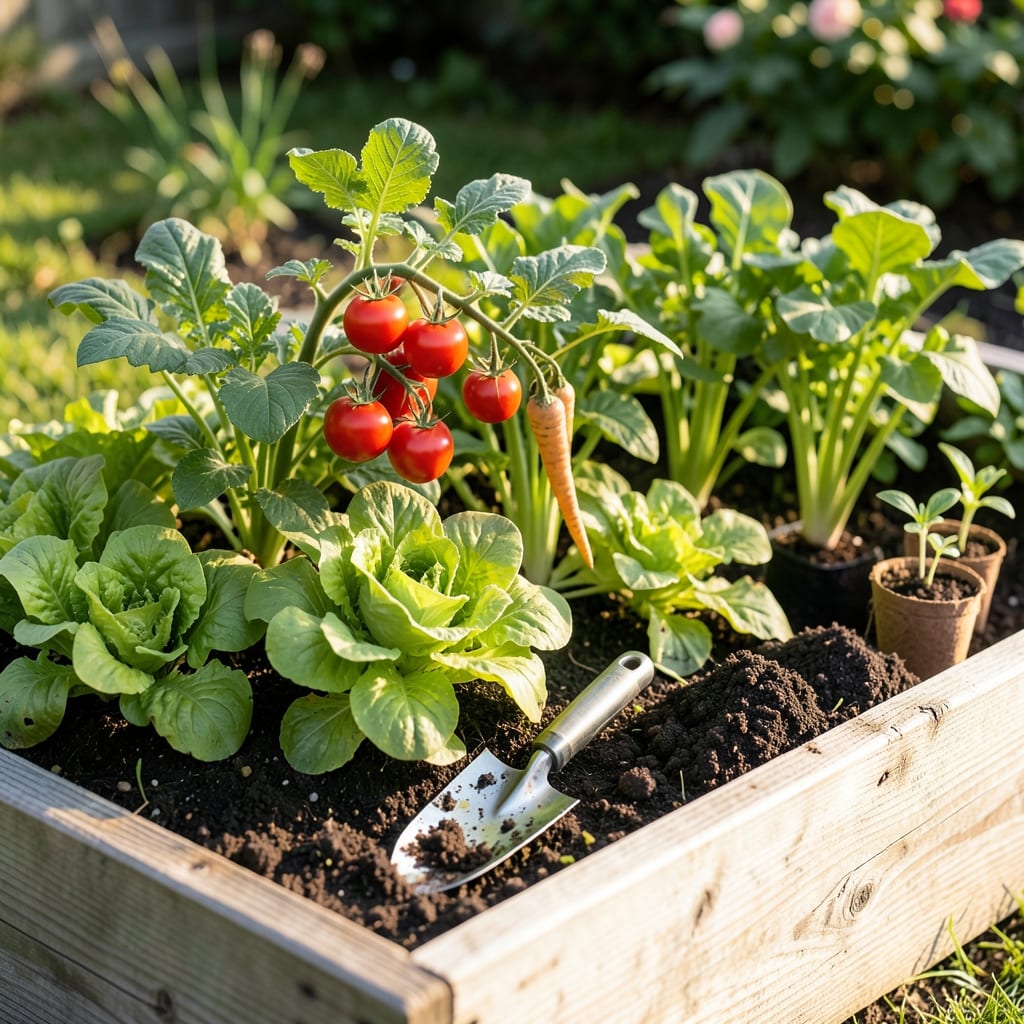
My first raised bed was a disaster—compacted soil, poor drainage, and plants that never thrived. Then I learned the simple secrets that transformed my garden into a productive powerhouse.
Now I build beds that stay fertile for years with minimal upkeep. The key is starting with the right foundation: loose soil, proper depth, and smart plant spacing. You’ll see the difference in weeks.
📚 In This Guide
Here’s the method I rely on to create productive, long-lasting garden spaces every time.
Select a spot that gets at least 6-8 hours of direct sunlight daily. Most vegetables and herbs need full sun to thrive. Avoid low areas where water might pool after rain. I always test the spot by watching how the light moves across it at different times of day.
For size, aim for 3-4 feet wide so you can reach the center from either side without stepping in the bed. Length can vary based on your space, but 8 feet is ideal for most backyards. Keep paths between beds at least 2 feet wide for easy access with tools or wheelbarrows.
Remove any grass, weeds, or debris from the area. Level the ground as much as possible to prevent the frame from shifting over time. If you’re placing the bed on existing lawn, I lay down several layers of cardboard to smother the grass naturally.
Use untreated wood, composite lumber, or stone for the frame. Cedar and redwood resist rot naturally and last 10-15 years. Secure corners with screws or brackets, making sure the frame sits level. A 12-inch height works well for most plants while making maintenance easier on your back.
Start with a 4-6 inch layer of coarse material like branches or straw at the bottom to improve drainage. Next add a 6-inch layer of topsoil mixed with compost. I always use a 50/50 blend for the best balance of nutrients and drainage.
Finish with a 2-3 inch layer of pure compost on top. This gives your plants an immediate nutrient boost. Avoid using garden soil alone—it compacts too easily in raised beds and may contain weed seeds. The total depth should be at least 12 inches for most vegetables to root properly.
Arrange plants based on their light and space needs, placing taller varieties on the north side to avoid shading smaller ones. I always plant in a staggered pattern rather than rows to maximize space. Leave 1-2 inches between the soil surface and the top of the frame for watering.
Apply a 2-3 inch layer of organic mulch like straw or wood chips after planting. This retains moisture, suppresses weeds, and regulates soil temperature. Keep mulch 1 inch away from plant stems to prevent rot. Water thoroughly after planting to settle the soil around roots.
Check soil moisture every 2-3 days by inserting your finger 1 inch deep. If it feels dry, water deeply until it drains from the bottom. Raised beds dry out faster than in-ground gardens, especially in hot weather.
Top-dress with compost every 4-6 weeks to replenish nutrients. I pull back the mulch, add a ½-inch layer of compost, then replace the mulch. This keeps your soil fertile without disturbing plant roots. Rotate crops each season to prevent disease buildup.
Building soil layers the right way makes all the difference in your garden’s success.
Sunlight Strategy: That 6-8 hours of direct sunlight in Step 1 isn’t just a suggestion—it’s critical. I learned this the hard way when my first bed got only 5 hours of sun and my tomatoes struggled. Use a sunlight calculator app to track how the light moves across your yard before committing to a location.
Material Matters: In Step 2, cedar and redwood’s 10-15 year lifespan is worth the investment. I made the mistake of using pressure-treated wood once, and while it lasted, I worried about chemicals leaching into the soil. Untreated wood or composite lumber gives peace of mind without the maintenance hassle.
Soil Layering Secret: The 12-inch total depth in Step 3 is non-negotiable for root vegetables. Skip the coarse bottom layer and your drainage will suffer. I use tree branches I’ve pruned from my yard for that 4-6 inch base—it’s free and works perfectly. The 50/50 topsoil-compost mix is my gold standard for nutrient balance.
Mulch Placement: That 1 inch gap from plant stems in Step 4 prevents more problems than you’d think. I’ve lost several plants to rot by piling mulch too close. Use a ruler if you need to—precision here prevents heartbreak later. The 2-3 inch mulch layer also means you’ll water less often, which is a game-changer during heat waves.
Aim for at least 6–12 inches deep for most vegetables. Root crops like carrots may need 12–18 inches. Ensure good drainage to prevent waterlogging.
Use a mix of 60% topsoil, 30% compost, and 10% perlite or sand for aeration. Avoid garden soil alone, as it may compact over time.
Start in early spring after the last frost for cool-season crops. Warm-season plants thrive after soil temperatures reach 60°F.
Lay landscape fabric at the base before filling with soil. Mulch with straw or wood chips to suppress growth naturally.
Yes! Cedar, redwood, or locust are naturally rot-resistant. Avoid pressure-treated wood if growing edibles, as chemicals may leach into the soil.