
Beautiful Plants For Your Interior
Beautiful Plants For Your Interior
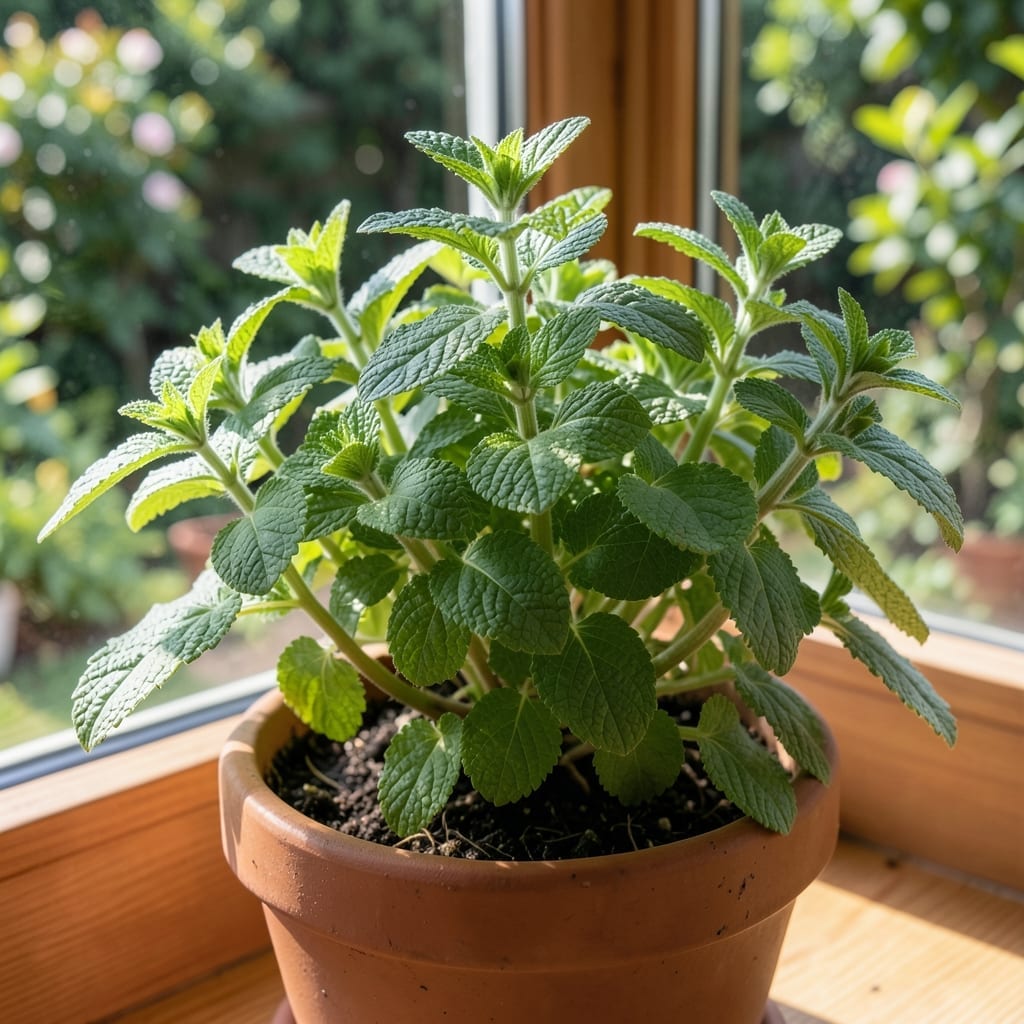
This unique herb delivers deep, minty aroma with a hint of mystery. I first grew Peruvian black mint in a partial shade spot, and it thrived where other mints struggled.
You’ll get dark, velvety leaves that release intense fragrance with just a touch. The plants spread gently, perfect for containers or garden edges, and require minimal fuss beyond consistent moisture.
📚 In This Guide
Here’s the method I trust to produce fragrant, vigorous plants with minimal fuss.
Select a spot with partial shade to full sun, as this plant thrives in 4-6 hours of daily light. Too much direct sun can scorch the leaves, while too little results in leggy, weak growth. I’ve found morning sun with afternoon shade works best in most climates.
The soil should be well-draining and rich in organic matter. Amend heavy clay or sandy soil with compost to improve texture and fertility. Aim for a slightly acidic to neutral pH of 6.0-7.0 for optimal growth.
If starting from seeds, sow them ¼ inch deep in moist, warm soil. Keep the soil consistently damp but not waterlogged, and expect germination in 10-14 days. I like to cover the tray with plastic wrap to retain moisture until the first sprouts appear.
For transplants, dig a hole twice the width of the root ball and just as deep. Place the plant in the hole, backfill with soil, and press gently to remove air pockets. Space plants 12-18 inches apart to allow for air circulation and future growth.
Water the plants deeply after planting, then maintain a consistent schedule. Keep the soil evenly moist but not soggy—this plant dislikes both drought and waterlogged roots. I check the soil daily by sticking my finger 1 inch deep; if it feels dry, it’s time to water.
Apply a 2-inch layer of organic mulch around the base of the plants to retain moisture and suppress weeds. Avoid piling mulch against the stems, as this can lead to rot. Mulching also helps regulate soil temperature, which this plant appreciates.
Feed the plants with a balanced, water-soluble fertilizer every 4-6 weeks during the growing season. I use a half-strength solution to avoid overfeeding, which can lead to leggy growth and reduced aroma. Always water the plants before fertilizing to prevent root burn.
Pinch back the tips of the stems regularly to encourage bushier growth. This also prevents the plant from becoming too leggy. I start pruning once the plants reach 6 inches tall, removing the top 1-2 inches of each stem to promote branching.
Begin harvesting leaves once the plants are well-established, usually after 6-8 weeks of growth. Pick the leaves in the morning, when their essential oils are most concentrated, for the best flavor and aroma. I use clean, sharp scissors to snip individual leaves or small sprigs as needed.
Avoid removing more than one-third of the foliage at any one time to prevent stressing the plant. Regular harvesting encourages new growth and keeps the plant productive throughout the growing season.
Small adjustments make a surprising difference with this herb.
Light Exposure: Those 4-6 hours of daily light are non-negotiable. I learned the hard way that afternoon sun alone can scorch the leaves, while morning sun with afternoon shade produces the most aromatic foliage. If your space gets intense midday sun, consider dappled shade or a sheer curtain to filter it.
The Soil Factor: Well-draining soil isn’t just a suggestion—it’s critical. I’ve seen plants struggle in heavy clay until I amended it with compost. That pH range of 6.0-7.0 is ideal, so test your soil if you’re unsure. A simple at-home kit costs less than a coffee and could save your plants.
Watering Wisdom: The 1-inch finger test mentioned in Step 3 is my go-to method. Here’s what nobody tells you—this plant will forgive a missed watering better than it will forgive soggy roots. When in doubt, wait an extra day. That 2-inch mulch layer isn’t just for moisture; it keeps soil temperature steady, which this herb loves.
Pruning Pro Tip: When you start pruning at 6 inches tall, don’t be shy. Removing those top 1-2 inches of each stem might feel drastic, but it forces the plant to branch out. The result is a fuller, more productive plant that gives you more leaves to harvest.
Start with well-draining soil and partial shade. Plant cuttings or seeds, keep the soil moist but not soggy, and ensure good airflow. It thrives in warm climates but can be grown indoors with sufficient light.
Harvest leaves in the morning after dew dries, once the plant reaches 6-8 inches tall. Regular pruning encourages bushier growth. Avoid harvesting more than one-third of the plant at a time.
If unavailable, try spearmint or peppermint for a similar aromatic profile, though the flavor won’t be identical. For culinary uses, basil or oregano can work in some dishes.
Yellow leaves often signal overwatering or poor drainage. Check soil moisture and ensure pots have drainage holes. Pests or nutrient deficiencies can also cause this—inspect leaves and adjust care as needed.
Yes! Use a container at least 8-12 inches deep with drainage. Container growth allows you to move the plant indoors during colder months, protecting it from frost.