
Beautiful Plants For Your Interior
Beautiful Plants For Your Interior
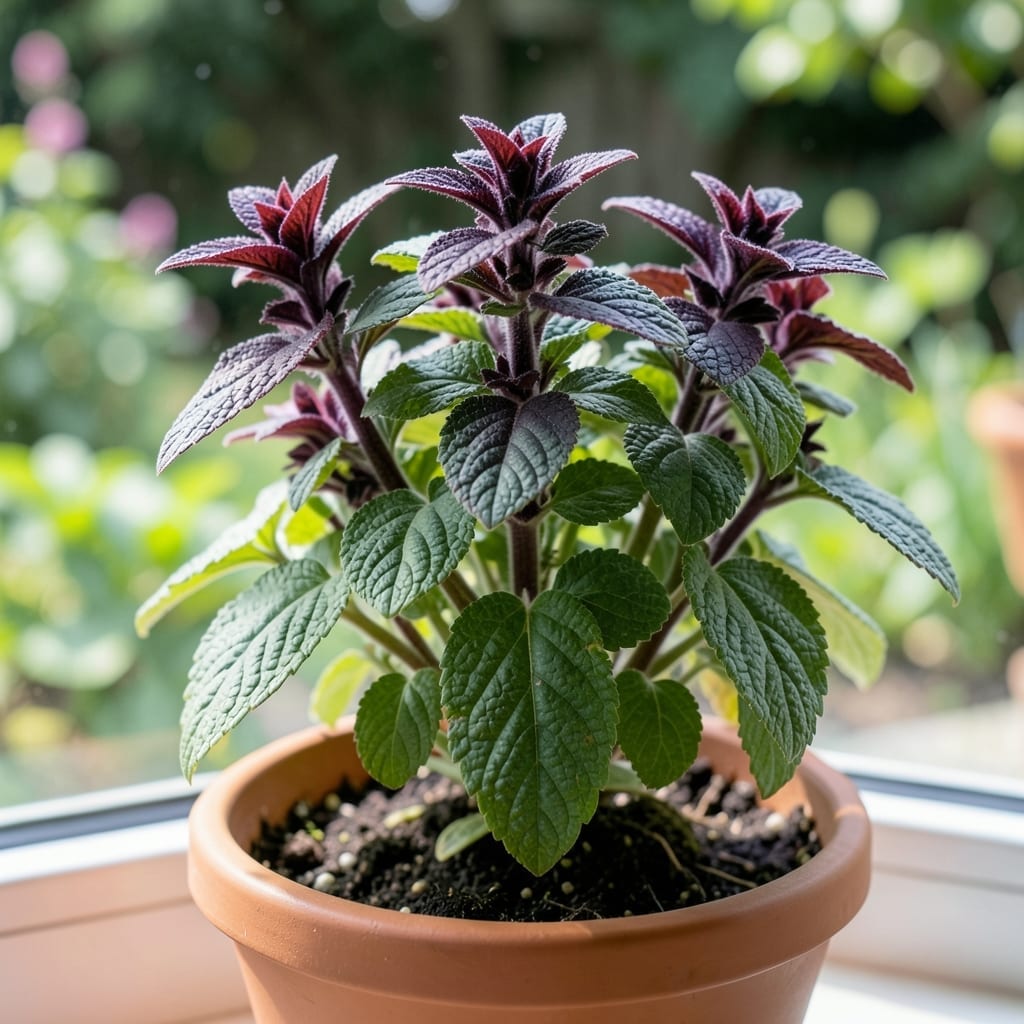
This Peruvian herb changed how I cook and garden. Black mint huacatay brings that bold, citrusy-mint flavor that’s impossible to find fresh in stores.
It thrives in partial shade with consistent moisture, and the leaves are ready to harvest in just 6-8 weeks. Once you try it, you’ll wonder how you ever did without.
📚 In This Guide
This method delivers robust, aromatic plants with the distinctive flavor you expect from Peruvian cuisine.
Choose a location with partial shade to full sun, as black mint huacatay thrives in 4-6 hours of direct sunlight daily. The soil should be well-draining with a slightly acidic to neutral pH of 6.0-7.0. I always test the soil first—if it’s too alkaline, amend it with compost or peat moss to lower the pH.
Work the soil to a depth of 8-10 inches, removing any rocks or debris. This herb prefers loose, fertile soil, so mix in a generous amount of organic matter like aged compost. The goal is a crumbly texture that drains well but retains enough moisture to sustain growth.
If starting from cuttings, take 4-6 inch stem sections with at least two nodes and remove the lower leaves. Dip the cut ends in rooting hormone (optional but helpful) and plant them 1-2 inches deep in the prepared soil. Space cuttings 12-18 inches apart to allow for air circulation and future growth.
For seedlings, dig holes slightly larger than the root ball and place each one at the same depth it was in its container. Backfill with soil and press gently to eliminate air pockets. Water immediately after planting to settle the soil around the roots.
Keep the soil consistently moist but not waterlogged during the first 2-3 weeks after planting. I water deeply 2-3 times per week, ensuring the top 1-2 inches of soil stays damp. Once established, reduce watering to once a week, allowing the top inch to dry out between sessions.
This herb dislikes soggy roots, so avoid overwatering. If the leaves start yellowing or wilting, it’s often a sign of too much water rather than too little. A good rule of thumb: water when the soil feels dry to the touch at a depth of 1 inch.
Apply a balanced, water-soluble fertilizer every 4-6 weeks during the growing season to promote lush foliage. I use a 10-10-10 or 20-20-20 fertilizer diluted to half strength to avoid burning the plants. This ensures steady growth without overwhelming the roots.
Pinch back the tips of the stems regularly to encourage bushier growth. This also prevents the plant from becoming leggy and promotes a fuller, more compact shape. Watch for new leaf growth—this is your sign the plant is thriving and ready for more aggressive pruning.
Begin harvesting leaves once the plant reaches 12-18 inches tall, typically after 8-10 weeks of growth. Snip off individual leaves or small sprigs as needed, but avoid removing more than one-third of the plant at a time. This keeps the plant productive and healthy.
For the best flavor, harvest in the morning after the dew has dried but before the heat of the day sets in. The leaves are most aromatic at this time. Use them fresh in recipes or dry them for later use by hanging small bundles in a warm, dark place for 1-2 weeks.
Small details make the difference between struggling plants and a thriving herb garden.
Sunlight Sweet Spot: The 4-6 hours of daily sunlight specified in Step 1 is non-negotiable for robust growth. If your garden gets intense afternoon sun, provide afternoon shade to prevent leaf scorch. I’ve found that morning sun with afternoon dappled shade produces the most aromatic leaves.
Soil Preparation Tip: When working the soil to 8-10 inches deep in Step 1, don’t skip the organic matter. I mix in at least 3-4 inches of aged compost—this herb needs that loose, fertile base to establish strong roots quickly. The crumbly texture mentioned is your visual cue that the soil is ready.
Watering Wisdom: During those first 2-3 weeks after planting in Step 3, the top 1-2 inches of soil must stay consistently damp. I check daily by sticking my finger into the soil—if it feels dry at that 1-inch depth, it’s time to water. Once established, the once-weekly schedule works perfectly, but always let that top inch dry out between waterings.
Growth Encouragement: The 4-6 week fertilizer schedule in Step 4 is ideal, but watch for new leaf growth as your signal to feed. When I see that fresh green growth at the tips, I know the plant is ready for its next diluted 10-10-10 application. This visual cue is more reliable than the calendar alone.
Black mint huacatay is a Peruvian herb used to flavor dishes like aguadito (soup), ceviche, and sauces. Its unique minty-citrus aroma enhances traditional Andean cuisine.
Yes! It thrives in pots with well-draining soil and bright, indirect light. Keep the soil moist but not soggy, and place it near a sunny windowsill.
From seeds, black mint huacatay takes about 60-90 days to mature. For faster results, use cuttings, which can root in 2-3 weeks under ideal conditions.
If unavailable, try regular mint mixed with a touch of lime zest or cilantro. Mexican hoja santa also offers a similar aromatic profile.
Yellow leaves often signal overwatering or poor drainage. Check soil moisture and ensure the pot has drainage holes. Adjust watering and trim affected leaves.