
Beautiful Plants For Your Interior
Beautiful Plants For Your Interior
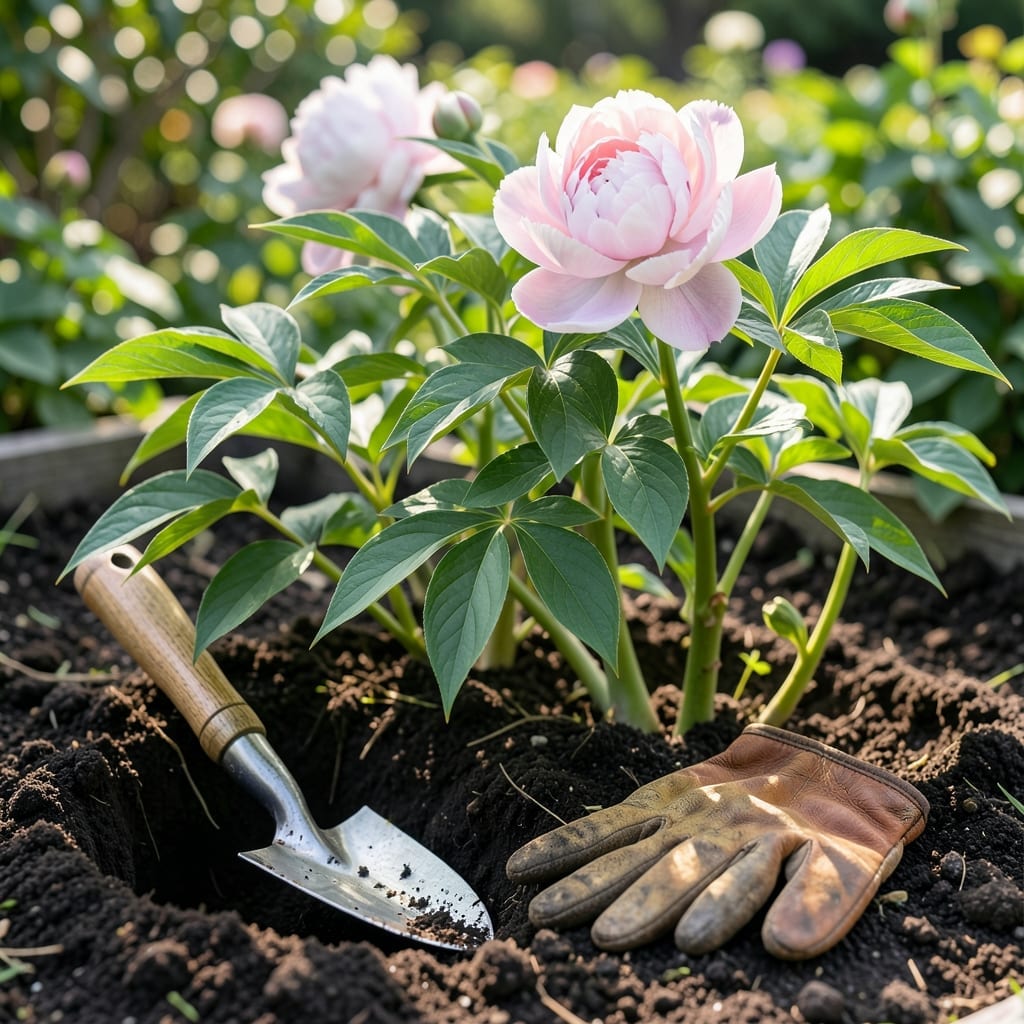
Planting peonies changed my spring garden forever. Those first massive blooms after years of failed attempts made every minute worth it.
Get the depth right—2 inches too shallow and they won’t bloom. They thrive in full sun with well-draining soil, and once established, they’ll outlive most of your other plants with almost no care.
📚 In This Guide
This method ensures healthy roots and spectacular blooms for years to come.
Select a spot with full sun (at least 6-8 hours of direct sunlight daily). Peonies tolerate light afternoon shade in hotter climates, but too much shade weakens stems and reduces flowering. Avoid low-lying areas where water pools after rain.
The soil should drain well but retain some moisture. If your soil is heavy clay, amending with compost improves drainage. I test drainage by digging a 12-inch hole, filling it with water, and checking if it drains within an hour.
Dig a hole that’s 2 feet wide and 18 inches deep. This extra space allows roots to spread without competition. The depth is critical: peony eyes (the pink buds on the root) must sit no deeper than 2 inches below the soil surface—planting too deep is the most common reason peonies fail to bloom.
Mix a handful of bone meal or a balanced fertilizer into the bottom of the hole. I avoid high-nitrogen fertilizers at planting, as they promote leafy growth over flowers. Backfill the hole with the amended soil, creating a small mound in the center for the root to rest on.
Place the peony root on the mound, spreading the roots outward like fingers. The eyes should face upward, toward the sky. If you’re planting a container-grown peony, loosen the root ball gently to encourage outward growth.
Fill the hole with soil, firming it lightly around the roots to eliminate air pockets. Water thoroughly to settle the soil, then add more if needed to maintain the proper depth. Mark the spot with a stake so you don’t accidentally disturb it while the plant establishes.
Water the newly planted peony deeply once a week for the first month, then taper off as the plant establishes. Overwatering can rot the roots, so let the top 1-2 inches of soil dry out between waterings. A 2-3 inch layer of organic mulch (like shredded bark) helps retain moisture and suppress weeds.
Keep the mulch a few inches away from the stem to prevent rot. Peonies are slow starters—don’t be alarmed if you see no growth above soil the first year. The plant is busy establishing its root system, which is key to those stunning spring blooms.
These small adjustments make the difference between peonies that struggle and those that thrive.
Sunlight Requirement: That 6-8 hours of direct sunlight daily in Step 1 isn’t just a suggestion—it’s essential. I learned this the hard way when my first peonies produced weak stems. In hotter climates, light afternoon shade is fine, but morning sun is non-negotiable for strong blooms.
Drainage Test: The 12-inch hole drainage test from Step 1 is your insurance policy. If water doesn’t drain within an hour, amending with compost is mandatory. Soggy roots are the fastest way to kill peonies before they even get started.
Planting Depth: Here’s what nobody tells you—the 2 inches below soil surface rule in Step 2 is absolute. Plant those peony eyes any deeper and you’ll get lush foliage with zero flowers. I mark the depth with a ruler the first few times until it becomes second nature.
Mulching Technique: That 2-3 inch layer of organic mulch in Step 4 needs to breathe. Keep it a few inches away from the stem as instructed, or you’ll create the perfect environment for rot. Shredded bark works best because it breaks down slowly while still allowing air circulation.
The ideal time is early fall (September to October) in most climates. This allows roots to establish before winter. Avoid planting in spring, as peonies may struggle to bloom the first year.
Plant the eyes (buds) no deeper than 1–2 inches below the soil surface. Too deep can prevent blooming. In warmer climates, opt for the shallower end to encourage flowers.
Common causes include planting too deep, insufficient sunlight (they need 6+ hours), or young plants (they may take 2–3 years to bloom). Check for over-fertilizing or disease as well.
Yes! Use a large pot (at least 12–16 inches deep) with drainage. Choose dwarf varieties and ensure full sun. Container-grown peonies may need winter protection in cold areas.
Space plants for airflow, avoid overhead watering, and remove debris in fall. Fungicide sprays can help, but good hygiene is key to preventing fungal issues.