
Beautiful Plants For Your Interior
Beautiful Plants For Your Interior
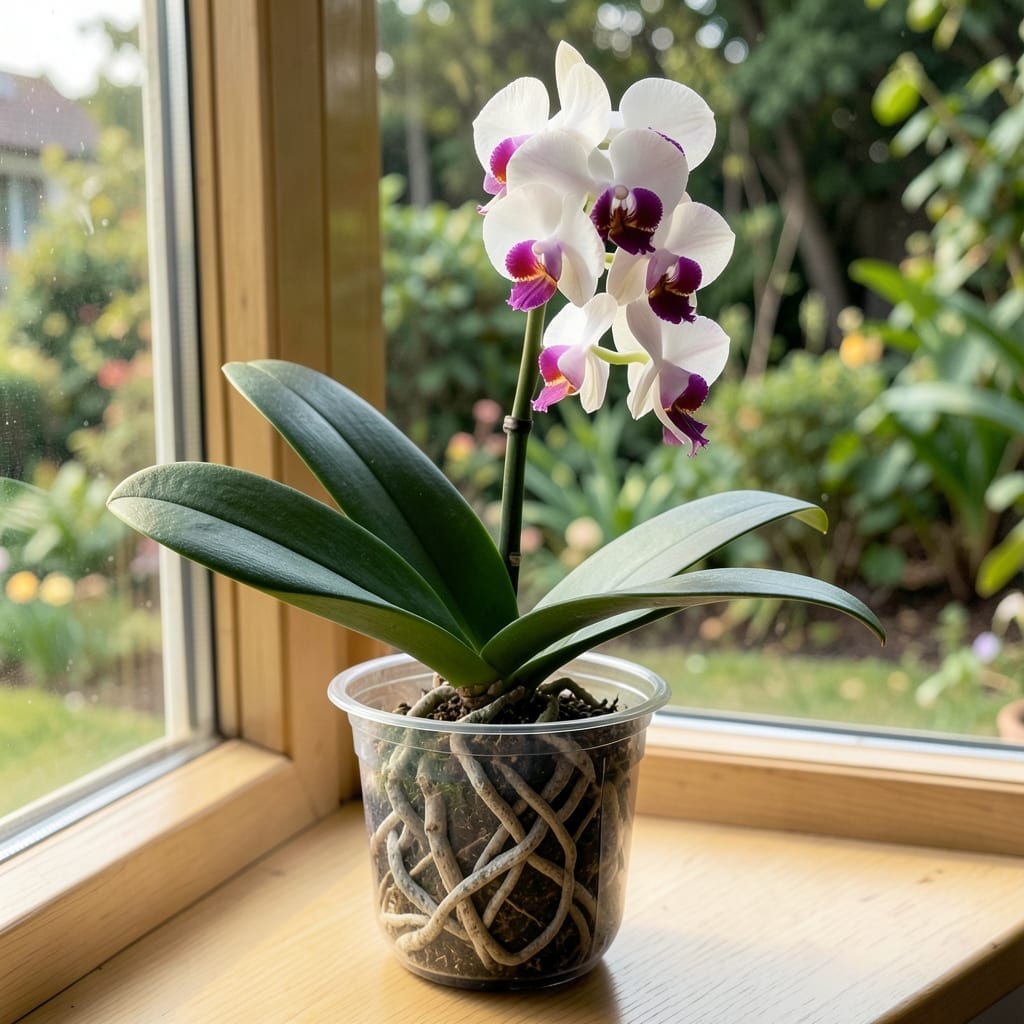
Shriveled orchid roots don’t mean your plant is doomed. I’ve nursed dozens back from the brink with a few simple adjustments to watering and environment.
Most cases come down to 3 common issues: too little water, too much water, or not enough humidity. The roots tell you exactly what’s wrong if you know how to read them—silver and hollow means thirsty, mushy means drowning.
With the right approach, you’ll see new root growth in 4-6 weeks. The key is acting fast and matching your care to what orchids actually need, not what seems logical.
Works for Phalaenopsis, Cattleya, or any orchid with shriveled roots. Here’s how to bring them back to healthy condition.
Orchid roots can shrivel due to several environmental or care-related stressors. Understanding the root cause is the first step toward revival. Below are the most common triggers, explained with actionable insights.
Orchids are epiphytes, meaning they absorb moisture from the air and their surroundings—not from saturated soil. Underwatering starves roots of hydration, causing them to shrink and wrinkle. Conversely, overwatering suffocates roots by blocking oxygen uptake, leading to rot and eventual dehydration as healthy tissue dies. Fix: Water only when the medium is nearly dry, and ensure pots have drainage holes.
Roots exposed to temperatures below 50°F (10°C) or above 90°F (32°C) lose their ability to absorb water efficiently. Cold shock can cause cell damage, while excessive heat accelerates moisture loss. Fix: Keep orchids in a stable environment (65–80°F/18–27°C) and avoid placing them near drafts or heaters.
Orchids thrive in 40–70% humidity. Dry air forces roots to release moisture faster than they can replenish it, leading to shriveling. This is especially common in indoor settings with HVAC systems. Fix: Use a humidity tray, groupings of plants, or a humidifier to maintain ideal levels.
Stagnant air traps moisture around the roots, promoting fungal or bacterial infections that destroy root structure. Conversely, excessive airflow (e.g., direct fans) can dry roots too quickly. Fix: Ensure gentle airflow with a ceiling fan on low or by opening windows periodically.
Tap water or fertilizers high in salts can cause root burn, where osmotic pressure pulls water out of the roots. Over time, this leads to dehydration and shriveled appearance. Fix: Flush the medium with distilled or rainwater monthly to leach out excess minerals.
Reviving your orchid starts with addressing the root of the problem—literally. Below are targeted fixes for the most common causes, plus prevention tips to keep your plant thriving.
If dry conditions are to blame, soak the orchid in room-temperature water for 10–15 minutes. Use a shallow dish to submerge the pot, allowing the roots to absorb moisture without stress. Repeat weekly until roots plump up. Prevention tip: Water when the top inch of potting mix feels dry, but avoid letting the plant sit bone-dry for long.
Soggy roots suffocate. Repot the orchid in fresh, chunky bark mix (like fir or pine) and a pot with drainage holes. Trim any mushy, black roots with sterilized scissors. Prevention tip: Water only when the mix is nearly dry, and ensure the pot isn’t sitting in a saucer of water.
Move your orchid to a spot with consistent temperatures between 65–80°F (18–27°C), away from drafts, heaters, or AC vents. If roots were exposed to extreme cold, check for frost damage and trim affected areas. Prevention tip: Avoid placing orchids near windows with direct, harsh sunlight or cold glass.
Remove infected roots with sterilized tools and soak the remaining healthy roots in a diluted hydrogen peroxide solution (1 part 3% peroxide to 3 parts water) for 10 minutes. Repot in fresh mix. Prevention tip: Sterilize pots and tools between uses, and ensure good airflow around the plant.
Pro tip 💡: After treating shrivelled roots, mist the orchid lightly every 2–3 days to maintain humidity, but avoid overdoing it—balance is key!
With proper care, you’ll typically see new root growth in 4-6 weeks. Full recovery may take 2-3 months, depending on the severity of the damage and how quickly you address the issue.
Yes, but it’s challenging. Trim all dead roots, soak the base in water daily for 10-15 minutes, and place it in a humidity-rich environment. New roots may emerge in 6-8 weeks if the plant still has energy.
Only if they’re black, mushy, or completely dried out. If they’re just wrinkled but still firm and green or silver, they may recover with proper hydration. Sterilize tools before trimming to prevent infection.