
Beautiful Plants For Your Interior
Beautiful Plants For Your Interior
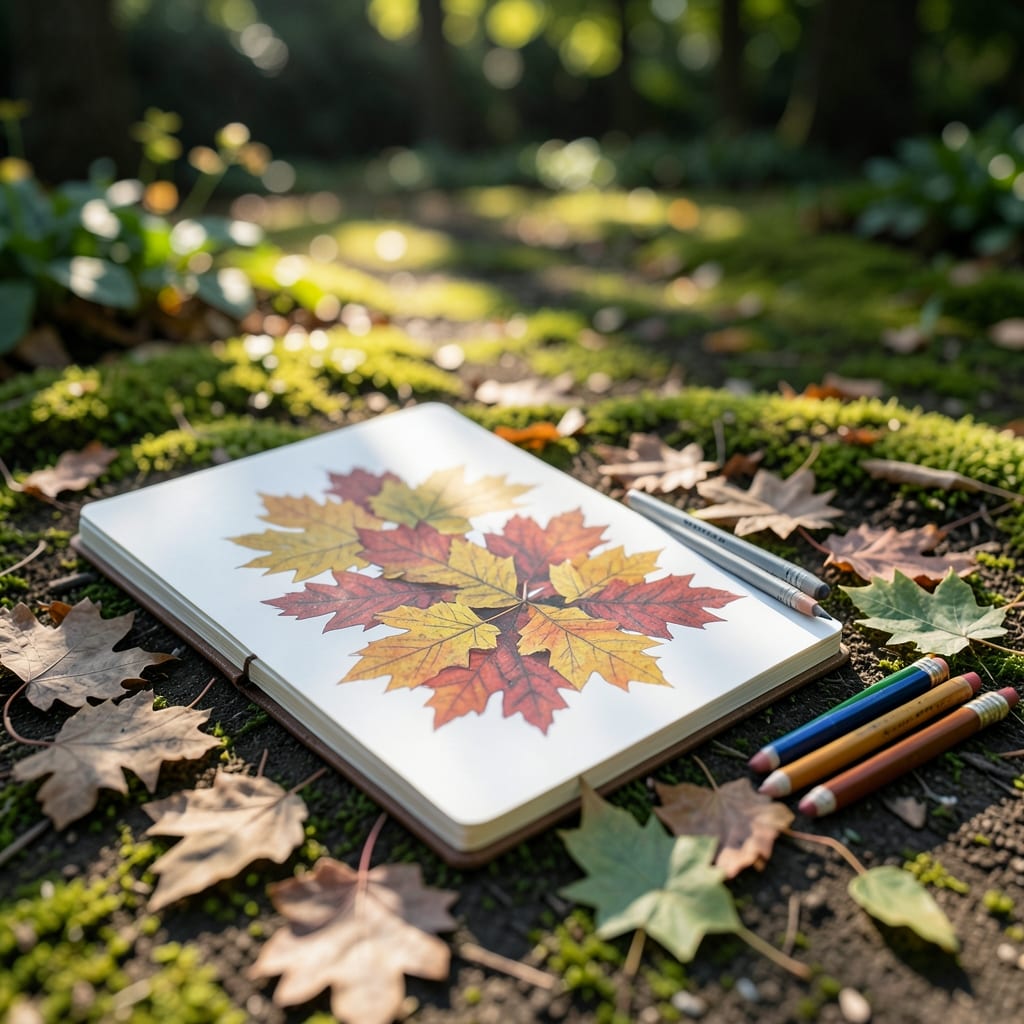
Capture fallen leaves by sketching their natural shapes and textures, focusing on light, shadow, and organic arrangements to create realistic ground compositions.
I love how autumn scenes come alive when you layer overlapping leaves with varied browns and golds. The key is observing how light plays across their curved surfaces, creating subtle highlights and deep shadows that define each leaf’s character. 🌟
Try starting with light pencil outlines to map out your composition, then build up texture gradually using cross-hatching or stippling for those intricate vein patterns.
💡 In This Article
Creating authentic leaf textures starts with understanding their vein patterns. Maple leaves feature a central stem with branching veins, while oak leaves display a more complex network. Use a 0.5mm mechanical pencil for precise vein lines, applying slightly more pressure for the main stem and lighter strokes for secondary veins.
This creates natural hierarchy in your drawing. ✨
The secret to depth lies in layering different shading techniques. Cross-hatching works well for the leaf’s body, while stippling can mimic the tiny bumps and imperfections found on real leaves. Try using a 2B pencil for darker areas where leaves overlap, creating natural shadow effects that make your composition pop. 🔥
For fallen leaves, pay special attention to the edges. Real leaves rarely have perfect outlines – they often show small tears or irregularities from decomposition. Use short, controlled strokes with a kneaded eraser to lift graphite and create these organic imperfections. The contrast between crisp vein lines and softer edges adds realism. 💫
Light source direction dramatically affects your leaf textures. Imagine sunlight coming from one side, creating highlights on raised veins and shadows in the leaf’s natural depressions. Use a blending stump to softly transition between these areas, maintaining the three-dimensional appearance that brings your ground composition to life. ⚡
Don’t forget the ground interaction. Leaves on soil often collect dirt in their crevices. Add subtle graphite dust or light brown tones in these areas to suggest this natural accumulation. The most convincing leaf drawings show this relationship between the foliage and its environment. 🌟
Use H-2H for crisp vein lines and 4B-6B for deep shadows between leaves. This range gives you precise control for both fine details and rich shading.
Arrange them with varied overlaps and angles, leaving some partially hidden. Add smaller leaf fragments between larger ones for a realistic, organic feel.
Focus on the main stem and primary veins, then suggest secondary veins with lighter strokes. Over-detailing can make the drawing look stiff rather than natural.
Add subtle imperfections with a kneaded eraser to create natural tears or uneven edges. Perfect outlines look artificial in nature drawings.
Darken the areas where leaves overlap using 2B-4B pencils. The contrast between light and shadow creates the illusion of layers.