
Beautiful Plants For Your Interior
Beautiful Plants For Your Interior
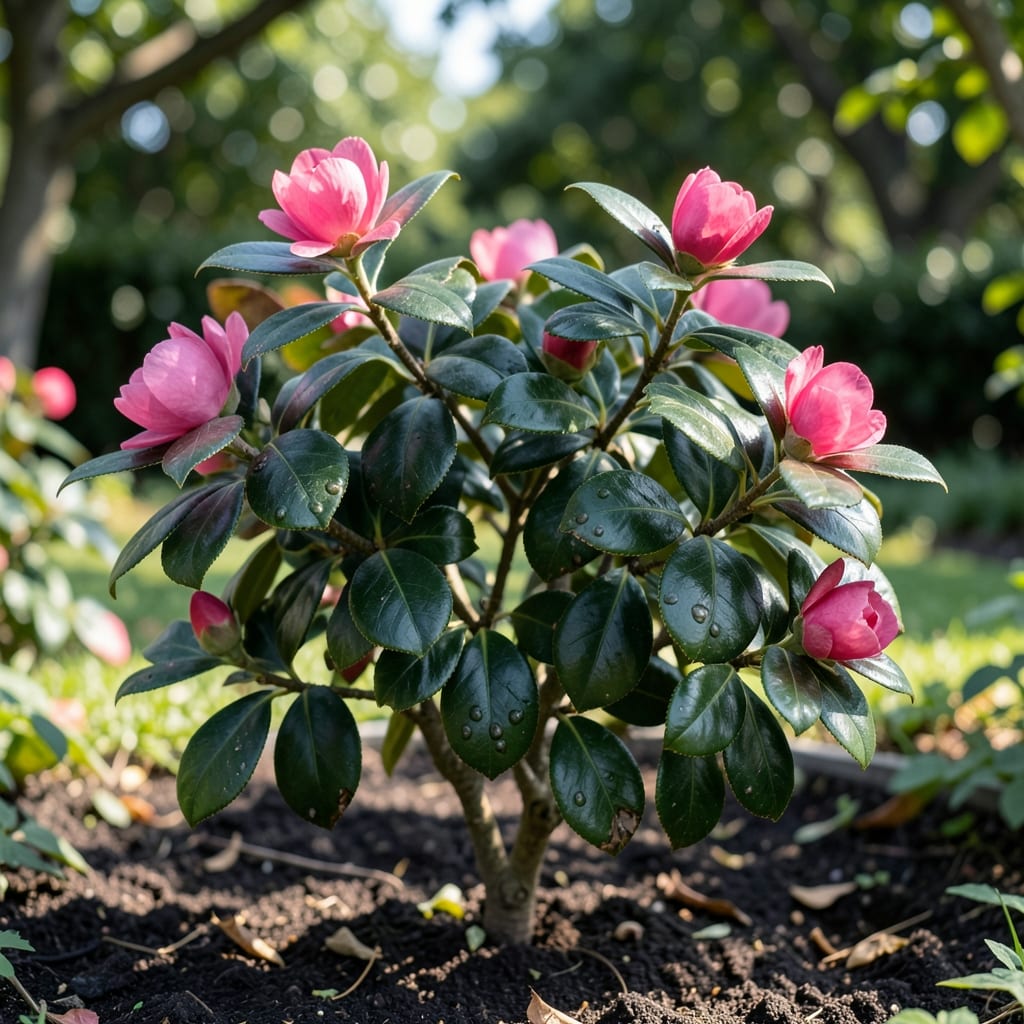
Those little blisters on your camellia leaves aren’t bug bites or disease. I’ve seen this exact pattern on my plants after a stretch of cool, damp weather followed by sudden sunlight.
The good news is it’s fixable. Adjust your watering schedule, improve air circulation, and protect the leaves from late afternoon sun. Within 2-3 weeks, the swelling stops and new growth comes in healthy.
📚 In This Guide
Here’s how I nurse camellias back to health when their leaves show swelling.
Examine the leaves closely for raised, blister-like swellings on the undersides. These are classic signs of oedema, which occurs when roots absorb water faster than the plant can transpire it. I check both young and mature leaves, as the condition often appears in patches across the foliage.
Don’t confuse oedema with pest damage—there won’t be webbing, sticky residue, or visible insects. The swellings may start as small bumps but can grow to ¼ inch in size. If the tissue turns corky or brown, the damage is already advanced.
Overwatering is the most common cause, so I cut back on frequency right away. Instead of watering on a fixed schedule, I check the soil by sticking my finger 1-2 inches deep—if it feels moist, I wait. Camellias prefer soil that’s slightly dry between waterings rather than constantly soggy.
Ensure your pot has drainage holes, and empty any saucer beneath it after watering. I’ve seen cases where roots sit in standing water for days, worsening the oedema. Water deeply but less often, allowing excess to drain freely.
Oedema thrives in stale, humid air, so I move affected plants to a spot with better airflow. A gentle ceiling fan on low or an open window can help, but avoid direct drafts that might stress the plant further. I aim for 4-6 hours of indirect light daily to encourage healthy transpiration.
If your camellia is indoors, consider relocating it to a brighter room, but avoid direct afternoon sun, which can scorch already stressed leaves. Outdoors, ensure it’s not crowded by other plants that block airflow.
Using clean, sharp pruners, I remove the most severely affected leaves to redirect the plant’s energy. Snip just above a leaf node or branch junction to avoid leaving stubs. This also improves airflow through the center of the plant.
If humidity is high (common in greenhouses or bathrooms), I introduce a small dehumidifier or place a tray of moisture-absorbing silica gel nearby. Ideal humidity for camellias is 40-50%—high enough to prevent stress but low enough to discourage oedema.
After making adjustments, I watch the plant for 7-10 days for new swellings. If the condition spreads, I reassess watering habits and environmental conditions. Once the plant stabilizes, I resume a consistent care routine with a focus on balance.
To prevent future issues, I water in the morning so leaves dry by evening, and I avoid misting the foliage. A layer of mulch can help regulate soil moisture, but I keep it 2-3 inches away from the trunk to prevent rot.
Here are the key insights I’ve picked up while helping camellias recover from oedema.
Identification Tip: In Step 1, focus on the undersides of leaves where those raised, blister-like swellings first appear. They start small but can grow to ¼ inch—catch them early before they turn corky or brown. I’ve found that young leaves often show signs first, so start your inspection there.
Watering Adjustment: Step 2’s advice about checking soil 1-2 inches deep is non-negotiable. Camellias hate soggy roots, and I’ve seen more cases of oedema from well-meaning overwatering than any other cause. If the soil feels moist at that depth, wait another day or two—it’s better to underwater slightly than to drown the roots.
Environmental Control: For Step 3, that 4-6 hours of indirect light is your sweet spot. Too little light slows transpiration (which is what caused the oedema in the first place), but direct afternoon sun can scorch stressed leaves. A bright room with a sheer curtain works perfectly for indoor plants.
Humidity Management: Step 4’s humidity range of 40-50% is ideal. If your camellia is in a bathroom or greenhouse, that silica gel trick really works—I keep a small tray near my plants and replace it every few weeks. And don’t forget to prune those damaged leaves; it’s not just cosmetic, it helps the plant redirect energy to healthy growth.
Oedema occurs when camellia roots absorb water faster than the leaves can transpire it, leading to swollen, blister-like spots. This often happens in cool, humid conditions with high soil moisture. Overwatering or poor drainage can also trigger it.
Improve air circulation and reduce humidity around the plant. Avoid overwatering and ensure the soil drains well. Prune affected leaves if the damage is severe, and adjust watering to match the plant’s needs.
No, oedema is not contagious. It’s a physiological issue caused by environmental conditions, not a disease or pest. However, nearby plants with similar care issues may develop oedema independently.
The blisters won’t heal, but new growth will be unaffected if you correct the environmental conditions. Focus on prevention by balancing water, humidity, and airflow to keep your camellia healthy.