
Beautiful Plants For Your Interior
Beautiful Plants For Your Interior
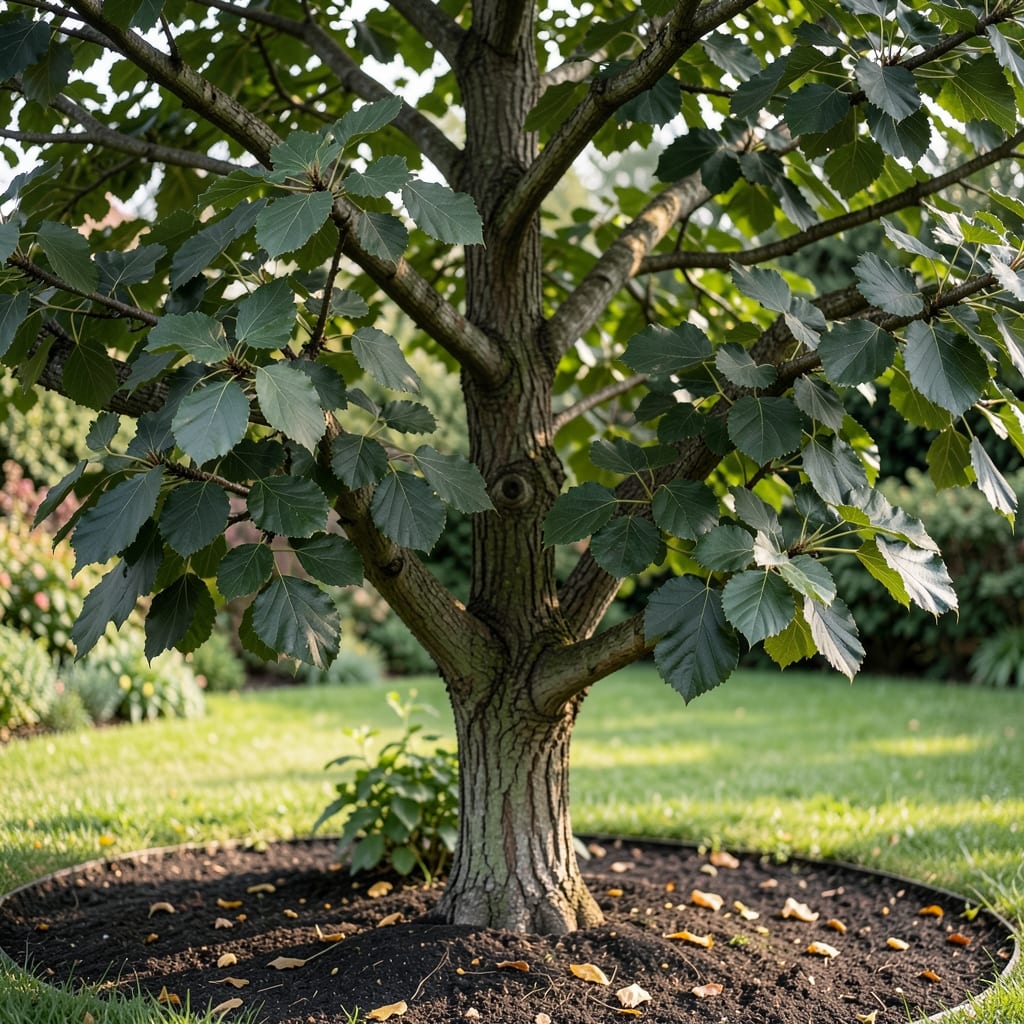
Black mulberry leaves caught my attention last spring—their deep green, heart-shaped form signals healthy growth when cared for properly.
I learned these leaves thrive with consistent moisture, full sun, and well-draining soil. The payoff is a tree that produces sweet fruit and lush foliage perfect for gardens or containers.
📚 In This Guide
Here’s the method I use to cultivate vigorous morus nigra with lush, productive foliage every season.
Choose a location with full sun exposure, as black mulberry thrives with at least 6-8 hours of direct sunlight daily. The soil should be well-draining and rich in organic matter. I always test drainage by digging a 12-inch hole and filling it with water—if it drains within 2-3 hours, the site is suitable.
Avoid low-lying areas where cold air settles, as late frosts can damage emerging leaves. Slightly elevated spots or southern-facing slopes work best. If your soil is heavy clay, amend it with compost to improve structure before planting.
Dig a hole twice as wide as the root ball but no deeper. Position the plant so the root flare is visible at soil level—burying it too deep suffocates the tree. Backfill with native soil, firming gently with your hands to eliminate air pockets.
Water immediately after planting with 5-10 gallons of water to settle the soil. I create a shallow watering basin around the base to help direct moisture to the roots. Mulch with 2-3 inches of organic material, keeping it 6 inches away from the trunk to prevent rot.
Newly planted trees need 1-2 deep waterings per week for the first growing season, especially during dry spells. The goal is to keep the soil consistently moist but not soggy. I check by inserting my finger 2 inches into the soil—if it feels dry, it’s time to water.
Established trees are more drought-tolerant but still benefit from supplemental water during extreme dry periods. Reduce watering in late summer to help harden off new growth before winter. Always water at the base, avoiding wetting the foliage to prevent disease.
Apply a balanced 10-10-10 fertilizer in early spring, just as new growth begins. Use 1 pound per inch of trunk diameter, spreading it evenly around the drip line. I prefer organic options like composted manure or fish emulsion for a gentler approach.
Avoid high-nitrogen fertilizers late in the season, as they promote tender growth that’s susceptible to cold damage. Yellowing leaves often indicate nitrogen deficiency, while dark green, stunted leaves may signal phosphorus or potassium shortage.
Prune in late winter while the tree is still dormant. Remove any dead, diseased, or crossing branches first. Thin out crowded areas to improve air circulation and light penetration to the center of the tree.
Make clean cuts at a 45-degree angle just above a bud or branch junction. Never remove more than 25% of the canopy in a single season. Sterilize pruning tools between cuts with rubbing alcohol to prevent disease spread.
These insights will help you avoid common pitfalls and ensure your black mulberry thrives with vibrant foliage.
Sunlight Essentials: The 6-8 hours of direct sunlight daily mentioned in Step 1 isn’t just a suggestion—it’s critical for leaf production. Even partial shade can reduce foliage density by up to 40%. If your yard lacks full sun, consider container planting to move the tree where it gets optimal exposure.
Drainage Test Clarification: In Step 1, the 2-3 hour drainage test for your 12-inch hole is your best insurance against root rot. If water sits longer, amending with compost isn’t enough—create a raised mound or choose a different location entirely. I learned this after losing two young trees to poorly draining soil.
Watering Precision: The 1-2 deep waterings per week in Step 3 should penetrate at least 2 inches deep—this is why the finger test works so well. Shallow watering encourages weak root systems. For established trees, a deep soak once every 10-14 days during drought beats frequent light watering.
Pruning Discipline: That 25% canopy limit in Step 5 exists for a reason. Over-pruning stresses the tree and reduces the next season’s leaf yield. If you’re tempted to remove more, spread it over two seasons instead. And always sterilize tools between cuts—this prevents disease transmission that can devastate your tree.
Yes! Dried or fresh black mulberry leaves make a soothing herbal tea. Steep 1-2 leaves in hot water for 5-10 minutes. Rich in antioxidants, it’s a popular traditional remedy for coughs and inflammation.
Harvest leaves 2-3 times per growing season, ideally in spring or early summer when they’re young and tender. Avoid over-picking to ensure the tree stays healthy and productive.
Watch for aphids, whiteflies, or scale insects. Regularly inspect leaves for yellowing or sticky residue. Use neem oil or insecticidal soap for a natural solution if pests appear.
If leaves show signs of fungal infections (e.g., powdery mildew), remove affected foliage and improve air circulation. Copper fungicides can help, or consider resistant mulberry varieties.