
Beautiful Plants For Your Interior
Beautiful Plants For Your Interior
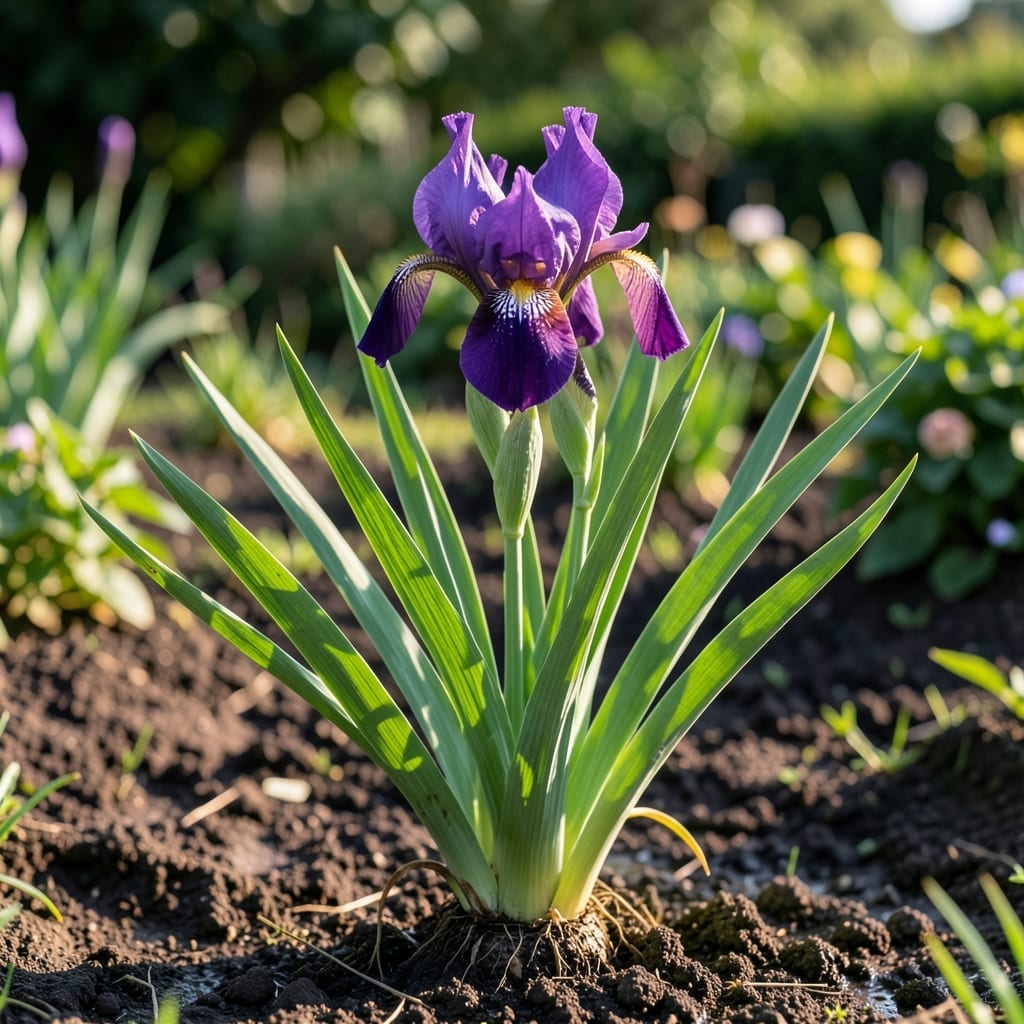
I planted my first iris rhizomes three springs ago and haven’t looked back. These tough roots produce reliable blooms year after year with minimal effort, but they need the right start to thrive.
Get the planting depth wrong and they’ll rot or refuse to flower. I’ll show you the simple setup that turns these ugly roots into the most dramatic flowers in your garden by next season.
📚 In This Guide
Here’s the method I use to ensure strong, vibrant blooms from your rhizomes every year.
Choose a location with full sun—at least 6-8 hours of direct sunlight daily. Iris rhizomes rot easily in soggy soil, so pick a spot with excellent drainage. I like to amend heavy clay soil with compost to improve drainage without creating a waterlogged bed.
A slightly acidic to neutral pH (6.8-7.0) works best. Test your soil if you’re unsure, but I’ve found most garden soil falls in this range naturally. Clear the area of weeds and debris to give your rhizomes a clean start.
Dig shallow holes about 2-3 inches deep and space them 12-24 inches apart—closer for dwarf varieties, farther for taller types. Place the rhizome horizontally in the hole, with the top slightly exposed to sunlight. This prevents rot and encourages healthy growth.
Press the soil gently around the rhizome to eliminate air pockets, but don’t bury it completely. The top should remain visible at the soil surface. Water lightly after planting to settle the soil, but avoid soaking the area.
Keep the soil consistently moist but not waterlogged for the first 2-3 weeks after planting. Once established, iris plants are drought-tolerant and only need watering during extended dry spells. Overwatering is a common mistake that leads to root rot.
Apply a low-nitrogen, high-phosphorus fertilizer (6-10-10 or 8-10-10) in early spring and again after blooming to promote strong rhizome development. I avoid high-nitrogen fertilizers, as they encourage leafy growth at the expense of flowers.
Every 3-4 years, dig up the rhizomes in late summer after the foliage begins to yellow. Use a sharp knife to divide the clumps, discarding any old or diseased sections. Replant the healthy rhizomes immediately, following the same shallow planting method.
Remove spent flower stalks after blooming to prevent seed formation, which drains energy from the rhizome. However, leave the foliage intact until it turns brown in fall—this allows the plant to store energy for next year’s growth. Cutting it back too soon weakens the plant.
These practical insights will help you get the most out of your planting efforts.
Sunlight Essentials: That 6-8 hours of direct sunlight daily in Step 1 isn’t just a suggestion—it’s critical for vibrant blooms. I’ve seen iris plants struggle with fewer than 6 hours, producing weak stems and sparse flowers. If your garden has partial shade, prioritize morning sun for the best results.
Drainage is Non-Negotiable: In Step 1, when amending soil, remember that iris rhizomes will rot in soggy conditions. I learned this the hard way after losing several plants in a low spot. Even if your soil seems fine, adding compost improves drainage and gives your rhizomes the best chance to thrive.
Planting Depth Matters: The 2-3 inches deep guideline in Step 2 is precise for a reason. Burying rhizomes too deep causes rot, while planting them too shallow exposes them to drought. The top of the rhizome should peek above the soil line—this is what prevents moisture from settling around the roots.
Watering Wisdom: During those first 2-3 weeks in Step 3, keep the soil moist but never waterlogged. I use the finger test—stick your finger an inch into the soil; if it feels dry, it’s time to water. After establishment, you’ll be surprised how drought-tolerant these plants become.
No, iris rhizomes are not edible and can be toxic if ingested. They contain irritating compounds that may cause stomach upset or skin irritation. Always handle them with care and keep them away from pets and children. Stick to admiring their beauty in the garden!
Plant rhizomes partially exposed, with the top visible at soil level. Dig a shallow hole (1-2 inches deep), place the rhizome horizontally, and lightly cover the roots. This prevents rot and ensures healthy growth.
Rot is usually caused by overwatering or poor drainage. Iris rhizomes prefer well-drained soil and full sun. If rot appears, reduce watering, improve drainage, and remove affected rhizomes to prevent spreading.
The best time to divide irises is in late summer (6-8 weeks after blooming). Fall division can work in mild climates, but avoid doing it too close to winter, as new roots need time to establish before cold weather.
For edible roots, try ginger, turmeric, or sweet potatoes. These are safe, nutritious, and easy to grow. Unlike iris rhizomes, they’re perfect for cooking and offer health benefits without toxicity risks.