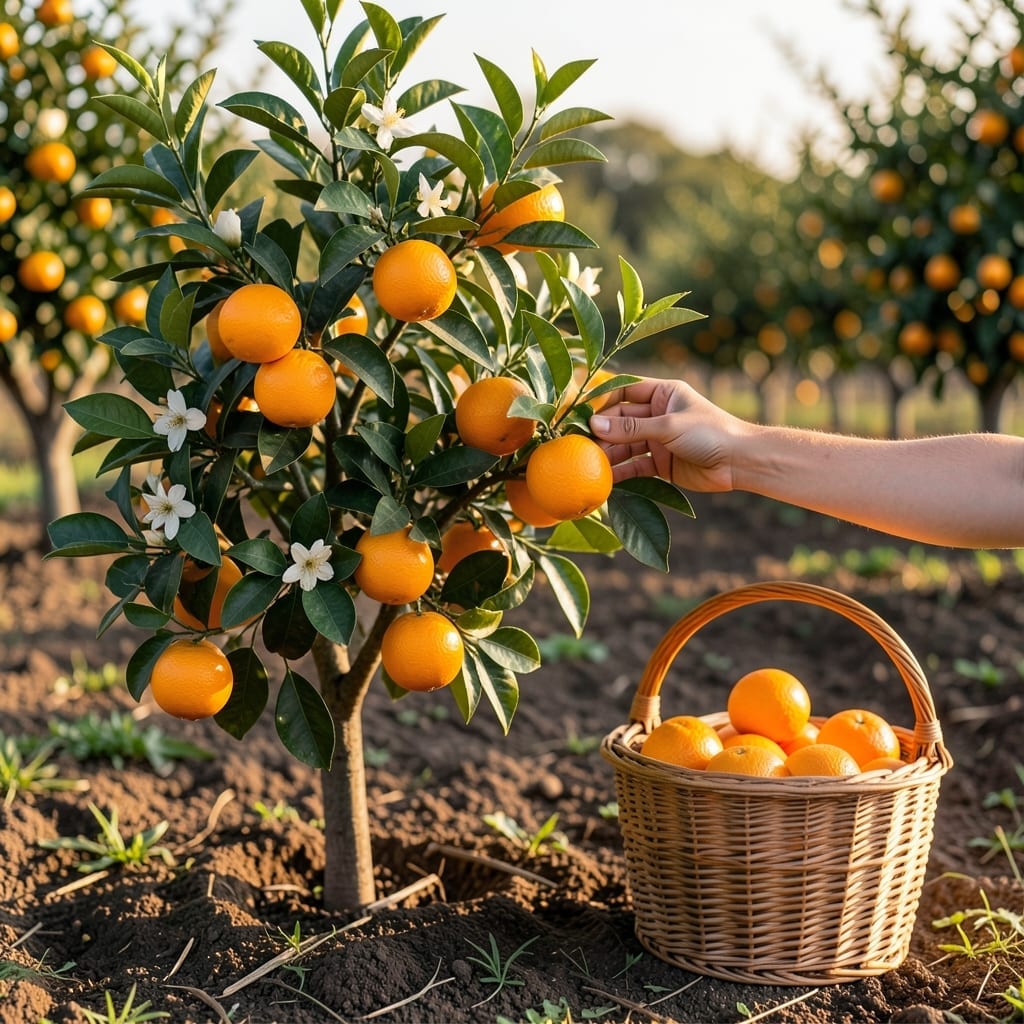
How to Tell When Oranges Are Ripe: Color and Texture Clues

How to Tell When Oranges Are Ripe: Color and Texture Clues

Picking an Orange 🍊 at the perfect peak of ripeness ensures the sweetest, juiciest flavor for your table. Unlike some fruits, oranges don’t continue ripening after harvest.

Knowing the right signs is essential for gardeners and citrus lovers. You can’t rely on just one indicator to determine if your fruit is ready.

I’ll show you how to combine visual, tactile, and seasonal clues to pick your oranges at just the right time. Let’s discover these key indicators together.

Style 16: Quick Tips – General
🌅
Morning
Pick early for best flavor & crunch
✂️
Clean Cut
Use scissors, don’t pull or twist
🔄
Check Daily
Ripeness can change overnight!

Key Visual Signs That Oranges Are Ripe and Ready to Pick

When I’m checking my orange tree for ripe fruit, the first thing I look for is color transformation. Most oranges turn from deep green to vibrant orange as they mature, though some varieties like Valencia oranges may retain green patches even when ripe.

I also examine the skin texture. A ripe orange will have a slightly bumpy or dull surface rather than a smooth, shiny one. This indicates the fruit has reached its peak sugar content and is ready for harvest.

Orange Ripeness: Visual Indicators

Variety Color at Ripeness Texture Clues
Navel Bright orange Slightly rough skin
Valencia Orange with green patches Thin, smooth skin
Blood Orange Deep red-orange blush Slightly pebbled surface

I’ve learned that size matters too. Oranges typically reach their full mature size before ripening. For Navel oranges, this is usually about 2.5 to 4 inches in diameter, while Valencias might be slightly smaller.

The stem end of the fruit is another telltale sign. When the button (the small circle at the stem) turns from green to brown, it’s often a good indicator that the orange is ripe and ready to pick.

I always consider the seasonal timing as well. In USDA zones 9-11, most oranges ripen between October and January, though Valencia oranges can hang on the tree and ripen as late as spring.

For Blood oranges, I look for a reddish blush on the peel, which develops in response to cool nights. This variety often has a sweeter, berry-like flavor when fully ripe, which I find particularly delightful.

I’ve found that cluster inspection helps too. Oranges on the same branch often ripen at slightly different times. I check multiple fruits in a cluster to ensure I’m not missing any that might be ready.

The aroma is another clue I never ignore. Ripe oranges emit a sweet citrus fragrance that’s easy to detect when you’re near the tree. If I can smell that characteristic orange scent, I know it’s time to start harvesting.

Remember that color alone isn’t always reliable. Some oranges develop their full orange color weeks before they’re actually ripe. That’s why I always combine visual signs with tactile tests for the most accurate assessment. ☀️

Simple Tests to Confirm Orange Ripeness Before Harvesting

After checking the visual signs, I always perform a few simple tests to confirm ripeness. The gentle squeeze test is my go-to method. A ripe orange will yield slightly to gentle pressure without being too soft.

I also compare the weight of the fruit. Ripe oranges feel heavier for their size because they’re full of juice. If an orange feels light for its size, it might not be fully ripe yet.

Quick Ripeness Tests

  1. Gentle squeeze: Should give slightly under pressure
  2. Weight check: Feels heavy for its size
  3. Stem inspection: Stem end turns brown when ripe
  4. Aroma test: Sweet citrus scent indicates readiness

Another method I use is the stem inspection. The button at the stem end should be dry and brown when the orange is ripe. If it’s still green and fresh-looking, the fruit likely needs more time.

I never skip the aroma test. Ripe oranges have a distinct sweet citrus smell that’s easy to detect. If I can’t smell that characteristic fragrance, I know the fruit isn’t ready yet.

For the most accurate results, I always combine multiple tests. A single indicator isn’t enough, as factors like weather conditions can affect ripening. By using both visual and tactile cues, I ensure I’m picking at the perfect time.

I’ve found that early morning is the best time to test. The fruit is firmest then, making it easier to detect subtle differences in ripeness. Plus, the cool temperature helps preserve the fruit’s quality during harvest. 🌿

★★★★★5.0(9 reviews)