
Beautiful Plants For Your Interior
Beautiful Plants For Your Interior
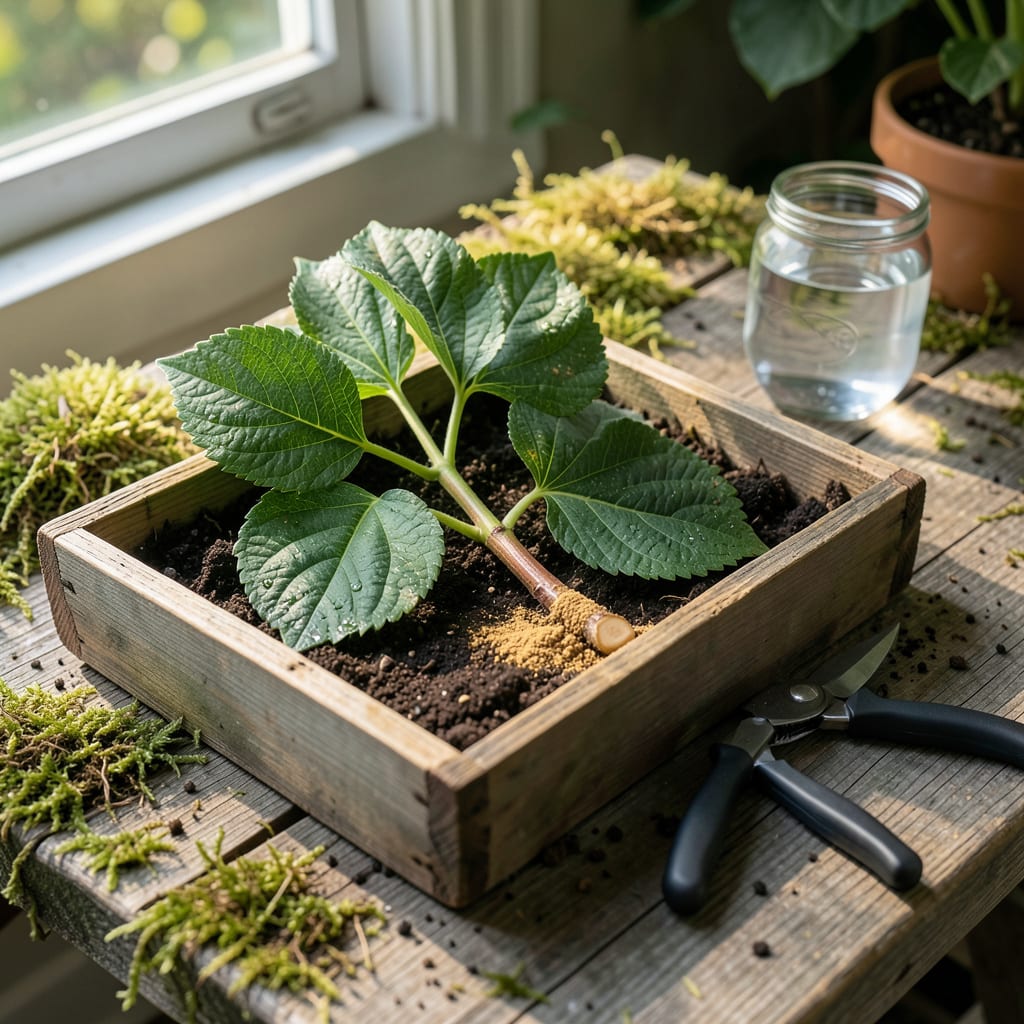
Transform a single hydrangea cutting into a new plant with this simple method. I’ve propagated dozens this way, and the success rate is nearly 100% when you follow the basics closely.
You’ll need a healthy stem, clean water, and patience—roots appear in 2-4 weeks. The key is choosing the right cutting and keeping conditions consistent. No special tools required.
📚 In This Guide
This water propagation method is simple, reliable, and works for most hydrangea varieties.
Choose a non-flowering stem from this season’s growth that’s about 6 inches long with at least 2-3 sets of leaves. The wood should be semi-hard—flexible but not green and tender. I always pick in the morning when the plant is most hydrated.
Use clean, sharp pruners to make a 45-degree cut just below a leaf node (that’s the bump where leaves emerge). This angled cut increases surface area for water absorption and root formation. Remove the bottom set of leaves, leaving 1-2 sets at the top.
Dip the cut end in rooting hormone (optional but recommended for faster results). Tap off any excess—too much can actually inhibit root growth. Then, fill a clean glass or jar with room-temperature water, ensuring the nodes where you removed leaves will be submerged.
Place the cutting in the water so at least 1-2 nodes are under the surface. The leaves shouldn’t touch the water, as this can cause rot. I use a clear container so I can monitor root development without disturbing the cutting.
Set the jar in a spot with bright, indirect light (no direct sun, which can overheat the water). Change the water every 3-4 days to prevent bacterial growth, which appears as cloudiness. Roots typically emerge in 2-4 weeks, depending on variety and conditions.
You’ll see tiny white bumps forming along the submerged nodes first—these are root initials. Once roots reach 1-2 inches long, the cutting is ready for transplanting. Maintain consistent temperature between 65-75°F for best results.
Fill a small pot with well-draining potting mix. Make a hole with your finger and gently place the rooted cutting inside, taking care not to damage the new roots. Firm the soil lightly around the base.
Water thoroughly and place the pot in partial shade for the first week to reduce transplant shock. Keep the soil consistently moist but not soggy as the new plant establishes. You’ll know it’s thriving when you see new leaf growth within 2-3 weeks.
Small details make the difference between success and rot with hydrangea propagation.
Selection Strategy: In Step 1, that 6-inch non-flowering stem with semi-hard wood is non-negotiable. Green, tender growth rots in water, while fully hardened wood roots too slowly. The morning hydration window gives you the most turgid stems with maximum stored energy for root development.
Water Management: For Step 2, room-temperature water is critical—cold water shocks the cutting, warm water encourages bacterial growth. Change it every 3-4 days without fail, as cloudiness means bacteria that will rot your nodes before roots can form. I use distilled water to eliminate chlorine variables from tap sources.
Environmental Control: The 65-75°F range in Step 3 isn’t arbitrary. Below 65°F, root growth stalls; above 75°F, algae blooms in your water. That bright, indirect light means an east-facing windowsill or a spot 3-4 feet from a south window. Direct sun turns your propagation jar into a terrarium that cooks the cutting.
Transplant Timing: Don’t rush Step 4—those 1-2 inch roots need to be sturdy, not just visible. The white bumps you see first are root initials, but they must develop into actual roots. Transplanting too early means the cutting can’t absorb enough water from soil, causing wilting within days.
Yes, but spring or early summer is best when new growth is soft and flexible. Avoid winter, as dormancy slows rooting. Indoor water propagation works in cooler months if warmth and light are consistent.
Typically 2–6 weeks, depending on variety, temperature, and light. Check for 1–2 inch roots before transplanting to soil for stronger establishment.
Rot often happens with too much water or poor airflow. Trim the stem, change the water, and ensure only the bottom nodes are submerged. Use a clean jar and filtered water to prevent bacteria.
Yes! A dab of rooting hormone on the cut end boosts success, while a teaspoon of honey in water may act as a natural antibacterial. Both can encourage faster, healthier root growth.
