
Beautiful Plants For Your Interior
Beautiful Plants For Your Interior
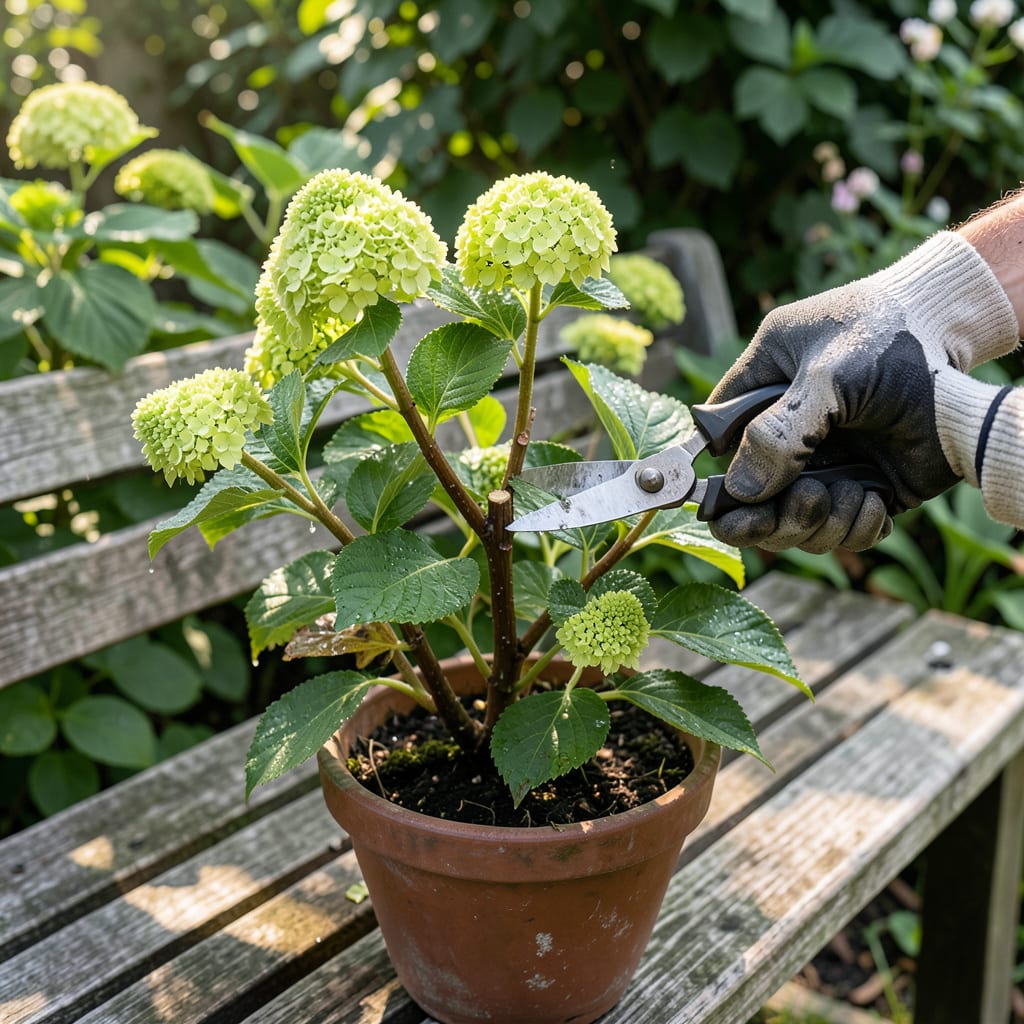
Pruning your Little Lime hydrangea is crucial for maintaining its shape and promoting healthy growth. 🔥 I recommend pruning in late winter or early spring, before new growth begins, to ensure optimal blooms.
To prune, remove dead branches and shape the plant as desired. This simple step will help control the plant’s size and encourage new flowers. By pruning correctly, you’ll enjoy vibrant blooms throughout the growing season.
📚 In This Guide
Pruning your Little Lime Hydrangea correctly is crucial for maintaining its shape and encouraging vibrant blooms.
Start by gathering your essential tools: sharp, clean pruning shears and gloves to protect your hands from thorns. I like to use bypass pruners as they make clean cuts that help the plant heal quickly. Before you begin pruning, inspect your Little Lime Hydrangea for any dead or damaged branches. These will typically appear brown or black and may be brittle to the touch.
Removing these unhealthy branches first will improve the overall health of your plant and make it easier to shape. I always make sure to sterilize my pruning tools between cuts to prevent the spread of disease.
Begin by removing the old flowers, a process known as deadheading. Cut the stem just above the first pair of healthy leaves below the spent bloom. This encourages the plant to produce new flowers. Next, identify and remove any weak or spindly growth. These branches are usually thinner and less vigorous than the rest of the plant.
Cut these weak branches back to the base or to a healthy bud to direct the plant’s energy into producing stronger, more robust growth. I find that removing about one-third of the oldest stems each year helps maintain the plant’s vigor and promotes better blooming.
Once you’ve removed the dead and weak growth, it’s time to shape your Little Lime Hydrangea. Assess the overall shape of the plant and decide if you need to make any adjustments. If you want a more compact shape, prune back the tips of the branches. For a more natural look, simply trim any stray or overgrown branches.
Make your cuts at a 45-degree angle just above a bud that is facing outward. This technique encourages the new growth to emerge outward, maintaining an open and airy center. I like to step back periodically to check the plant’s shape and ensure I’m achieving the look I want.
After pruning, keep an eye on your Little Lime Hydrangea throughout the growing season. Regularly check for any signs of disease or pests and address them promptly. I also recommend mulching around the base of the plant to help retain moisture and suppress weeds.
With proper care and regular pruning, your Little Lime Hydrangea will continue to thrive and produce beautiful blooms year after year. Enjoy watching your plant grow and flourish!
Pruning can be intimidating, but with the right techniques, you’ll be on your way to beautiful blooms.
Tool Maintenance: I always sterilize my pruning tools between cuts to prevent disease spread. A simple wipe with rubbing alcohol or a 10% bleach solution does the trick. This step is crucial for keeping your plant healthy.
Pruning Technique: When making cuts, I angle my shears at 45 degrees just above an outward-facing bud. This encourages new growth to emerge outward, creating a more open and airy center. It’s a small detail that makes a big difference in the plant’s overall shape.
Growth Management: I remove about one-third of the oldest stems each year to maintain the plant’s vigor. This might seem aggressive, but it promotes better blooming and keeps the plant looking fresh. Trust me, it’s worth the effort!
Post-Pruning Care: After pruning, I mulch around the base to retain moisture and suppress weeds. This simple step helps your Little Lime Hydrangea thrive throughout the growing season. Plus, it’s an easy way to keep your garden looking tidy.
Review the tips above to avoid common mistakes and get the best results.
The ideal time to prune Little Lime Hydrangea is in late winter or early spring, around February or March, before new growth begins . This allows the plant to produce new blooms on the current season’s growth.
It’s not recommended to prune Little Lime Hydrangea in the summer, as this can reduce blooming. However, you can remove spent flowers (deadheading) to encourage new blooms and improve the plant’s appearance .
Pruning too much of Little Lime Hydrangea can stress the plant and reduce blooming. If you’ve pruned too much,
Are there alternatives to pruning Little Lime Hydrangea? While pruning is essential for maintaining shape and promoting blooms, you can also consider not pruning if you prefer a more natural, relaxed shape. However, this may lead to a less compact plant .
If your Little Lime Hydrangea isn’t blooming after pruning, it may be due to pruning at the wrong time, inadequate sunlight, or insufficient nutrients. Check your pruning schedule and ensure the plant is receiving enough sunlight and fertilizer .
