
Beautiful Plants For Your Interior
Beautiful Plants For Your Interior
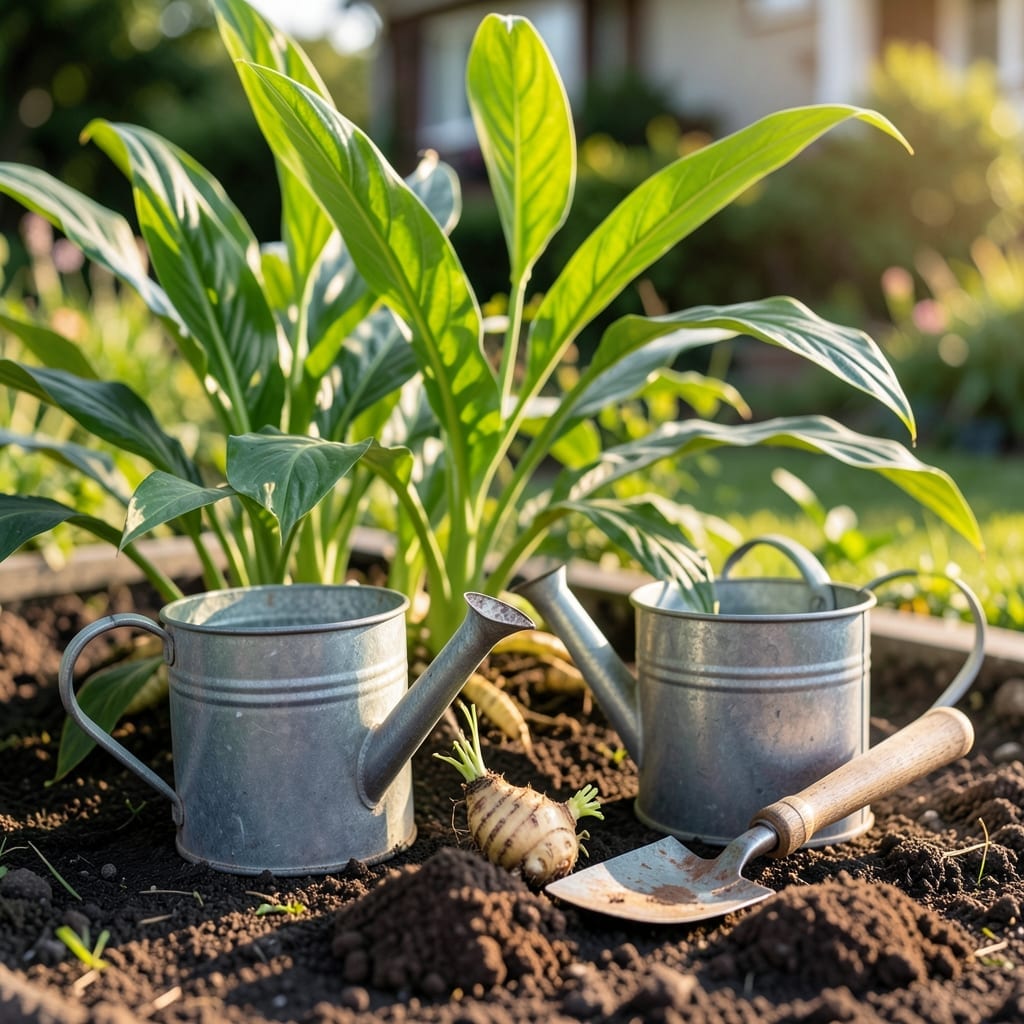
Imagine stepping into your garden to harvest your own fresh, golden Turmeric 🌿. This vibrant spice isn’t just for store shelves – you can grow it right at home with surprising ease.
Whether you have a spacious backyard or just a few containers, cultivating this plant brings both satisfaction and health benefits. The process is simpler than many realize, and the rewards are well worth the effort.
Discover how to transform your space into a thriving turmeric patch. I’ll walk you through everything you need to know to get started on the right foot.


Starting your turmeric garden begins with selecting the right rhizomes. Choose plump, firm ones with visible growth buds or “eyes.” These will sprout faster than dried or shriveled pieces from the grocery store.
I recommend using organic rhizomes from a nursery if possible. They’re often fresher and more reliable than store-bought options, which may be treated to prevent sprouting.
The ideal planting time is in early spring when soil temperatures reach at least 65°F. Turmeric thrives in USDA zones 8-11, but you can start indoors in cooler climates.
If you’re planting in containers, choose pots at least 12 inches deep with drainage holes. Use a mix of potting soil and compost for best results.
After planting, expect sprouts in 2-4 weeks. Keep the soil consistently moist but not soggy. I’ve found that morning watering works best to prevent fungal issues.
Turmeric prefers partial shade with 4-6 hours of sunlight daily. Too much direct sun can scorch the leaves, while too little will slow growth.
In colder climates, move pots indoors before the first frost. Turmeric can’t tolerate temperatures below 50°F, so plan accordingly.
For faster growth, I add a balanced fertilizer every 4-6 weeks during the growing season. This gives the plants the nutrients they need to develop strong rhizomes.
Watch for pests like aphids or spider mites, especially in dry conditions. A spray of neem oil can help keep them at bay without harming your plants. 🌱
Once your turmeric rhizomes are planted, consistent care ensures strong, healthy growth. I focus on maintaining moist but well-drained soil and providing the right amount of light.
Turmeric thrives with 4-6 hours of partial sunlight daily. In hotter climates, afternoon shade prevents leaf scorch, while cooler areas benefit from maximum sunlight exposure.
🌱 Pro Tip: Water your turmeric in the early morning to reduce evaporation and prevent fungal diseases. Keep the soil consistently moist but never soggy.
For fertilizing, I use a balanced 5-10-10 formula every 4-6 weeks during the growing season. This supports both foliage and rhizome development without overloading the plant.
Mulching is crucial to retain moisture and suppress weeds. Apply a 2-inch layer of organic mulch, like straw or shredded leaves, around the plants, keeping it away from the stems.
Watch for common pests like aphids or spider mites. I treat infestations with neem oil spray to keep plants healthy without harsh chemicals.
In cooler climates, move container-grown turmeric indoors before temperatures drop below 50°F. This tropical plant cannot survive frost, so plan ahead for winter care.
With proper attention to these details, your turmeric will grow vigorously and reward you with a bountiful harvest. 🌿