
Beautiful Plants For Your Interior
Beautiful Plants For Your Interior
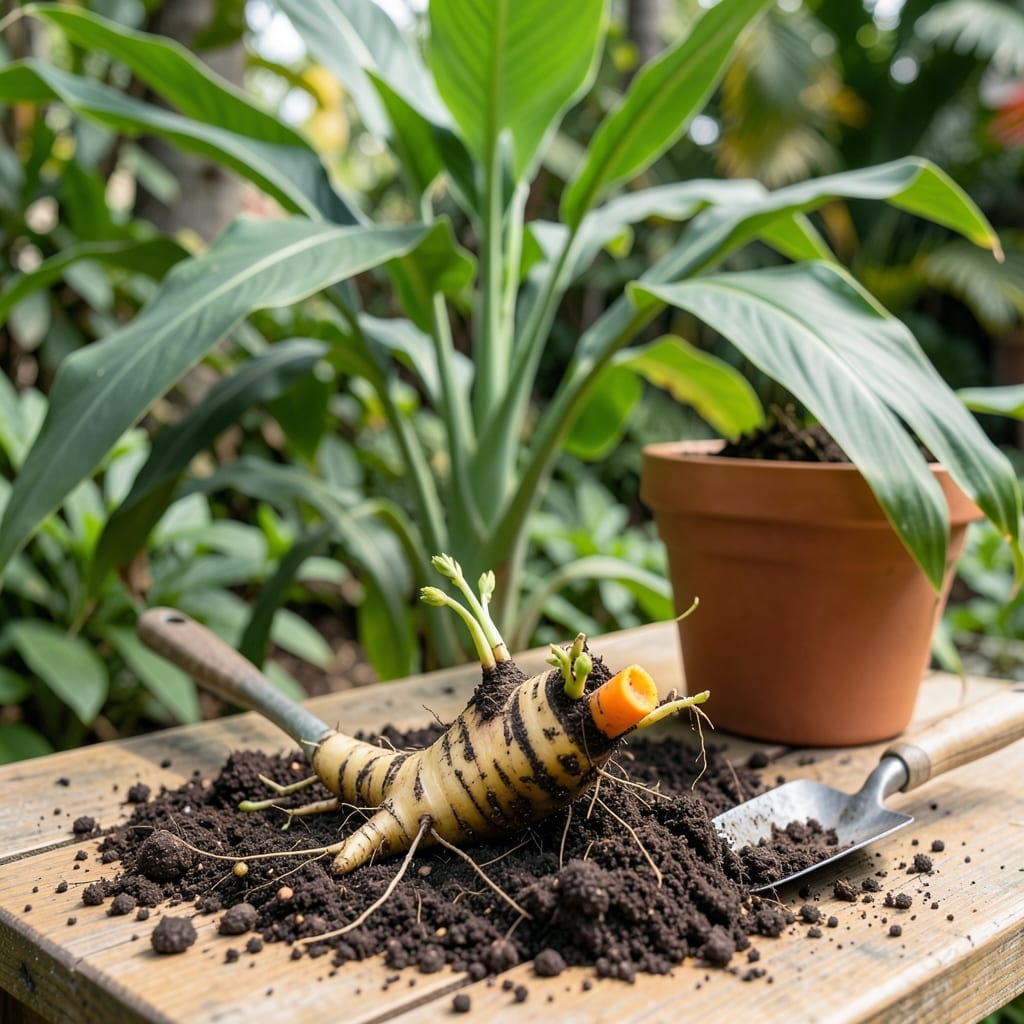
Want to grow your own golden spice at home? Planting Turmeric 🌱 is easier than you think and brings both flavor and health benefits to your garden.
I’ve discovered the most effective way to get those vibrant rhizomes thriving in your soil. With just a few simple steps, you’ll be on your way to a bountiful harvest.
Let me walk you through the process so you can enjoy this rewarding experience without the guesswork.

Planting turmeric root starts with selecting healthy rhizomes that have visible buds or eyes. I always look for firm pieces with a bright orange interior.
These will sprout more reliably than dried or shriveled roots from the grocery store. If possible, source from a nursery or garden center for best results.
The soil preparation is crucial for turmeric. I recommend a loamy mix with plenty of organic matter. The soil should retain moisture but drain well to prevent rot.
A pH between 6.0-6.8 is ideal. You can test this with a simple soil kit from any garden store. If needed, amend with lime or sulfur to adjust.
When planting, I make sure each rhizome piece has at least 2-3 buds. These are the growing points that will sprout into new plants. Plant them 2 inches deep with buds facing upward.
Spacing is often overlooked but important. I give each plant 8-12 inches in all directions. This allows for good air circulation and prevents overcrowding as they grow.
After planting, I water lightly to settle the soil. Then I maintain consistent moisture without waterlogging. A mulch layer helps retain moisture and suppress weeds.
Turmeric thrives in warm conditions. I wait until soil temps reach at least 60°F before planting. In cooler climates, I start them indoors or use black plastic mulch to warm the soil.
Within 2-3 weeks, you should see green shoots emerging. This is when the real growth begins. Keep the area weed-free and watch for pests like aphids or snails. ☀️
To grow thriving turmeric, you need to replicate its native tropical environment. I focus on creating warm, humid conditions with the right sunlight exposure for best results.
Turmeric prefers partial shade to full sun, but in hot climates, I recommend afternoon shade to prevent scorching. The ideal temperature range is between 68-86°F for optimal growth.
| Condition | Requirement |
|---|---|
| Sunlight | 4-6 hours daily |
| Temperature | 68-86°F |
| Humidity | High (60-80%) |
| Soil Type | Loamy, well-draining |
I maintain high humidity around my turmeric plants, aiming for 60-80%. In dry climates, I use mulch to retain moisture and sometimes mist the leaves in the morning.
The soil type is critical for healthy growth. I use a loamy mix with plenty of organic compost. This ensures good drainage while retaining enough moisture for the rhizomes to develop properly.
For container growing, I choose large pots (at least 12 inches deep) with drainage holes. This gives the roots enough space to expand while preventing waterlogging, which can cause root rot.
Remember, turmeric is not frost-tolerant. In cooler zones, I either grow it in containers that can be moved indoors or use row covers to protect from unexpected cold snaps. 🌱