
Beautiful Plants For Your Interior
Beautiful Plants For Your Interior
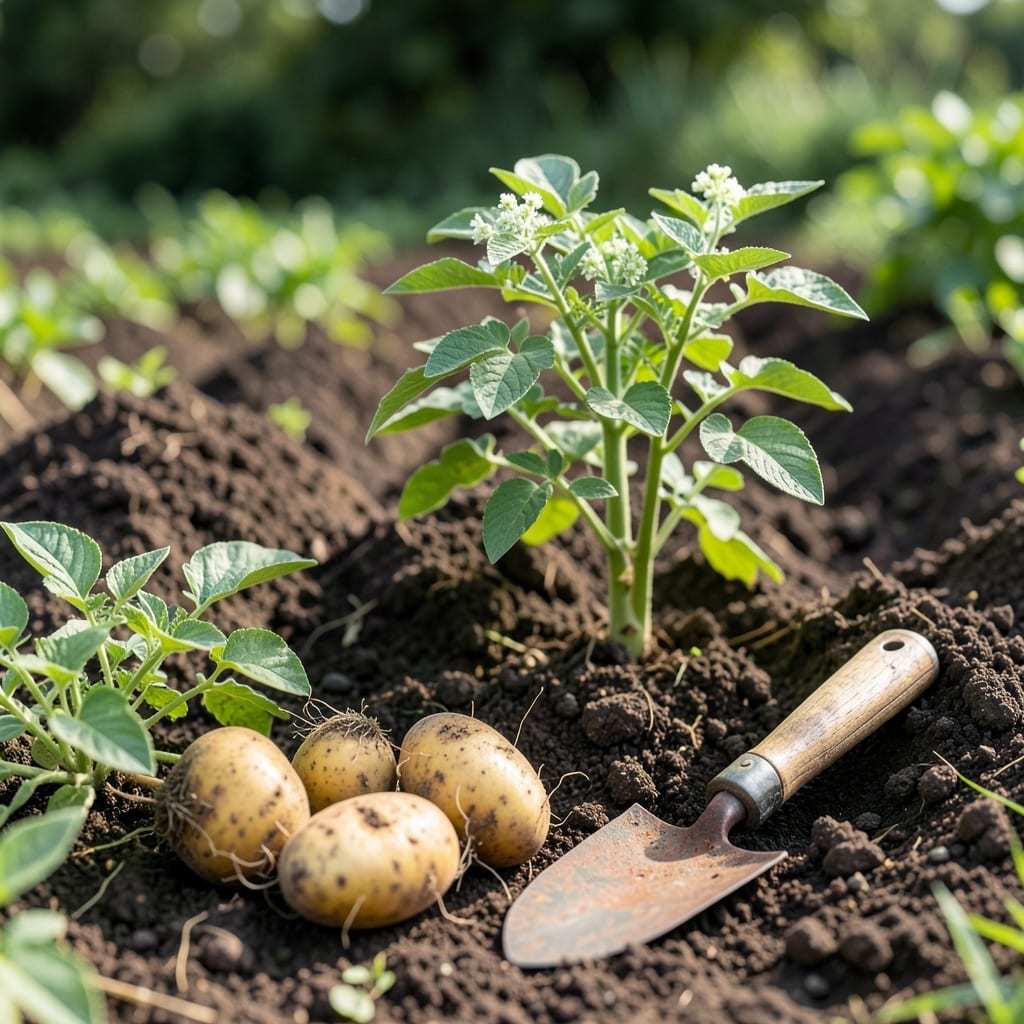
There’s something magical about digging up your first homegrown 🥔 Potato. But did you know that how you plant those seed potatoes makes all the difference between a mediocre harvest and a bumper crop?
I’ve learned through trial and error that proper preparation and technique are the key to success. Whether you’re planting in spring or trying a fall crop, these methods will set you up for bigger yields.
Let me walk you through the simple yet crucial steps that will transform your potato growing game. You’ll be surprised how easier it is than you think.

Planting seed potatoes the right way gives you a head start on a bountiful harvest. I always begin by chitting my potatoes to encourage strong sprouts before planting.
This process of letting them develop short green shoots in a cool, bright spot takes about 4-6 weeks. It’s a simple but crucial first step for healthier plants.
Steps to Plant Seed Potatoes
Once your potatoes are chitted, it’s time to prepare them for planting. I like to cut larger seed potatoes into smaller pieces, ensuring each has 2-3 strong eyes. This maximizes your yield potential.
Let the cut surfaces heal over for 24-48 hours before planting. This helps prevent rot and disease, giving your plants the best chance to thrive.
Choose a sunny spot with at least 6-8 hours of direct sunlight daily. Potatoes prefer loose, well-draining soil with a pH between 5.0-6.5. I always work in plenty of compost.
Dig a trench about 4-6 inches deep for each row. This depth provides the perfect environment for your potatoes to establish strong roots and begin forming tubers.
Place your seed potato pieces in the trench with the eyes facing up. Space them 12 inches apart in rows that are 30 inches apart. This spacing gives each plant enough room to grow.
Cover the potatoes with 2-3 inches of soil. As the plants grow, I mound soil around the stems every 2-3 weeks. This hilling process encourages more tuber formation.
Water your newly planted potatoes gently but thoroughly. Maintain consistent moisture without waterlogging. Too much water can cause rot, while too little can stunt growth.
With proper care, you’ll see green shoots emerging in 2-3 weeks. This is when the real magic begins as your plants start their journey toward a hearty harvest 🌱
Selecting the right seed potatoes is the foundation of a successful harvest. I always look for certified disease-free tubers from reputable suppliers to avoid common issues like blight or scab.
Choose varieties that suit your climate and growing conditions. Early varieties like Yukon Gold mature in 60-70 days, while late varieties such as Russet take 100-120 days.
Key Preparation Steps
The chitting process is essential for giving your potatoes a head start. Place them in a well-lit, cool area (around 50-60°F) to encourage short, sturdy sprouts. Avoid direct sunlight.
I use egg cartons to keep the tubers upright with the eye-end facing up. This method prevents the sprouts from breaking and makes it easier to handle the potatoes when it’s time to plant.
Before planting, inspect your chitted potatoes for any signs of disease or damage. Discard any that look soft, moldy, or have dark spots. Healthy sprouts should be short and green.
Remember, the quality of your seed potatoes directly impacts your harvest. Taking these extra steps in preparation will reward you with stronger plants and better yields 🌱