
Beautiful Plants For Your Interior
Beautiful Plants For Your Interior
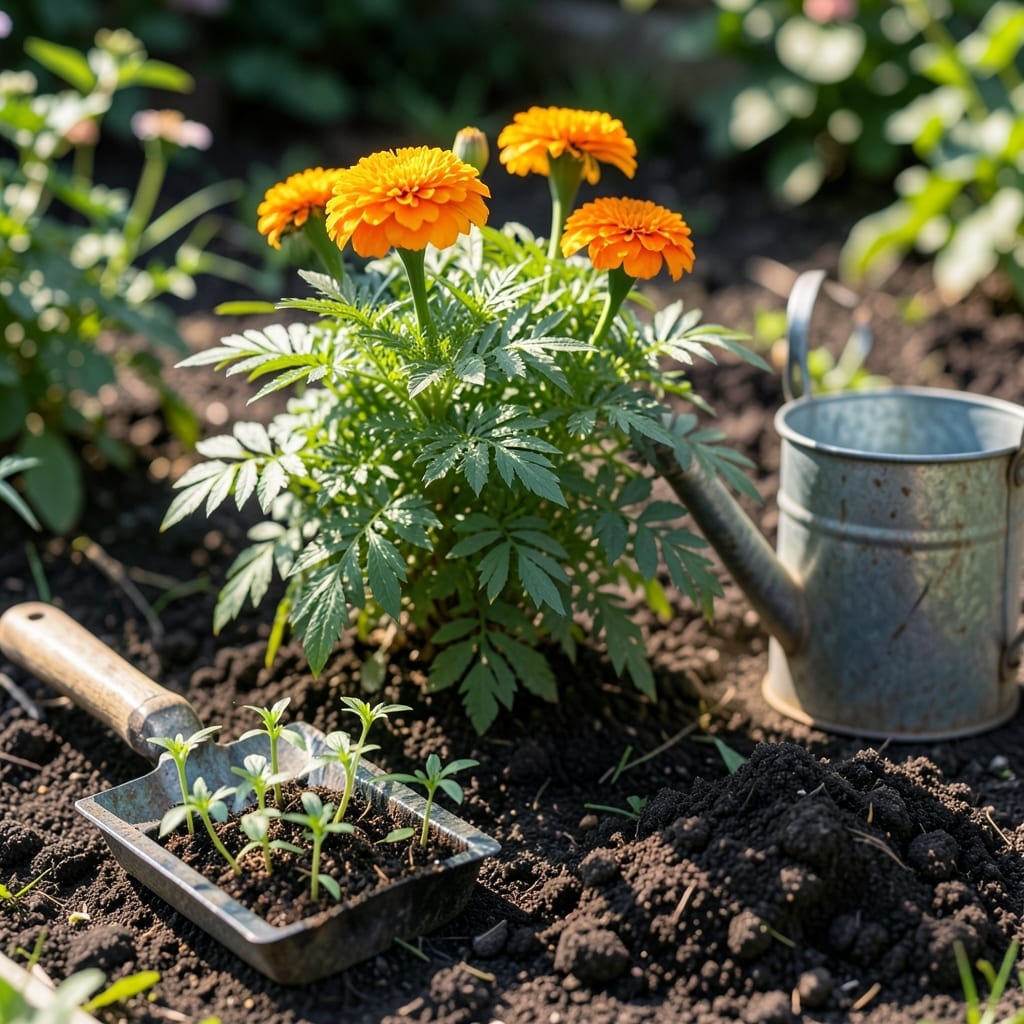
There’s nothing quite like the vibrant burst of 🌼 Marigold blooms lighting up a garden. These hardy flowers not only add beauty but also repel pests naturally, making them a favorite for many gardeners.
Getting started is easier than you might think. With the right approach, you can enjoy continuous color from June through October. I’ll walk you through the essentials to ensure your Marigolds thrive.
Discover how to prepare your soil, space your plants, and provide the care they need. Let’s make your garden the envy of the neighborhood.

Planting marigolds is a rewarding way to add vibrant color and pest protection to your garden. These hardy flowers thrive in full sun and are perfect for beginners. I love how they bloom continuously with minimal effort.
Whether you’re starting from seeds or seedlings, timing is key. Plant after the last frost when soil has warmed to at least 60°F. This ensures strong, healthy growth from the start.
For seedlings, dig a hole slightly larger than the root ball. Place the plant so the top of the root ball is level with the soil surface. This prevents stem rot and encourages strong root development.
Marigolds prefer well-draining soil but aren’t picky about fertility. If your soil is heavy clay, amending with organic matter like compost will improve drainage and root growth.
After planting, keep the soil consistently moist but not waterlogged. Once established, marigolds are quite drought-tolerant and only need watering when the top inch of soil feels dry.
I’ve found that pinching back young plants encourages bushier growth. Simply use your fingers to remove the top set of leaves when the plant is about 6 inches tall. This simple step can double your flower production.
For continuous blooms, deadhead spent flowers regularly. This means removing faded blooms before they can set seed. It tells the plant to put its energy into producing more flowers rather than seeds.
With these steps, you’ll be enjoying cheerful marigold blooms in no time. They’re the perfect addition to borders, containers, or anywhere you want a splash of color 🌼
Once your marigolds are in the ground, proper aftercare ensures they thrive. I’ve found that consistent watering and sunlight are the keys to vibrant, long-lasting blooms. These flowers are low-maintenance but do best with a little attention.
Water your marigolds deeply once a week, allowing the soil to dry slightly between waterings. They prefer morning watering to reduce evaporation and prevent fungal issues. Overwatering can lead to root rot, so always check soil moisture first.
🌱 Pro Tip: Deadhead spent blooms regularly to encourage continuous flowering. This simple step keeps your plants looking their best and promotes new growth.
Fertilizing isn’t always necessary, but a balanced 5-10-10 fertilizer every 4-6 weeks can boost blooms. Apply it lightly—marigolds don’t need rich soil to flourish. Too much fertilizer can result in lush foliage but fewer flowers.
Ensure your plants get 6+ hours of sunlight daily. Full sun brings out the brightest colors and strongest stems. If your garden has partial shade, choose a spot that gets the most light possible for the best results.
Watch for pests like aphids or spider mites, which can occasionally trouble marigolds. A strong spray of water or neem oil can keep these issues in check without harsh chemicals. Their natural pest-repelling properties often keep problems at bay.
Finally, mulching with organic material helps retain moisture and suppress weeds. Just keep the mulch light and away from the stems to prevent rot. With these practices, your marigolds will reward you with months of color and vitality 🌼