
Beautiful Plants For Your Interior
Beautiful Plants For Your Interior
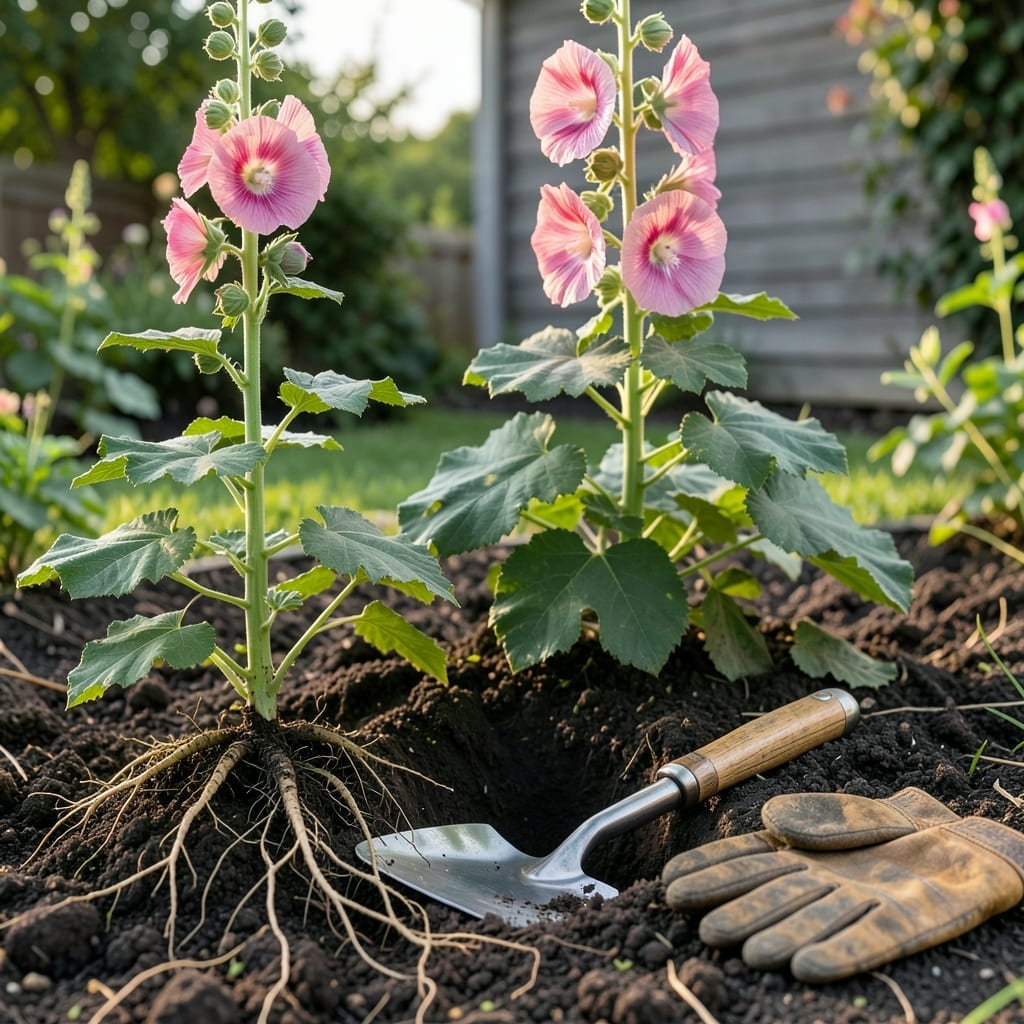
Want to fill your garden with stunning tall blooms that scream vintage charm? Planting Hollyhock 🌸 roots is your ticket to those dreamy summer flowers we all love.
I’ve learned that the secret to healthy growth starts with how you handle those roots. Get this part right, and you’ll be rewarded with vibrant colors and strong stems.
Let me walk you through the most important steps to ensure your hollyhocks thrive from the very beginning. It’s easier than you might think!

Planting hollyhock roots correctly sets the stage for tall, vibrant blooms that can reach 5-8 feet in height. I always start by choosing a sunny location with well-draining soil.
Early spring or fall is the best time to plant, giving roots time to establish before extreme weather hits.
I’ve found that soaking the roots before planting helps them absorb moisture faster, which speeds up establishment. It’s a simple step that makes a big difference in early growth.
When planting, ensure the crown (where roots meet stems) sits just above soil level. Burying it too deep can lead to rot or stunted growth.
Spacing is crucial for air circulation. I plant my hollyhocks 12-18 inches apart to prevent overcrowding and reduce disease risk.
After planting, water deeply once a week unless rain provides 1 inch of moisture. Hollyhocks prefer consistent moisture but hate soggy soil.
A 2-inch mulch layer helps retain soil moisture and keeps roots cool. I use organic mulch like straw or shredded leaves for best results.
If you’re planting in spring, expect blooms by mid-summer. For fall planting, roots will establish over winter and bloom the following year.
Remember, hollyhocks are biennials or short-lived perennials. With proper care, they’ll reward you with stunning blooms for years to come. 🌸
Even experienced gardeners can make critical errors when planting hollyhock roots. I’ve seen firsthand how small mistakes can lead to stunted growth or diseased plants. Let’s avoid these pitfalls together.
The most common issue is incorrect planting depth. Burying the crown too deep suffocates the plant, while shallow planting exposes roots to drying out. Aim for 1-2 inches deep with the crown just above soil.
Another frequent problem is neglecting soil preparation. Hollyhocks thrive in fertile, well-draining soil. I always mix in aged compost before planting to give roots the best start.
Overwatering is a silent killer. While hollyhocks need consistent moisture, soggy soil leads to root rot. I check soil moisture by sticking my finger 1 inch deep – if dry, it’s time to water.
Pest vigilance is crucial. Japanese beetles love hollyhock foliage, and rust fungus thrives in damp conditions. I inspect plants weekly and remove any yellow-spotted leaves immediately.
Finally, spacing matters. Planting too close reduces air circulation, creating perfect conditions for powdery mildew. Stick to the 12-18 inch spacing guideline for healthy growth. 🌸