
Beautiful Plants For Your Interior
Beautiful Plants For Your Interior
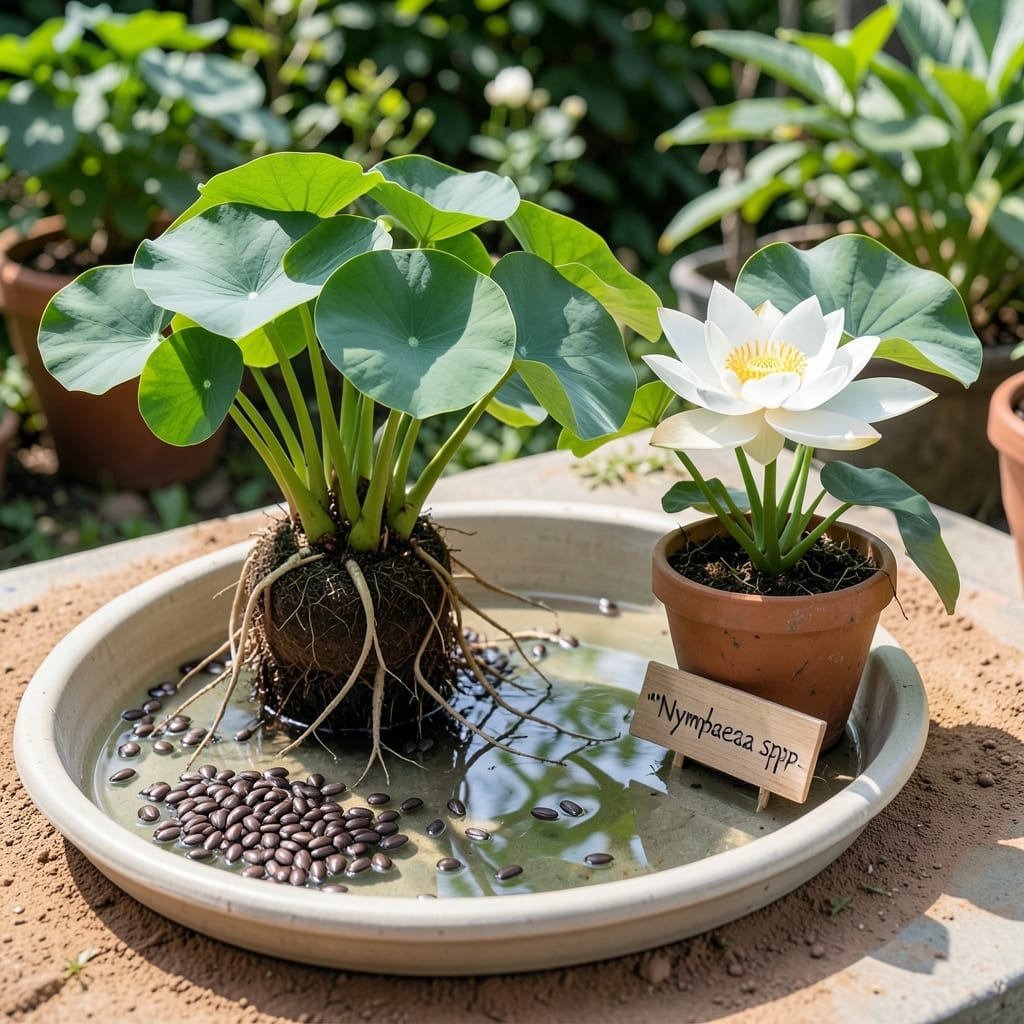
There’s something magical about watching a Water Lily 🌸 transform from a tiny seed into a breathtaking aquatic beauty. Unlike typical garden plants, these seeds need a special approach to thrive.
I discovered that replicating their natural floating environment is the key to success. It’s a simple yet fascinating process that anyone can master with the right guidance.
Let me walk you through how to create the perfect conditions for your seeds to sprout and grow. You’ll be amazed at how easier it is than you think.
Germinating water lily seeds is unlike traditional planting, as these aquatic beauties thrive when left to float naturally. I’ve found that mimicking their native pond conditions is the secret to success.
The floating method ensures seeds stay at the optimal depth while allowing light penetration. This approach is both simple and highly effective for beginners and experts alike.
Start by selecting a shallow container that’s at least 6 inches wide. I prefer clear plastic tubs because they allow me to monitor water clarity and seed progress easily.
Use room-temperature water that’s been left to sit for 24 hours to remove chlorine. This step is crucial, as chlorine can inhibit germination or harm delicate seedlings.
The ideal temperature range is 70-80°F. I place my container near a sunny window or use a heat mat to maintain consistent warmth without direct sunlight at first.
Within 7-10 days, you should see tiny green shoots emerging. At this stage, ensure the water stays clean by changing it every 3-4 days to prevent algae growth.
Once sprouts develop 2-3 true leaves, it’s time to move them to a larger water container. I use a small kiddie pool or tub to give them room to grow before pond transfer.
When transplanting to your pond, place the young plants in 1-2 feet of water. Use a planting basket with aquatic soil to anchor them while allowing roots to spread naturally.
Remember, patience is key—water lilies grow slowly at first but reward you with stunning blooms in their second year. 🌸
Creating the perfect environment is crucial for water lily seed germination. These aquatic plants thrive under specific conditions that mimic their natural habitat in ponds and lakes.
I’ve learned that controlling temperature, light, and water quality makes all the difference between success and disappointment. Let’s break down what your seeds need to flourish. 🌱
| Requirement | Specification |
|---|---|
| Water Temperature | 70-80°F |
| Light Exposure | Bright, indirect light |
| Water pH | 6.5-7.5 |
| Humidity | High (mist daily) |
| Water Depth | 2-3 inches initially |
I always start with dechlorinated water at room temperature. Chlorine from tap water can be harmful, so I let my water sit for 24 hours before use.
Maintaining the right temperature range is critical. I use a thermometer to monitor water temperature, ensuring it stays between 70-80°F for optimal germination.
For light, I place my container near a sunny window but avoid direct sunlight initially. Too much direct light can overheat the water and stress the seeds.
I check the pH level regularly using a test kit. Water lilies prefer slightly alkaline to neutral water, so I aim for a pH of 6.5-7.5 for best results.
Remember, consistency is key. Small fluctuations in these conditions can slow down or even stop germination. With the right setup, you’ll see those first green shoots in 7-10 days. 💧