
Beautiful Plants For Your Interior
Beautiful Plants For Your Interior
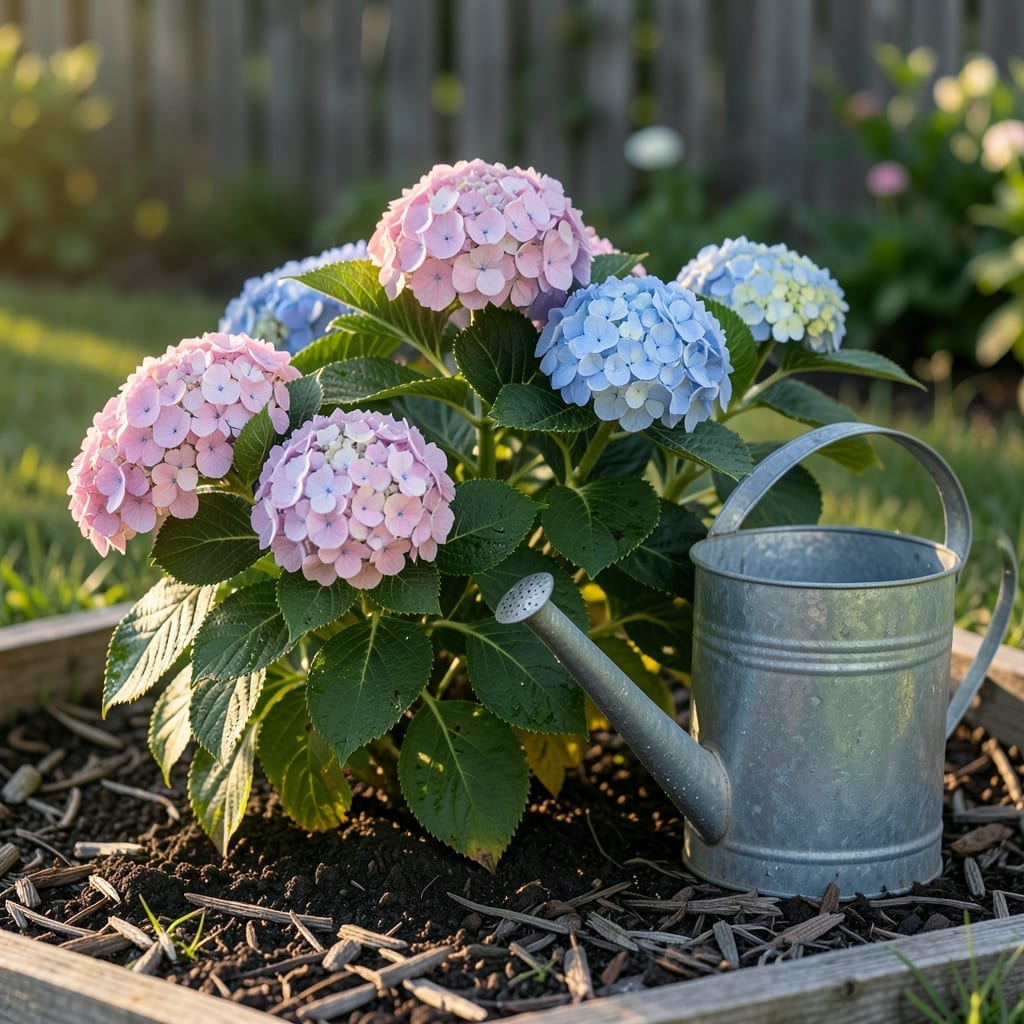
Newly planted Hydrangea 🌸 shrubs need the right watering balance to thrive. Too little water stresses them, while too much can suffocate their roots.
Getting the first week right is the key to establishing a strong foundation. Your goal is consistent moisture without waterlogging the soil.
I’ll show you exactly how to gauge when your Hydrangea needs water and when to hold back. It’s easier than you might think once you know what to look for.
Discover the simple signs that reveal your plant’s needs and the best schedule for healthy growth. Let’s get started.
Getting your newly planted hydrangeas off to a strong start means nailing the first-week watering routine. These shrubs need consistent moisture to establish roots but despise soggy soil that causes rot.
I recommend checking soil moisture daily during this critical period. The top 1-2 inches should feel slightly damp but never waterlogged. Early morning is the ideal time to water.
| Day | Watering Frequency | Amount | Soil Check |
|---|---|---|---|
| Day 1 | Immediately after planting | Deep soak | Settle soil |
| Days 2-3 | Every 24 hours | 1-2 gallons | Check top 2 inches |
| Days 4-7 | Every 2-3 days | 1 gallon | Test with finger |
The first watering after planting should be a deep soak to eliminate air pockets around the roots. This helps the soil settle properly around your hydrangea’s base.
For days 2-3, water daily unless rain provides 1 inch of moisture. Use your finger to test soil depth – if the top 2 inches feel dry, it’s time to water again.
By days 4-7, you can typically reduce to watering every 2-3 days. Watch for signs like drooping leaves or dry soil pulling away from the stem.
Remember that clay soil holds moisture longer than sandy soil. If you’re working with heavy clay, you might extend intervals between waterings by a day.
Hot climates or full sun locations may require more frequent watering. In these cases, I suggest watering in the early morning to reduce evaporation loss.
Always water at the base of the plant, avoiding the leaves to prevent fungal diseases. A slow, deep watering method works best to encourage root growth downward.
After the first week, gradually reduce frequency as your hydrangea establishes. The goal is to train the roots to grow deeper into the soil for long-term stability.
This careful approach in the first week pays off with stronger plants and more vibrant blooms in the coming seasons 🌸
Your hydrangeas will tell you when they’re thirsty or drowning. I always check for visual cues before reaching for the hose. Wilting leaves often signal under-watering, but don’t assume that’s always the case.
Sometimes yellow leaves or mushy stems mean you’ve overdone it. The key is observing multiple signs together, not just one symptom in isolation.
I’ve found that soil moisture is the most reliable indicator. Stick your finger 2 inches into the soil – if it’s dry, it’s time to water. If it’s damp, wait another day.
For newly planted hydrangeas, the first week is critical. I water every 2-3 days unless rain does the job. After that, I adjust based on these 5 key signs we just covered.
Remember that morning watering is best. It gives your plants time to absorb moisture before the heat of the day. Evening watering can lead to fungal issues if the leaves stay wet overnight.
Finally, mulching helps maintain consistent moisture. I apply a 2-3 inch layer of organic mulch around the base, keeping it away from stems to prevent rot. This simple step reduces watering frequency by up to 30% 🌸