
Beautiful Plants For Your Interior
Beautiful Plants For Your Interior
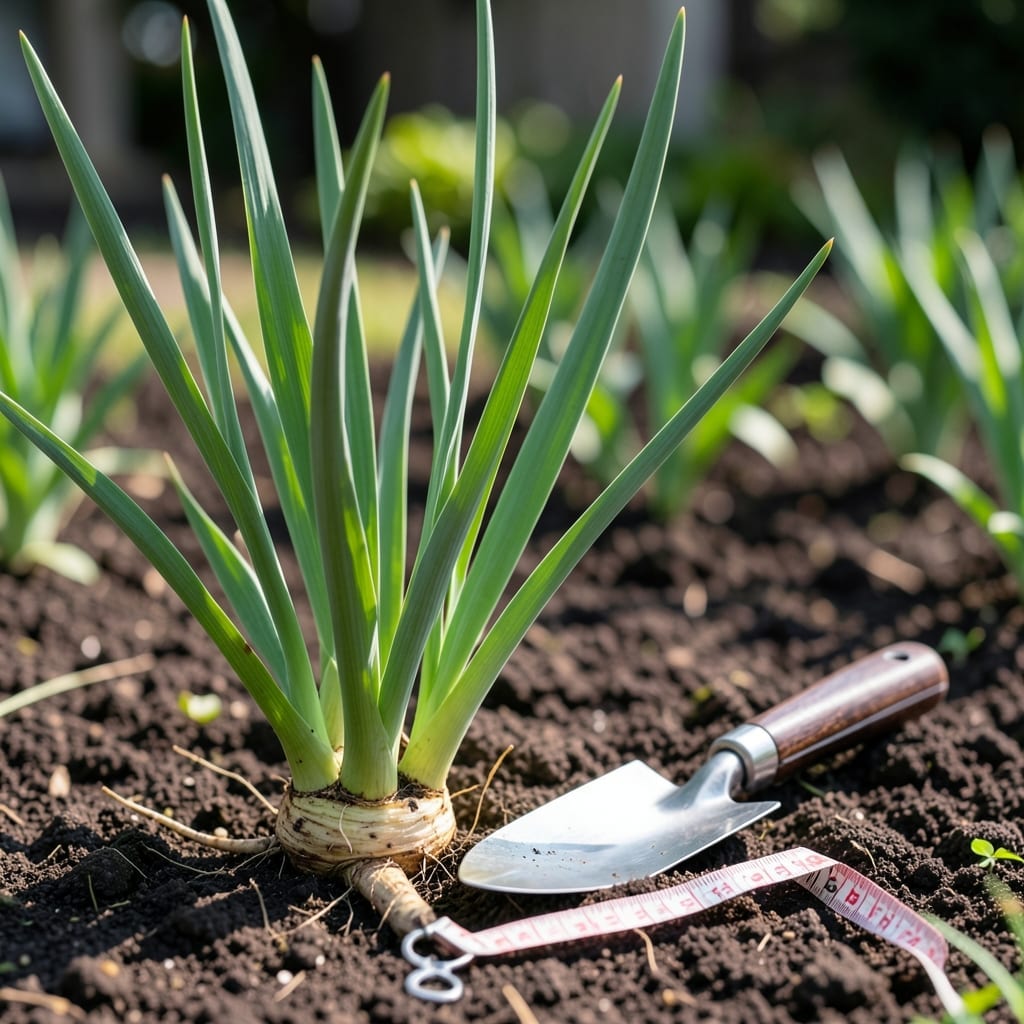
Planting iris bulbs at the right depth can make all the difference between lackluster growth and a garden bursting with 🌸 vibrant blooms. I’ve seen firsthand how a small planting mistake can leave you staring at bare soil when you expected color.
Getting the depth just right ensures your Iris gets the best start for strong roots and healthy growth. It’s not complicated once you know the basics.
Discover how a few simple adjustments can transform your planting success and bring your garden to life.


Getting the planting depth right is crucial for healthy iris growth. I’ve learned that different iris types have slightly different needs when it comes to how deep they should be buried.
For most bearded irises, the magic number is 3-4 inches deep. This gives the rhizome enough coverage while still allowing it to get the sunlight it needs to thrive.
| Iris Type | Planting Depth | Spacing |
|---|---|---|
| Bearded Iris | 3-4 inches | 12-24 inches |
| Siberian Iris | 2-3 inches | 18-24 inches |
| Dutch Iris | 4-6 inches | 4-6 inches |
Siberian irises prefer slightly shallower planting at 2-3 inches deep. Their rhizomes are more sensitive to being buried too deeply, which can lead to poor flowering.
If you’re growing Dutch irises, you’ll want to go a bit deeper. I plant these at 4-6 inches because they have different growth habits than their bearded cousins.
The key is to always plant with the rhizome partially exposed for bearded types. This might look odd at first, but it prevents rot and encourages better blooming.
Remember that soil type matters too. In heavier clay soils, I plant a bit shallower. In sandy soils, I might go an inch deeper to ensure good root contact.
Spacing is another critical factor. I give my bearded irises about 12-24 inches between plants. They need room to spread their roots and get proper airflow.
For Siberian irises, I maintain 18-24 inches of space. These can get quite large and need that extra room to really show off their elegant blooms.
Dutch irises are a bit different. Since they’re often grown in clusters, I plant them 4-6 inches apart to create that beautiful, dense display of flowers.
Always check your local climate too. In colder zones, planting a bit deeper can provide extra protection against winter freeze 🌱
Planting iris bulbs properly starts with soil preparation. I always begin by loosening the soil to 12 inches deep, removing any rocks or debris that might hinder root growth.
This ensures good drainage, which is critical for iris health. Then, I mix in some compost or aged manure to give the bulbs a nutrient boost from the start.
When placing the iris bulb in the hole, I make sure the rhizome is facing upward and slightly exposed. This might seem counterintuitive, but it prevents rot and encourages better blooming.
For Dutch irises, I plant them 4-6 inches deep with the pointed end facing up. These bulbs need a bit more depth to establish strong roots before they bloom.
After planting, I water deeply to help settle the soil and eliminate air pockets. This first watering is crucial for encouraging the bulbs to start rooting quickly in their new home.
Finally, I add a 2-inch layer of mulch around the plants to help retain moisture and suppress weeds. Just be sure to keep the mulch away from the rhizome itself to prevent rot.
With these steps, you’ll see healthy growth and beautiful blooms next season ✂️