
Beautiful Plants For Your Interior
Beautiful Plants For Your Interior
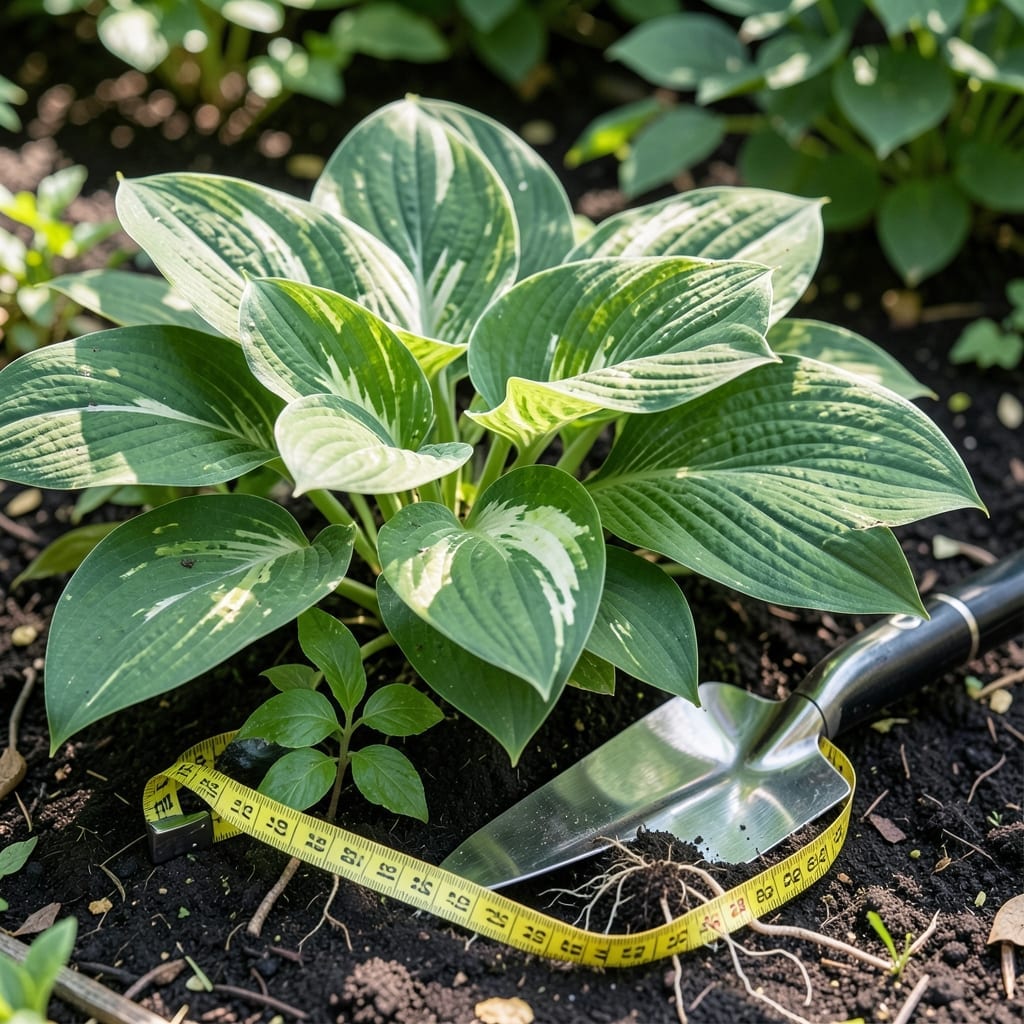
Nothing transforms a shady garden spot faster than a bed of lush, vibrant 🌿 Hostas—but their success starts underground. Plant them too deep, and you risk rot. Too shallow, and they’ll struggle to establish.
I’ve seen gardeners make this mistake time and again, only to wonder why their plants never thrive. The good news? Getting the depth right is easier than you think.
Let me walk you through the simple steps to ensure your Hostas take root and flourish for years to come. Your garden will thank you.


The perfect planting depth for hostas is with the crown just above soil level, about 1-2 inches deep. This position allows the roots to spread while preventing rot from excess moisture.
I’ve found that planting too deep is the most common mistake gardeners make. When the crown is buried, water pools around it, leading to crown rot or stunted growth.
🌱 Pro Tip:
Always check that the crown (where roots meet foliage) sits slightly above soil to ensure proper drainage and healthy growth.
Hostas thrive in well-draining soil rich in organic matter. Amending your soil with compost before planting improves both drainage and nutrient availability.
The science behind depth is simple: shallow planting encourages strong root development while deep planting suffocates the crown. This balance is key to vibrant, long-lasting foliage.
If your soil is heavy clay, consider raising the planting bed to improve drainage. Hostas prefer moist but not soggy conditions, and clay can hold too much water.
For container-grown hostas, ensure the crown remains visible after planting. Containers can dry out faster, so monitor soil moisture closely in the first few weeks.
I always recommend watering deeply after planting to help settle the soil around the roots. This step eliminates air pockets that could hinder root establishment.
Remember, hostas are shade-loving plants, but they still need consistent moisture. Proper depth and soil prep work together to create the ideal growing environment.
Finally, mulch around your hostas with organic material to retain moisture and suppress weeds. Just keep the mulch 2-3 inches away from the crown to avoid rot.
With the right depth and care, your hostas will reward you with lush, vibrant foliage for years to come. 🌿
Planting hostas at the correct depth ensures they establish quickly and stay healthy. I always start by digging a hole that’s twice as wide as the root ball but only as deep as the container.
This extra width gives the roots room to spread, while the shallow depth prevents the crown from sitting too low. A well-prepared hole is the foundation for strong, vibrant growth.
🌱 Steps to Plant Hostas Correctly:
Next, I amend the soil with compost to improve drainage and provide nutrients. Hostas love rich, organic matter, so don’t skip this step if your soil is poor or heavy.
When positioning the hosta, ensure the crown is visible at the soil surface. This small detail prevents rot and promotes healthy foliage. I’ve seen gardeners bury the crown, only to lose plants to rot later.
After backfilling, press the soil lightly to remove air pockets. These can dry out roots or cause uneven settling, which may shift the crown’s position over time.
Finally, I water the plant thoroughly to help the soil settle. This step ensures the roots make good contact with the earth, giving your hosta the best start possible. 🌿