
Beautiful Plants For Your Interior
Beautiful Plants For Your Interior
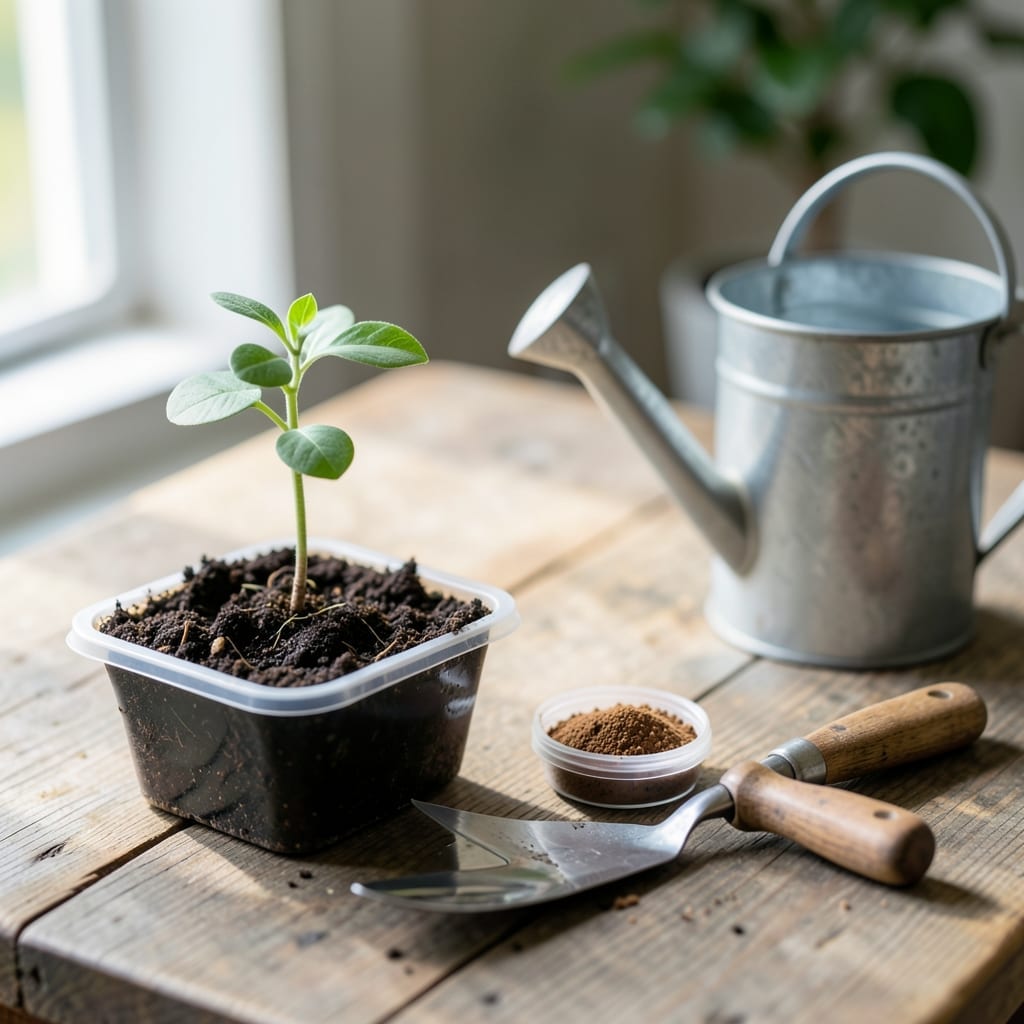
I’ve turned countless cuttings into thriving plants with this simple homemade mix. It’s the difference between limp stems and strong roots in just weeks.
No fancy ingredients—just a few kitchen staples that outperform store-bought options. You’ll see roots forming faster, and plants establishing quicker once transplanted. Works for herbs, shrubs, even finicky houseplants.
📚 In This Guide
This method delivers rapid root development using materials you likely have on hand.
I start with 1 gallon of aged hardwood ash because it’s rich in potassium, which strengthens root systems. Make sure it’s fully cooled—fresh ash can burn tender roots. Sift it through a fine mesh to remove large charred pieces that could trap too much moisture.
If hardwood ash isn’t available, substitute with 2 cups of crushed eggshells for calcium. Either option provides essential nutrients, but avoid softwood ash—it can be too acidic for root formation. Store the prepared material in a dry container until ready to use.
Combine 1 tablespoon of honey (a natural rooting hormone) with 2 cups of lukewarm water in a clean jar. Stir until fully dissolved. Honey contains enzymes that encourage cell division at the cut end of a stem, speeding up root initiation.
For an extra boost, add 1 teaspoon of apple cider vinegar to lower the pH slightly, making nutrients more accessible. Shake the mixture well and let it sit for 12 hours before use. This allows the solution to stabilize and become more effective.
In a large bowl, blend the sifted ash or eggshells with 1 quart of coconut coir or peat moss. This creates a lightweight, well-draining medium that holds just enough moisture to support root growth without suffocating the cutting.
The coir or peat moss should be slightly damp but not soggy. Test by squeezing a handful—if a few drops of water come out, it’s perfect. If it drips, add a bit more ash or eggshells to balance the moisture.
Dip the cut end of your plant cutting into the honey solution for 5-10 seconds. Let the excess drip off, then immediately place the cutting into a small pot filled with your prepared medium. Press the medium gently around the stem to ensure good contact.
Cover the pot with a clear plastic bag to maintain humidity, which is critical for root development. Place it in a warm spot with bright, indirect light. Roots should begin forming within 2-3 weeks, depending on the plant species.
Check the cutting daily for signs of new growth. Once you see 1-2 inches of new root growth through the drainage holes, it’s ready to transplant. This usually takes 4-6 weeks total, but some plants root faster.
Transplant carefully to avoid damaging the fragile new roots. Water the cutting thoroughly after transplanting to help it establish in its new home. Avoid fertilizing for the first 2 weeks—the starter medium already contains everything the roots need.
Small details make the difference between success and failure with this method.
The Material Factor: Always use fully cooled hardwood ash in Step 1—fresh ash can burn delicate roots. Sifting through fine mesh removes large pieces that trap excessive moisture, which can suffocate developing roots. Confession: I skipped the sifting once and lost half my cuttings to rot.
Solution Stability: In Step 2, that 12-hour resting period for your honey solution is non-negotiable. The enzymes in honey need this time to fully activate, and the apple cider vinegar needs to properly lower the pH. I learned this the hard way after rushing the process and getting poor root formation.
Moisture Management: For Step 3, test your medium by squeezing a handful—it should release only a few drops of water. If it drips, add more ash or eggshells. Too much moisture creates anaerobic conditions that prevent root growth rather than encourage it.
Transplant Timing: The 4-6 week timeline in Step 5 accounts for most common plants, but don’t transplant until you see that 1-2 inches of root growth. Some species root faster, but pulling them too early can damage the fragile new roots that are just starting to form.
Most homemade root starters, like honey or aloe vera solutions, encourage root growth within 1-3 weeks. The exact time depends on the plant type, environment, and rooting method (water or soil). Patience is key—keep conditions warm and humid for best results!
Absolutely! Common substitutes include honey (natural antifungal), cinnamon (antifungal), or aloe vera gel (contains rooting hormones). These are cost-effective and often just as effective for promoting healthy root development.
Spring and early summer are ideal, as plants are naturally in a growth phase. However, indoor rooting with controlled light and temperature can work year-round. Avoid extreme cold or heat for outdoor rooting.
Check for issues like overwatering, poor light, or unclean tools. Ensure cuttings are healthy and taken from the right part of the plant (usually new growth). Adjust humidity or try a different rooting medium if needed.