
Beautiful Plants For Your Interior
Beautiful Plants For Your Interior
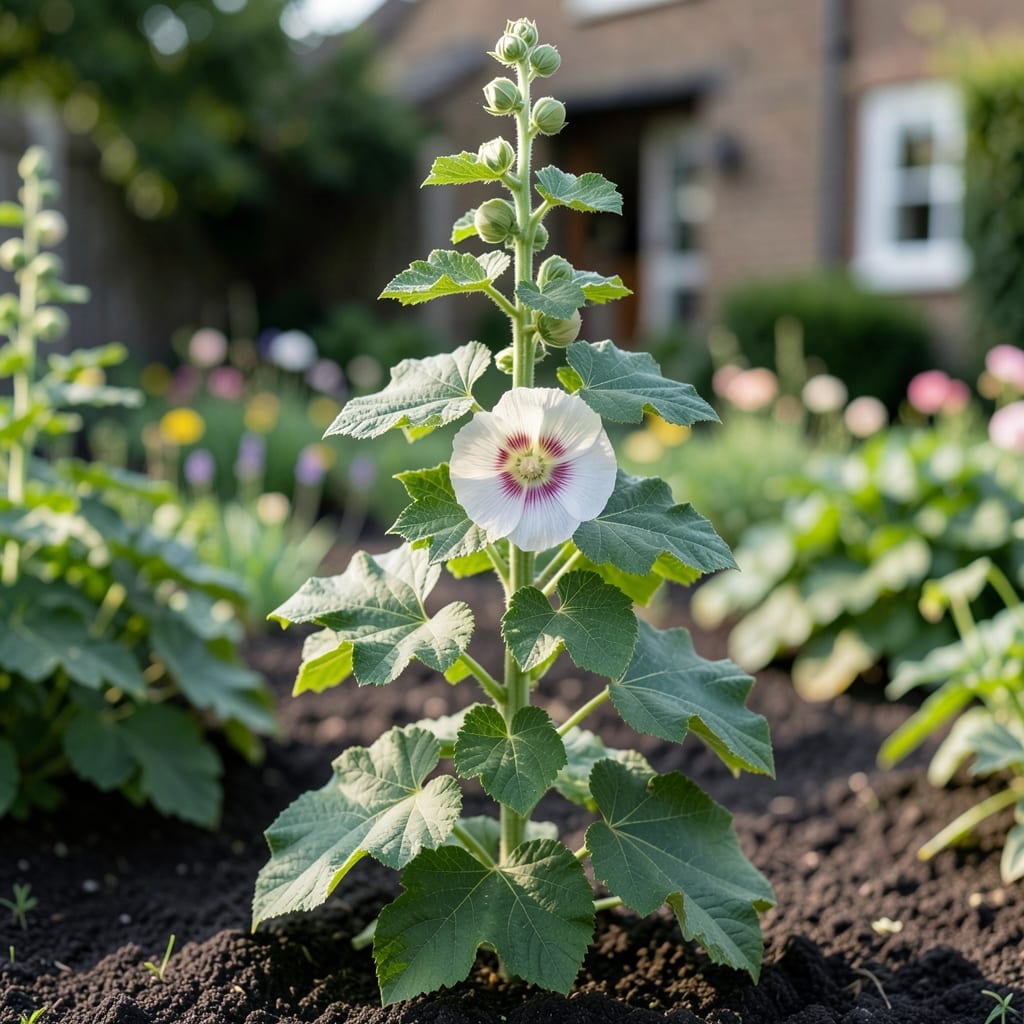
Those towering hollyhock leaves can turn any garden into a jungle paradise. I’ve watched mine grow 3 feet wide with the right care, and the impact is stunning.
Sunlight, consistent moisture, and rich soil are the keys. Avoid soggy roots, and you’ll have foliage that steals the show before the blooms even appear. Works for all varieties, but some naturally produce giant leaves with ease.
📚 In This Guide
Here’s the method I use to keep hollyhock foliage vibrant and disease-free throughout the season.
Choose a location with full sun exposure—at least 6-8 hours of direct sunlight daily. Hollyhocks thrive in well-draining soil, so I amend the planting area with 2-3 inches of compost to improve fertility and drainage. Avoid low-lying spots where water pools after rain.
Test soil pH; hollyhocks prefer slightly alkaline conditions between 6.5-7.5. If your soil is acidic, work in a handful of lime per square foot before planting. The goal is a loose, nutrient-rich foundation that encourages deep root growth and lush foliage.
Sow seeds directly in the garden after the last frost date, planting them ¼ inch deep and 18-24 inches apart. If starting with nursery plants, dig holes twice the width of the root ball and set them at the same depth they were growing in the container. Space transplants 2-3 feet apart to allow for air circulation, which prevents fungal issues on the large leaves.
Water deeply after planting to settle the soil around the roots. I’ve found that hollyhocks establish faster when given a thorough initial soak, but avoid waterlogging the soil. The first true leaves should appear within 10-14 days if conditions are ideal.
Hollyhocks need consistent moisture, especially during dry spells. Water at the base of the plant—never overhead—to keep the leaves dry and reduce the risk of rust or powdery mildew. Aim for 1-1.5 inches of water per week, either from rainfall or supplemental irrigation.
Apply a balanced, slow-release fertilizer when the plants are 6 inches tall, following the package instructions. Repeat every 4-6 weeks through the growing season. This steady feeding promotes robust foliage and strong stems capable of supporting the giant leaves.
Stake tall varieties early to prevent wind damage, which can tear the large leaves. Use bamboo stakes or a sturdy trellis, securing stems with soft ties. Remove any yellowing or spotted leaves immediately to prevent the spread of disease and redirect energy to healthy growth.
Monitor the lower leaves for signs of rust—orange-brown spots on the undersides. If detected, remove affected foliage and treat with a fungicide labeled for hollyhocks. Regularly clean up fallen leaves and debris around the base to eliminate potential disease harbors.
Deadhead spent blooms to encourage the plant to produce more foliage and flowers. However, if your primary goal is lush leaves, you can allow some seed pods to form, as this can prompt a new flush of growth the following year. Hollyhocks are biennials, so they often produce only foliage the first year and bloom the second.
In late fall, cut back the stems to 6 inches above the ground after the first hard frost. This helps prevent overwintering diseases and tidies the garden. Apply a 2-inch layer of mulch around the base to protect the crown during winter.
Here’s what I’ve learned through trial and error to keep your foliage thriving.
Sunlight Essential: The 6-8 hours of daily sun in Step 1 isn’t just a suggestion—it’s critical for those giant leaves to reach their full potential. Without enough light, you’ll get leggy plants with smaller, weaker foliage. Choose the sunniest spot in your garden for best results.
Spacing Strategy: In Step 2, the 2-3 feet apart spacing for transplants might seem excessive, but trust me—it prevents fungal issues by allowing air circulation between those large leaves. Crowded plants are an open invitation for rust and mildew.
Watering Wisdom: The 1-1.5 inches of weekly water in Step 3 is your target, but here’s the thing: always water at the base. Wet leaves are the fastest way to develop rust, and once it starts, it spreads quickly through the plant. A simple drip irrigation system solves this perfectly.
Pruning Practice: In Step 5, cutting back to 6 inches after frost isn’t just about tidying up—it removes potential overwintering sites for diseases. And that 2-inch mulch layer? It’s your crown’s winter coat, protecting it from freezing temperatures and heaving soil.
Yellowing leaves often signal overwatering or poor drainage. Check soil moisture and ensure pots have drainage holes. Nutrient deficiencies (like nitrogen) or fungal diseases can also cause this.
Plant in early spring or fall for cool temperatures that reduce stress. This timing helps establish strong roots before extreme heat or cold, ensuring lush foliage.
Try Hollyhock ‘Chaters Double’ or Malva sylvestris for comparable leafy displays. Both thrive in similar conditions and resist common hollyhock pests.
Remove infected leaves immediately and apply a copper-based fungicide. Improve air circulation and avoid overhead watering to prevent recurrence.
Yes! Use large pots (12+ inches deep) with well-draining soil. Container-grown hollyhocks may need more frequent watering and staking for support.