
Beautiful Plants For Your Interior
Beautiful Plants For Your Interior
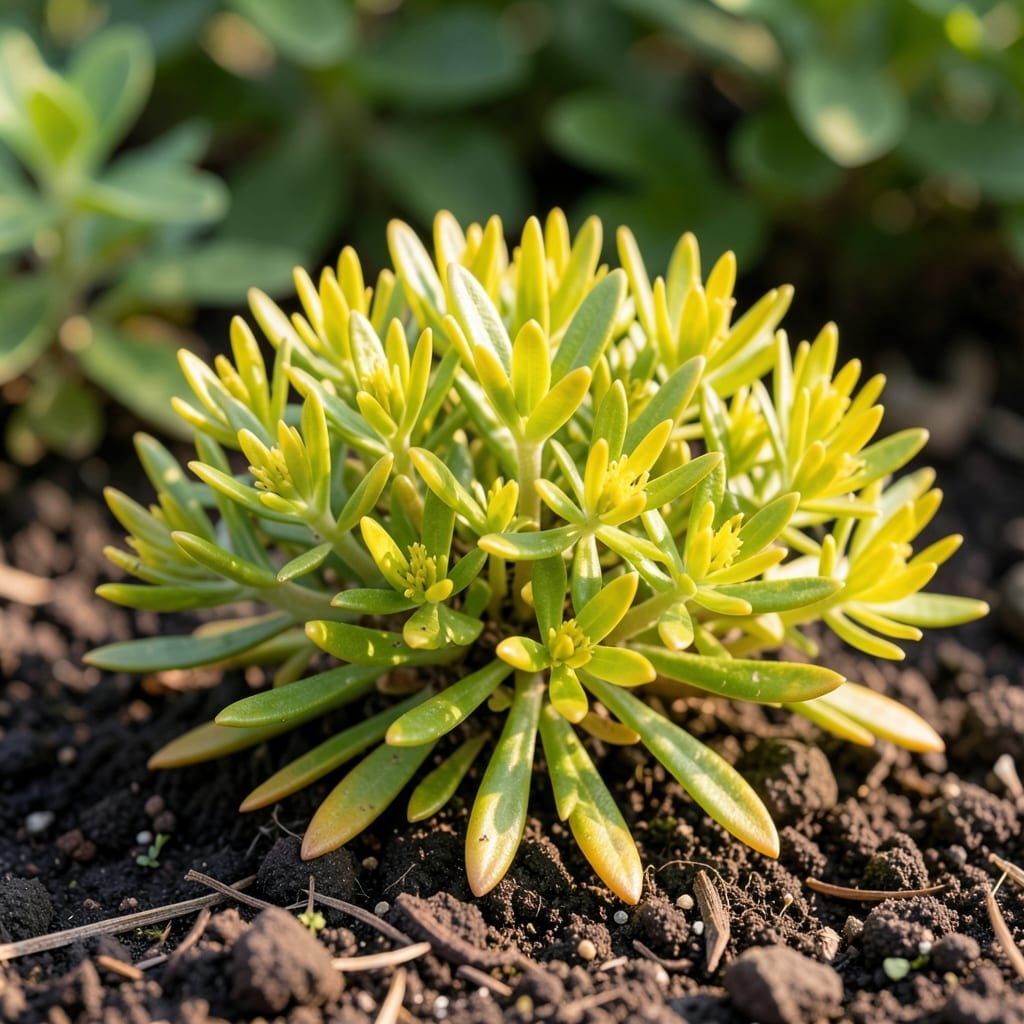
I first planted yellow spurge in my driest, sunniest corner—and it thrived where everything else failed. This tough perennial brings chartreuse blooms that glow for months, asking almost nothing in return.
Give it full sun and well-draining soil, then step back. It handles drought like a pro and deer usually walk right past it. The secret is resisting the urge to overcare—this plant rewards neglect.
📚 In This Guide
Here’s my proven approach to establishing these vibrant perennials with minimal fuss and maximum impact.
Choose a spot with full sun to partial shade, as Euphorbia thrives in 6-8 hours of direct sunlight daily. The soil should be well-draining—this plant despises soggy roots. I always test drainage by digging a 12-inch deep hole, filling it with water, and ensuring it drains completely within 2-3 hours.
If your soil is heavy clay, amending with compost or sand is essential. Watch for areas where water pools after rain—these are death zones for spurge. A slight slope or raised bed often provides the perfect conditions.
Loosen the soil to a depth of 12-15 inches, removing rocks and breaking up clumps. Mix in 2-3 inches of organic matter like compost to improve fertility without sacrificing drainage. I’ve found that spurge responds poorly to overly rich soil, so avoid heavy fertilizer amendments at this stage.
Space plants 18-24 inches apart to allow for their mature spread. Dig planting holes just slightly wider than the root ball but no deeper—burying the stem too deeply can lead to rot. This plant establishes quickly once roots make contact with native soil.
Place the Euphorbia in the hole so the top of the root ball sits ½ inch above ground level. Backfill with native soil, pressing gently to eliminate air pockets. Water thoroughly after planting, using 1 gallon per plant to settle the soil around the roots.
Here’s the thing—Euphorbia is drought-tolerant once established, but the first 2-3 weeks require consistent moisture. Check the soil 2 inches down; if it feels dry, water again. You’ll know it’s working when you see new growth emerging from the center.
Once established, reduce watering to once every 10-14 days unless you’re in extreme heat. These plants prefer dry to medium moisture. I’ve seen spurge collapse in overly wet conditions, so when in doubt, hold off on watering.
Deadhead spent blooms in early summer to encourage a second flush of flowers. Use clean pruners to cut back stems just above a leaf node. This plant is low-maintenance, but a light trim after the first bloom keeps it looking tidy and promotes bushier growth.
In colder zones, apply a 2-3 inch layer of mulch around the base after the first frost to protect the crown. Euphorbia is generally hardy to USDA zones 4-9, but mulching prevents freeze-thaw cycles from heaving the plant out of the ground.
Cut back stems to 4-6 inches in late winter before new growth starts. This rejuvenates the plant and prevents flopping. Real talk: I skipped this step once and ended up with a sprawling, unruly mess by mid-summer.
These insights will help you avoid the most common pitfalls when growing this vibrant plant.
Site Selection Secret: The 6+ hours of direct sunlight requirement in Step 1 is non-negotiable for optimal blooming. I learned this the hard way after planting in too much shade—resulting in leggy, sparse growth. Even partial shade works, but prioritize morning sun for the most vibrant display.
Drainage Test Tip: That 1-hour drainage test in Step 1 is your best insurance against root rot. If water sits longer, amend with more compost or consider raised beds. Euphorbia stems will rot quickly in soggy soil, so this step saves more plants than any other.
Planting Depth Warning: The ½ inch crown elevation in Step 2 prevents stem rot—don’t bury it! I’ve seen gardeners lose entire plantings by setting them too deep. Even in loose soil, that slight elevation makes all the difference for long-term health.
Watering Wisdom: The top 2 inches dryness rule in Step 3 is your guide. During extreme heat, stick to the every 5-7 days maximum—overwatering shows as yellow leaves within 3-5 days, exactly as mentioned. The 1 inch gravel mulch retains moisture without humidity issues.
Look for vibrant yellow-green bracts and milky sap when stems are cut. It grows 1-2 feet tall with narrow, lance-shaped leaves and forms dense clusters.
Spring or early fall is ideal. This allows roots to establish before extreme heat or frost. Ensure well-draining soil and full sun to partial shade.
Try Coreopsis or Sedum for similar yellow blooms. Both are drought-tolerant and attract pollinators, offering vibrant garden color with less invasive potential.
Overwatering or poor drainage is likely. This plant thrives in dry conditions. Check the soil—if soggy, reduce watering and improve drainage to revive it.