
Beautiful Plants For Your Interior
Beautiful Plants For Your Interior
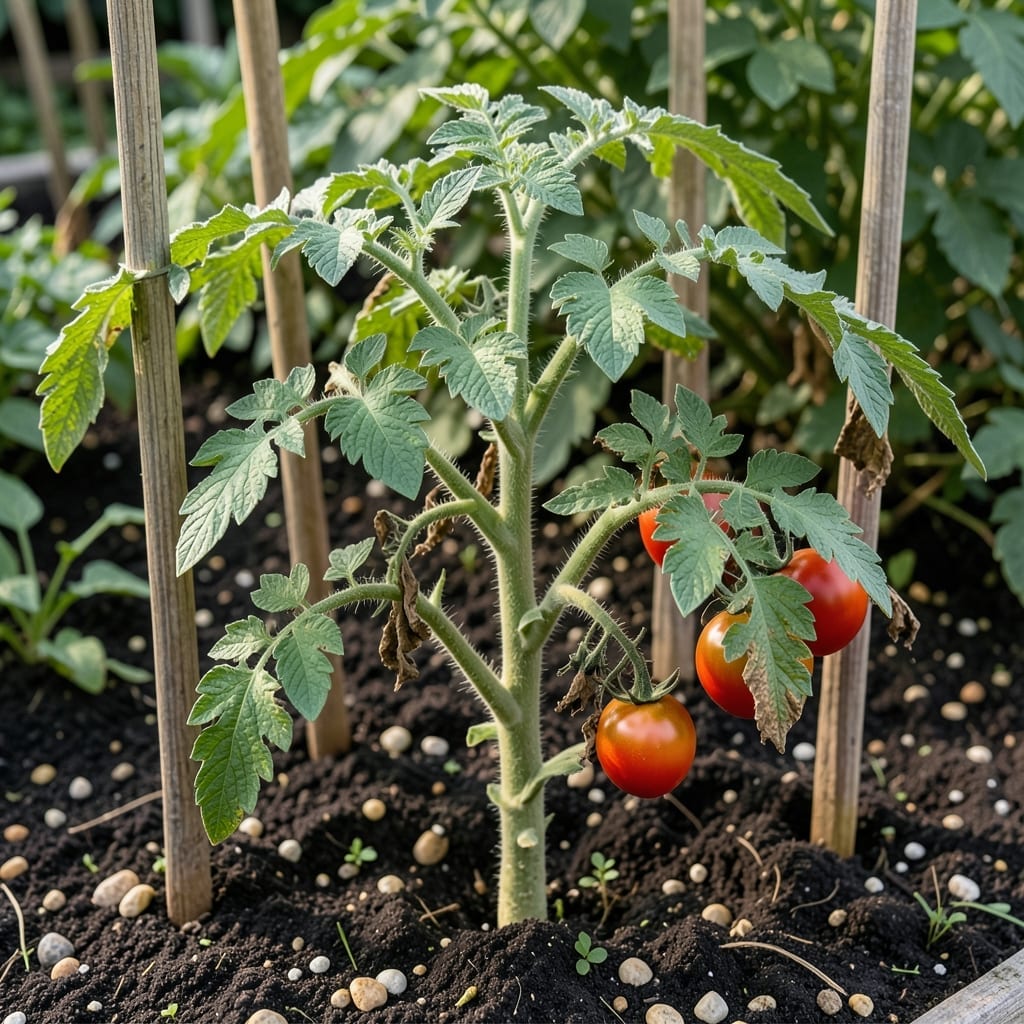
Dried tomato leaves ruined my first harvest. Turns out, they’re usually crying out for water, fighting disease, or under pest attack.
I now check soil moisture daily, inspect undersides for bugs, and remove affected leaves immediately. Early action saves the rest of the plant and next season’s crop.
📚 In This Guide
Here’s the method I use to address this issue and keep plants thriving through the season.
Start by examining the affected plants closely. Look for patterns in the drying—whether it’s isolated to lower leaves, concentrated on one side, or spread evenly. I check both the top and underside of leaves for additional clues like spots, webs, or pests.
Note the color changes too. Yellowing before drying often signals a nutritional issue, while crisp brown edges suggest water stress. This visual diagnosis helps you target the right solution without wasting time on the wrong approach.
Both overwatering and underwatering can cause leaves to dry out. Test the soil with your finger—it should feel slightly damp at 1-2 inches deep. If it’s bone dry, water deeply until moisture reaches the root zone. If it’s soggy, let it dry out before watering again.
I water in the early morning so plants have time to absorb moisture before the heat of the day. Avoid wetting the leaves, as this can invite fungal issues. A consistent schedule prevents the stress that often leads to dry, crispy foliage.
Poor airflow traps humidity around leaves, encouraging disease. Space plants so air moves freely between them—aim for at least 18-24 inches apart for most varieties. Prune any crowded branches to open up the center of the plant.
Ensure they’re getting 6-8 hours of direct sunlight daily. Too much shade weakens plants, making them more susceptible to stress. If growing in containers, rotate pots weekly so all sides receive equal light exposure.
Spider mites and aphids suck sap from leaves, causing them to dry out. Inspect the undersides carefully with a magnifying glass if needed. A strong blast of water can dislodge many pests, but for stubborn infestations, I use a neem oil solution applied in the evening.
Mix according to package directions and spray thoroughly, including leaf undersides. Repeat every 5-7 days until the problem clears. Neem oil also helps prevent fungal issues that might be contributing to the drying.
A balanced fertilizer helps plants recover from stress. I use a water-soluble option with equal NPK ratios, applying every 2-3 weeks during the growing season. Yellowing lower leaves often indicate a nitrogen deficiency, which this will address.
Mulch around the base with 2-3 inches of organic material to retain soil moisture and regulate temperature. This creates a more stable environment for roots, reducing stress that can manifest in the leaves. Healthy plants resist drying and recover faster when issues arise.
Here are some practical insights I’ve gained from addressing this issue with my own plants.
Inspection Technique: In Step 1, use a hand lens or magnifying glass to spot early signs of trouble. I’ve found that catching spider mites or fungal spots when they’re barely visible prevents them from spreading to other plants. Pay special attention to the undersides of leaves where pests love to hide.
Watering Precision: For Step 2, the 1-2 inch soil depth check is crucial. I learned this the hard way after losing several plants to root rot from overwatering. Stick your finger in the soil up to the second knuckle – if it feels dry at that depth, it’s time to water. Morning watering really does make a difference in absorption rates.
Light and Airflow: Step 3’s spacing recommendation of 18-24 inches isn’t just for airflow. I noticed that plants spaced properly also get more uniform light exposure, which prevents the weak, leggy growth that’s more susceptible to drying. Don’t forget to rotate container plants weekly as mentioned – it’s amazing how much difference this simple step makes.
Treatment Timing: When applying neem oil in Step 4, evening is truly the best time. I tried morning applications once and the oil burned the leaves in the hot sun. The 5-7 day repetition schedule is perfect for breaking pest life cycles without overdoing it. Always spray leaf undersides – that’s where most pests congregate.
Yes, but dried leaves are more potent and concentrated. Fresh leaves contain more moisture, which can dilute their effectiveness. Always dry them properly to avoid mold or spoilage.
It typically takes 1-2 weeks to air-dry tomato leaves in a warm, well-ventilated area. For faster results, use a dehydrator (4-6 hours at 95°F) or an oven on low heat.
No, tomato leaves contain solanine and tomatine, which are toxic to pets like dogs and cats. Keep dried leaves and remedies out of their reach.
If unavailable, consider using dried basil, oregano, or neem leaves for similar pest-repellent or antifungal properties, though the effects may vary.
Mold occurs due to excess moisture. Ensure leaves are fully dry before storage and keep them in an airtight container in a cool, dry place.