
Beautiful Plants For Your Interior
Beautiful Plants For Your Interior
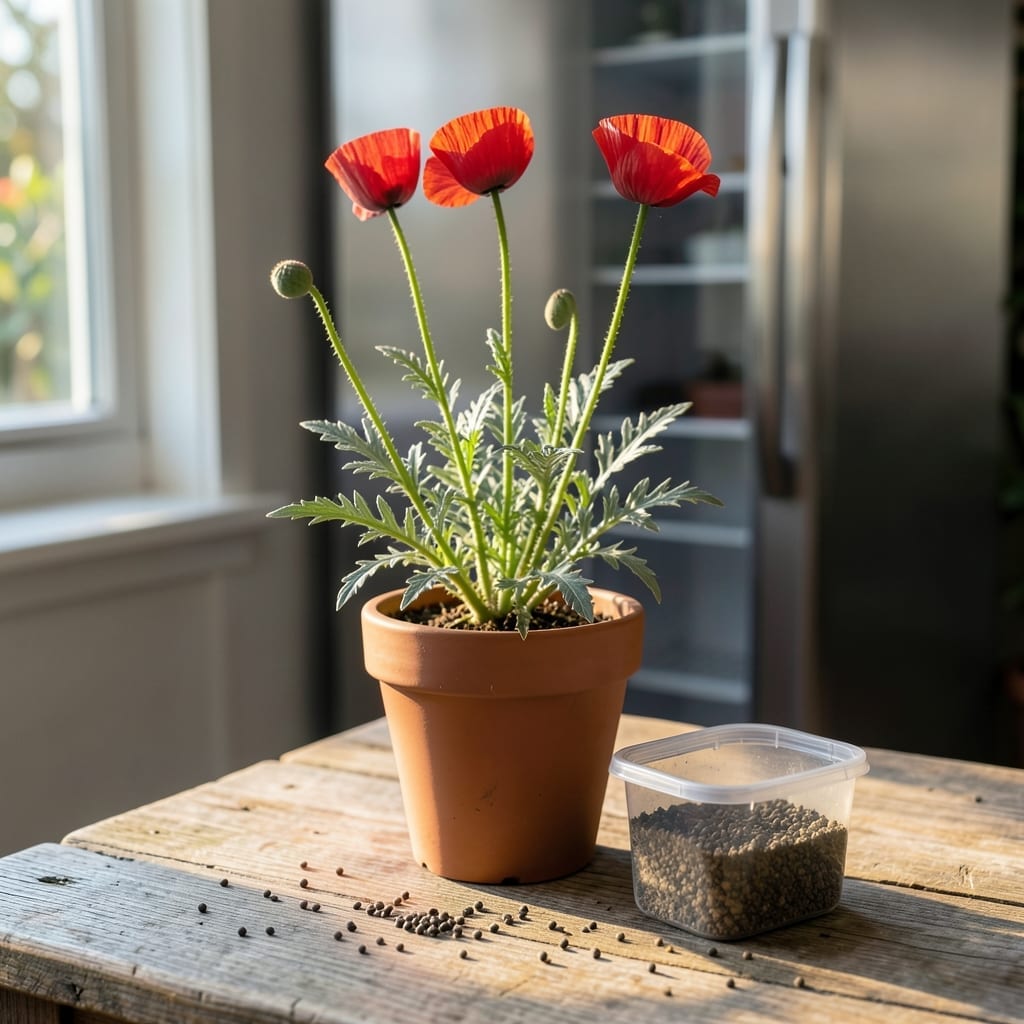
Poppy seeds can be frustratingly slow to sprout, leaving many gardeners scratching their heads. The 🌸 Poppy often needs a little extra encouragement to break its natural dormancy.
This is where a simple pre-treatment comes in. By mimicking winter conditions, you can significantly boost your chances of success.
Discover how to give your seeds the best start possible and transform your garden into a vibrant display of color.
If you’ve ever struggled with poppy seed germination, you’re not alone. Many varieties, like Iceland poppies and Oriental poppies, have built-in dormancy mechanisms that prevent premature sprouting.
This natural protection ensures seeds don’t germinate during warm autumn days only to be killed by winter frost. Cold stratification mimics the winter conditions these seeds need to break dormancy.
| Poppy Variety | Cold Stratification Needed | Duration |
|---|---|---|
| Iceland Poppy | Yes | 2-4 weeks |
| Oriental Poppy | Yes | 4-6 weeks |
| California Poppy | Yes | 1-2 weeks |
| Corn Poppy | No | N/A |
The process works by breaking down abscisic acid, a natural germination inhibitor in the seed coat. As temperatures drop, this compound degrades, allowing the seed to absorb water and begin growing.
During stratification, enzymes activate that soften the seed coat. This makes it easier for the emerging root to penetrate. Without this process, seeds might remain dormant for years.
I’ve found that perennial poppies often require longer stratification than annuals. For example, Oriental poppies typically need 4-6 weeks of cold treatment for best results.
In nature, seeds would experience this cold period while buried in soil over winter. In our gardens, we can replicate this by artificially chilling seeds in a refrigerator.
The ideal temperature range for stratification is 35-40°F. This is cold enough to trigger the process but not so cold that it damages the seeds.
Remember that moisture is crucial during stratification. Seeds need to be kept damp but not waterlogged to prevent mold growth. 🌱
After stratification, you’ll often see faster germination—sometimes within 7-10 days of planting, compared to weeks or even months without treatment.
For gardeners in colder climates, you can often skip artificial stratification by sowing seeds in fall. They’ll naturally stratify over winter and sprout in spring. ☀️
Cold stratifying poppy seeds at home is simpler than you might think. I recommend the paper towel method for beginners—it’s clean and lets you monitor progress easily.
Start by placing seeds between damp paper towels in a sealed plastic bag. Then, pop them in your refrigerator for the required duration based on variety.
Keep the paper towels consistently moist but not soggy. Too much water can lead to mold growth, which will ruin your seeds.
For Iceland poppies, I’ve had great success with 3 weeks of stratification. Oriental poppies often need the full 6 weeks for best results.
After stratification, plant seeds 1/4 inch deep in well-draining soil. You’ll typically see germination within 7-14 days, a huge improvement over non-stratified seeds.
One common mistake is using freezer temperatures—this can kill seeds. Stick to the refrigerator for safe, effective stratification. 🌱