
Beautiful Plants For Your Interior
Beautiful Plants For Your Interior
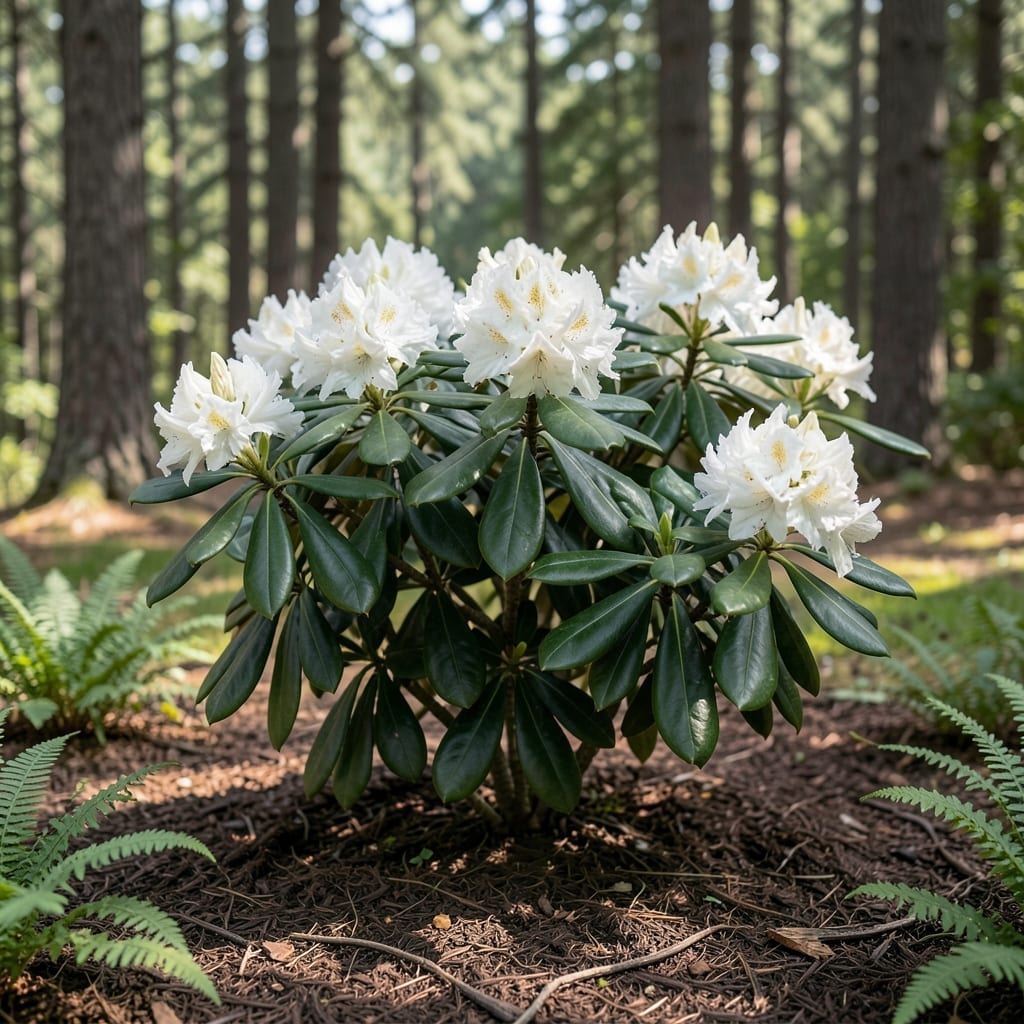
Partial shade doesn’t mean partial beauty with this stunner. 🌿 I planted my first Cunningham White in a north-facing spot most gardeners would dismiss, and it’s now the most reliable bloom in my spring landscape.
Year-round appeal comes from its glossy evergreen leaves and pure white 4-inch flowers that light up shady corners. The secret is acidic soil and consistent moisture—get those right and it practically grows itself.
📚 In This Guide
Here’s the method I rely on to keep these evergreen shrubs flourishing with minimal fuss.
Choose a site with partial shade—morning sun with afternoon protection works beautifully. Cunningham White thrives in dappled light under tall trees, which mimics its native woodland habitat. The soil must be acidic (pH 4.5-5.5) and well-draining; clay or alkaline soil will stunt growth and cause leaf chlorosis.
Test soil pH with a kit from your garden center. If it’s above 6.0, amend with elemental sulfur or pine bark fines. I’ve found that planting near oak or pine trees naturally creates the acidic conditions this rhododendron loves.
Dig a hole twice as wide and just as deep as the root ball. This gives roots room to spread without sinking too deep, which can suffocate the plant. Remove the shrub from its container and gently tease apart any circling roots—this prevents girdling as it matures.
Mix 50% native soil with 50% organic matter like composted pine bark or peat moss. I avoid manure-based composts as they can raise soil pH over time. Set the plant in the hole so the top of the root ball sits 1-2 inches above surrounding soil level to allow for settling.
Backfill the hole with your amended soil mix, pressing lightly to eliminate air pockets. Create a 3-4 inch high watering ring around the base to direct moisture to the roots. Water deeply until the soil is saturated to 12 inches deep—this encourages deep root establishment.
Apply a 2-3 inch layer of organic mulch (pine needles or bark chips work best) to retain moisture and suppress weeds. Keep mulch 2 inches away from the trunk to prevent rot. I water new plantings 2-3 times weekly for the first month, then taper off as roots establish.
Fertilize in early spring with a product formulated for acid-loving plants, following package rates. Prune only to shape or remove dead wood, doing so immediately after flowering to avoid cutting off next year’s buds. Cunningham White blooms on old wood, so timing matters.
Watch for leaf yellowing between veins—this signals iron deficiency, common in alkaline soils. Treat with chelated iron according to label instructions. In winter, protect from harsh winds with burlap screens if needed, but avoid heavy wrapping that traps moisture.
These insights will help you avoid common pitfalls and get the most from your shrub.
Soil pH is Non-Negotiable: The pH 4.5-5.5 requirement in Step 1 isn’t just a suggestion—it’s critical for nutrient uptake. I learned this the hard way after watching leaves turn yellow in slightly alkaline soil. Test before planting, and amend with sulfur if needed.
Planting Depth Matters: In Step 2, setting the root ball 1-2 inches above soil level prevents settling that can suffocate roots. I’ve seen plants struggle when buried too deep. Trust the method—it works.
Watering Wisdom: The 12-inch saturation in Step 3 encourages deep roots, but don’t let the watering ring trap water against the trunk. Keep that 2-inch gap with mulch to prevent rot—it’s a simple detail that saves plants.
Pruning Timing: Cunningham White blooms on old wood, so pruning in Step 4 must happen immediately after flowering. Prune later, and you risk cutting off next year’s spectacular white blooms.
This rhododendron thrives in partial shade with well-draining, acidic soil. Keep the soil moist but not soggy, and mulch to retain moisture. Prune after flowering to maintain shape.
Plant in early spring or fall to allow roots to establish before extreme temperatures. Avoid planting in summer heat or winter frost for best results.
Watch for lace bugs, spider mites, or root rot. Ensure good airflow and avoid overwatering. Use organic pesticides or fungicides if needed.
It prefers partial shade but can tolerate morning sun. Avoid harsh afternoon sun, which may scorch leaves or stress the plant.
Yellow leaves often indicate poor drainage or nutrient deficiency. Test soil pH (aim for 4.5–5.5) and adjust with sulfur or lime as needed.